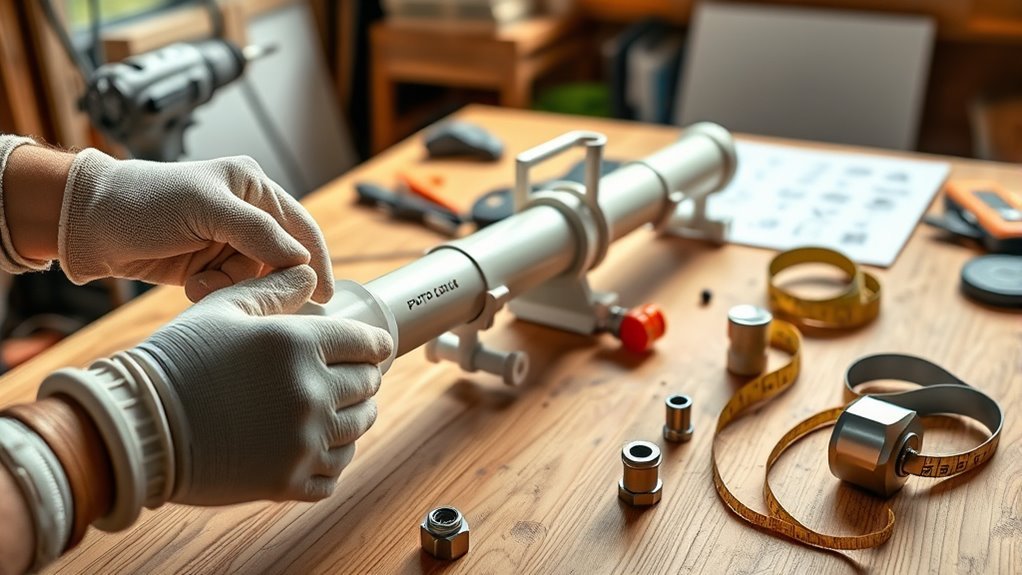
How to Build a Spud Gun Potato Cannon in 7 Easy Steps
To build a spud gun potato cannon, start by selecting and cutting durable PVC pipes for the barrel and combustion chamber. These pipes need to be strong enough to handle the pressure when you fire. Assemble and glue them tightly, making sure all the joints are airtight to prevent any leaks.
Next, install a spark ignitor into drilled holes and secure the wiring safely. This spark ignitor is what will ignite the hairspray propellant inside the chamber.
Once that’s set up, load a snug potato into the barrel. Spray a short burst of hairspray into the combustion chamber as the propellant. Then, seal the chamber cap firmly to keep everything contained.
Aim carefully, ignite the spark ignitor, and watch your potato cannon fire.
Remember, safety is super important throughout this process. Follow these steps, and you’ll be ready to explore more tips on boosting performance and troubleshooting your spud gun.
Key Takeaways
- Select and cut durable PVC pipes: 14-inch combustion chamber and 4-foot barrel. Make sure the edges are smooth, and the joints are airtight by using PVC cement.
- Drill ignition holes at a 45° angle. Then, insert and secure a spark ignitor. Don’t forget to connect the wiring with electrical tape for safety.
- Load a snug potato into the barrel. Next, spray 3-4 seconds of hairspray propellant into the combustion chamber before sealing it tightly.
- Fire by igniting the propellant with the spark ignitor. Always point the cannon safely and wait 7-10 minutes between shots.
- Inspect all joints, wiring, and pipes regularly. Also, allow the cement to cure for 24 hours to ensure safe, leak-free operation.
Choose and Prepare PVC Pipes for Your Potato Cannon
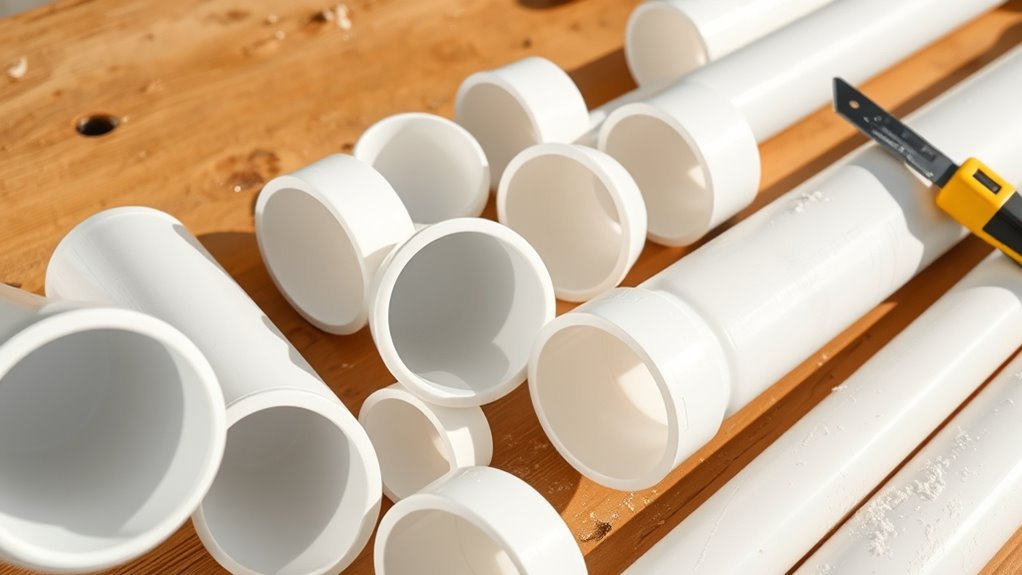
Before assembling your potato cannon, you’ll need to choose and prepare the right PVC pipes. Select schedule 40 or higher PVC pipes to guarantee durability and safety.
You’ll need a 14-inch length for the combustion chamber and a 4-foot length for the barrel. Use a hacksaw to cut the PVC pipes to these exact dimensions, making sure your cuts are straight and clean.
File down one end of the 2-inch PVC pipe to make inserting the potato easier. Next, drill two holes at a 45° angle, spaced 1.5 inches apart, in the combustion chamber pipe to set up the ignition system.
Finally, clean all PVC parts thoroughly with a rag to remove dust and debris before moving on. This helps everything fit nicely and safely for the next steps.
Assemble and Glue the Barrel and Combustion Chamber
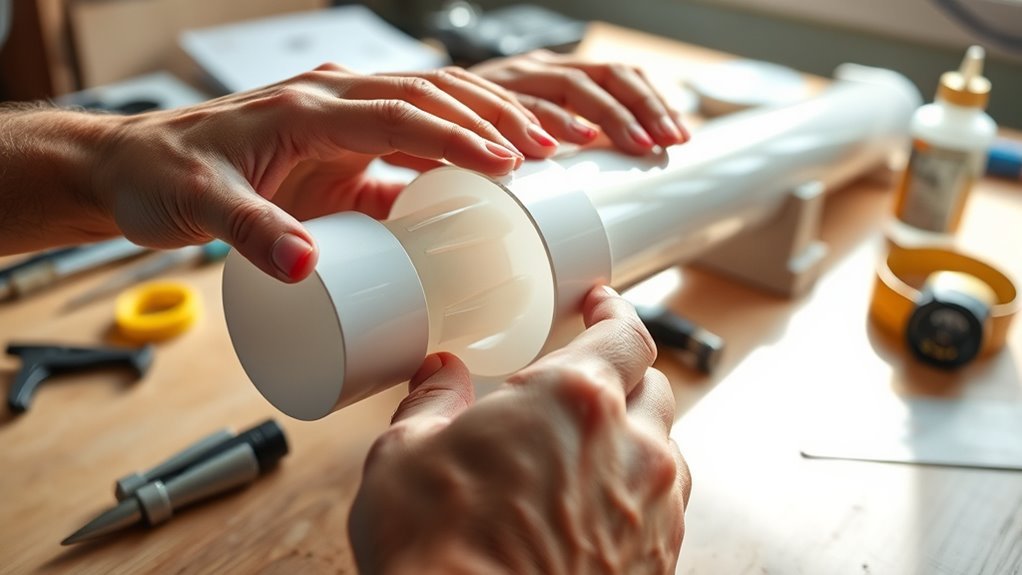
When you’re ready to assemble your potato cannon, start by cutting the 4-inch PVC pipe to the correct length. Smooth the edges with sandpaper or a utility knife to prevent any burrs.
Next, use PVC cement to attach the barrel and combustion chamber, including adapters like the female threaded adapter and coupler. Make sure you get airtight seals.
Drill two holes at a 45° angle, 1.5 inches apart, in the combustion chamber for screws that nearly touch. It might help to practice assembling and gluing everything before you do the final assembly.
Let the cement cure for at least 24 hours. Before moving on, double-check that all joints are lined up properly and don’t leak.
| Step | Detail |
|---|---|
| Cut & Smooth Pipe | Prevent burrs for clean joints |
| Glue & Assemble | Use PVC cement for airtight seal |
| Drill Holes | 45° angle, 1.5″ apart for screws |
Install and Test the Ignition System Safely
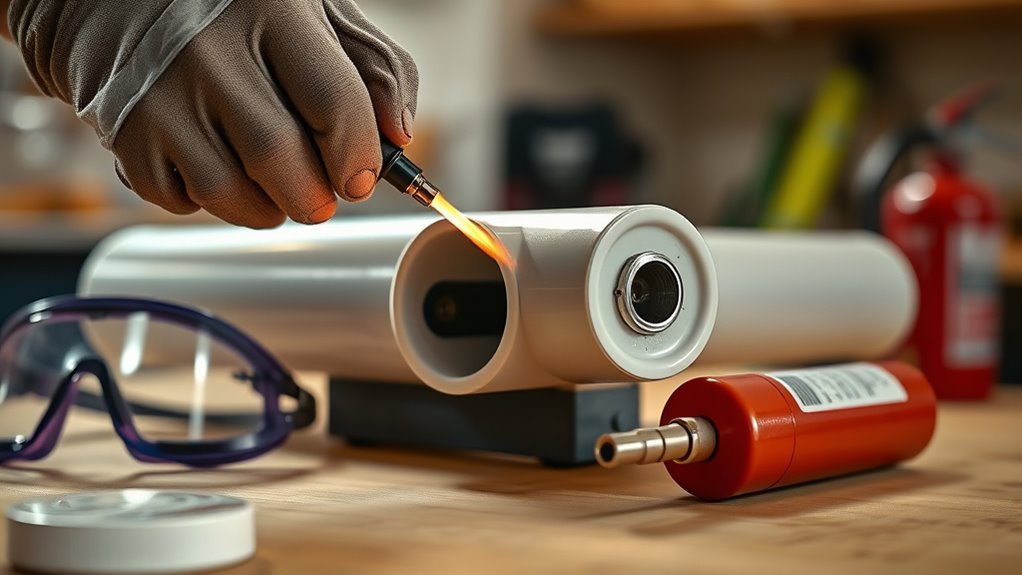
After the barrel and combustion chamber are securely glued and cured, focus on installing the ignition system. Drill two holes at a 45° angle, 1.5 inches apart, near the back of the combustion chamber to insert the spark ignitor wires.
Insert the grill ignitor or spark generator into the holes, securing it with electrical tape so the wires hang centered inside the chamber. Connect the ignitor wires to the screws, ensuring proper contact, and cover any exposed wiring with electrical tape to avoid shocks.
Secure the ignition switch or ignitor assembly on the outside, keeping the wiring untwisted and accessible. Finally, test the ignition system by pressing the trigger inside the chamber to make sure a spark can ignite the propellant safely before firing.
Load the Potato Cannon and Add Propellant Carefully
Although loading the potato cannon requires careful attention, you can do it quickly and safely by pushing the potato snugly into the barrel without letting it extend too far into the chamber.
Make certain the potato fits tightly to create a good seal for maximum pressure.
Next, unscrew the back cap of the combustion chamber to access the propellant area.
Spray 3-4 seconds of hairspray or a similar aerosol propellant into the chamber—this will fuel the combustion.
Immediately screw the cap back on tightly to seal the chamber and trap the propellant inside.
By handling the potato and propellant carefully, you guarantee the cannon operates safely and effectively.
Secure the Chamber Cap and Aim Your Potato Cannon
First, make sure you tighten the chamber cap securely by hand, then use a wrench to prevent any leaks.
Always point your cannon in a safe direction and check that no one is in the line of fire before aiming.
Use a level or straight edge to align your shot and stabilize your stance for better accuracy.
Taking these steps will help you shoot safely and more precisely every time.
Tighten Chamber Cap
Before you fire your potato cannon, make sure the chamber cap is screwed on tightly to prevent any pressure leaks. Check that the threads on the chamber cap are clean and properly aligned before you tighten it.
Use your hand or a wrench to securely tighten the chamber cap, but avoid over-tightening to prevent damaging the threads. A firmly secured chamber cap keeps the pressure contained, ensuring your potato cannon fires safely and effectively.
Always aim your cannon in a safe direction only after confirming the cap is fully tightened. Regularly inspect the chamber cap for wear or damage, replacing it if needed to maintain a secure seal.
This simple step helps keep your spud gun reliable and safe every time you shoot.
Proper Aiming Techniques
Once you’ve securely tightened the chamber cap, it’s time to focus on aiming your potato cannon safely and accurately. Proper aiming starts with establishing stability. Position yourself with a solid stance, either bracing the cannon against your shoulder or a firm surface.
This stability helps you control recoil and improves your shot precision. Always keep the barrel pointed in a safe direction, especially while adjusting your aim. Before firing, confirm the area is clear and all safety measures are in place to avoid accidents.
Practice aiming with the cannon unloaded first to build consistency and confidence. By prioritizing proper aiming and stability, you’ll guarantee safer, more accurate shots every time you use your potato cannon.
Safety Positioning Guidelines
Although securing the chamber cap might seem straightforward, you must tighten it completely to prevent any accidental discharges when firing your potato cannon. Safety starts with making sure the cap is firmly in place before you proceed.
Next, always aim your cannon in a safe, open area away from people, animals, and property. Point the barrel in a safe direction—never at yourself or others.
Maintain a stable stance and hold the cannon securely to keep control during firing. Remember to wait at least 24 hours after gluing parts so all fumes dissipate, ensuring the assembly is safe to use.
Fire the Potato Cannon and Adjust for Best Performance
Now that your cannon is loaded and aimed, it’s time to fire it safely in an open area by igniting the propellant with the ignitor button. If it doesn’t launch, check the spark and adjust the hairspray amount before trying again after a short wait.
Keep track of your results to fine-tune the spark, propellant, and barrel setup for the best performance. This way, you’ll get the most out of your potato cannon every time.
Safe Firing Practices
Before firing your spud gun, make sure you always point it in a safe direction and keep your face and body clear of the barrel.
Safe firing starts with proper preparation: use 3-4 seconds of hairspray as your propellant, adjusting the amount to get consistent ignition and ideal shot distance.
Always check that your spark ignitor produces a visible spark before pulling the trigger to guarantee reliable ignition.
After each shot, wait at least 7-10 minutes to let residual fumes dissipate, reducing the risk of misfires.
Fine-tune the propellant amount and the potato’s tightness in the barrel to balance velocity and safety.
Spark and Propellant Adjustment
Once you confirm your spark ignitor consistently produces a visible spark, you’ll want to adjust the hairspray amount sprayed into the chamber to optimize both ignition reliability and projectile velocity. Start by spraying the propellant for about 3-4 seconds, then test fire.
Use trial and error to find the perfect balance—too little propellant weakens the launch, while too much risks over-pressurizing the chamber. Always make certain your spark generator’s connections are tight and the spark timing is consistent for reliable ignition.
- Check spark consistency before each test fire to avoid misfires.
- Adjust propellant incrementally to fine-tune performance.
- Maintain all electrical contacts for steady spark delivery.
This method ensures your potato cannon fires safely and powerfully every time. Just take it step by step, and you’ll get the hang of it in no time!
Troubleshooting Launch Issues
After you’ve fine-tuned the spark ignitor and adjusted the propellant amount, it’s time to fire the potato cannon and see how it performs. First, make sure the spark ignitor is producing a clear spark before ignition.
If the cannon misfires or has weak launches, check for leaks by tightening all screws and fittings securely. Leaks reduce pressure, which causes poor performance.
Be careful when adjusting the amount of hairspray propellant. Too much can cause misfires, and too little lowers power.
Also, confirm you waited at least 24 hours after gluing the PVC parts. This helps avoid weak seals and prevents fumes from affecting combustion.
Try conducting small test launches to fine-tune both the spark ignitor and propellant amount. That way, you’ll ensure safe and consistent firing every time.
Troubleshoot Common Potato Cannon Issues and Safety Tips
If your spud gun isn’t firing properly, start by checking that all PVC joints are securely glued and cured for at least 24 hours. This helps prevent leaks that could cause misfires or accidents.
Also, inspect the PVC pipe for cracks or damage and make sure all fittings are tight to keep things safe. Don’t forget to confirm the spark ignitor contacts and wiring are secure and well insulated to avoid electrical failures.
Use the right amount of propellant—about 3-4 seconds of hairspray—to prevent pressure buildup or misfires. And always point the cannon in a safe direction.
If it doesn’t fire, wait 7-10 minutes before trying again so any fumes can clear out.
- Confirm all PVC joints are properly glued and cured
- Check wiring and spark ignitor contact
- Use proper propellant amounts and observe safety protocols
Frequently Asked Questions
How to Make a Potato Cannon in Create?
You gather PVC pipes, cut them to size, and smooth edges. Then, you drill holes for the ignitor, glue fittings, and let them cure.
Next, you load a potato, add propellant, and cap it. Make sure to aim safely before you ignite to fire.
It’s pretty straightforward once you get the hang of it. Just take your time with each step!
Which Potato Cannon Is the Most Powerful?
If you want the cream of the crop, the most powerful potato cannon uses a long barrel, a large-diameter PVC pipe, and a high-pressure combustion chamber.
You’ll see potatoes fly faster than a bat out of hell! It’s seriously impressive to watch.
How Far Will a Potato Cannon Shoot?
You can expect your potato cannon to shoot potatoes over 100 yards if you optimize barrel length and use enough propellant like hairspray.
Make sure you guarantee a tight seal, too. That really makes a difference.
Also, consider factors like launch angle, wind, and potato size. They all play a role in how far your potato will fly.
Conclusion
Now that you’ve built your spud gun, imagine launching a perfectly cooked potato right into your backyard target with just a quick pull of the trigger. It’s a thrilling experience that makes all the effort worth it.
Like Jake, who crafted his first potato cannon last summer and spent hours tweaking his aim and fuel to wow friends safely. You’ll find it’s all about practice and care to get the best results.
Stick to safety tips, and you’ll enjoy endless fun with your homemade potato cannon. Building and using your spud gun responsibly ensures everyone stays safe while having a blast.
With a bit of patience and attention to detail, your potato cannon will become a favorite backyard activity. So go ahead, launch those potatoes, and have fun with your spud gun potato cannon!