How to Build a Potato Gun in 7 Easy Steps
To build a potato gun in 7 easy steps, first gather pressure-rated PVC pipes, adapters, and a grill ignitor. These materials are essential for making a strong and safe potato gun.
Next, cut and smooth the pipes to ensure safe handling and a snug fit for the potato.
Drill holes to install the spark ignitor, then glue the barrel and combustion chamber securely. This step is crucial to prevent leaks and ensure everything stays in place during firing.
Load the potato, spray propellant inside, and tightly cap the chamber. Make sure everything is sealed well before moving on.
Finally, aim safely and ignite to fire.
If you want to guarantee safe, consistent shots and avoid common issues, there’s more to explore. Building a potato gun can be fun and rewarding, but safety should always be your top priority!
Key Takeaways
- Gather 2-inch and 4-inch diameter PVC pipes, adapters, screw caps, and a grill ignitor for ignition setup.
- Cut and file the 2-inch barrel pipe for smooth potato loading and ensure all edges are burr-free.
- Drill two 45° angled holes 1.5 inches apart on the 4-inch chamber pipe for the ignition screws.
- Glue the barrel securely to the combustion chamber using PVC primer and cement; allow 24 hours to cure.
- Insert the potato, spray hairspray as fuel, tightly screw on the cap, and ignite safely aiming away from people.
Choose PVC Pipes and Materials for Your Potato Gun
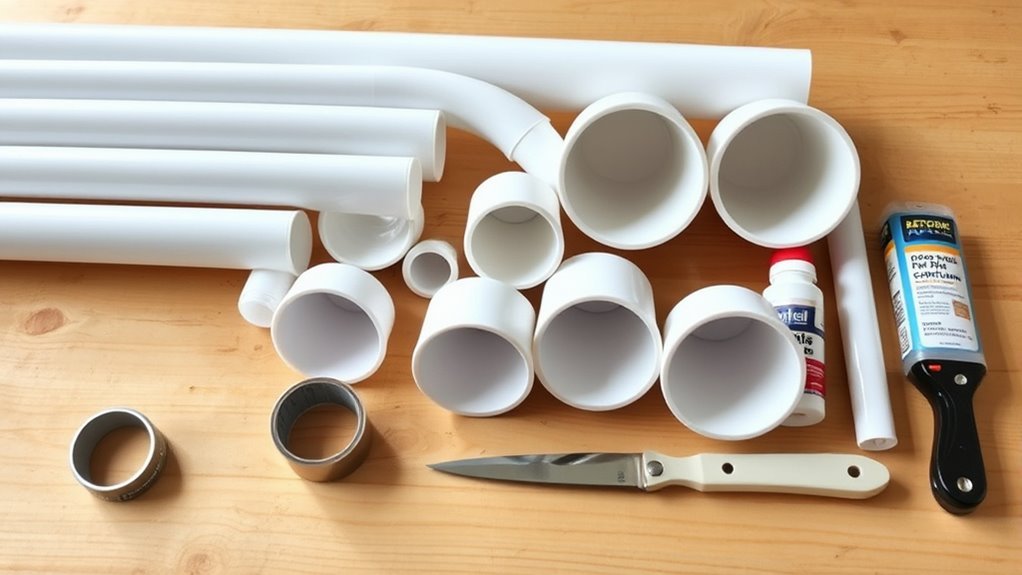
Before you begin assembling your potato gun, you’ll need to gather the right PVC pipes and materials to make certain it functions safely and effectively. Use 37 pieces of 2-inch diameter PVC pipe and 10 pieces of 4-inch diameter PVC pipe for the main structure.
You’ll also need PVC adapters, screw caps, and a grill ignitor for ignition. Make sure all PVC pipe parts are compatible and rated for pressure to avoid accidents.
For the ignitor, drill two holes in the 4-inch PVC pipe at a 45° angle, spaced 1.5 inches apart, with the tips nearly touching. This precise positioning guarantees secure mounting.
Filing down one end of the 2-inch PVC pipe will make loading potatoes easier, so keep that in mind when preparing your materials.
Cut and Smooth the Potato Gun Pipes
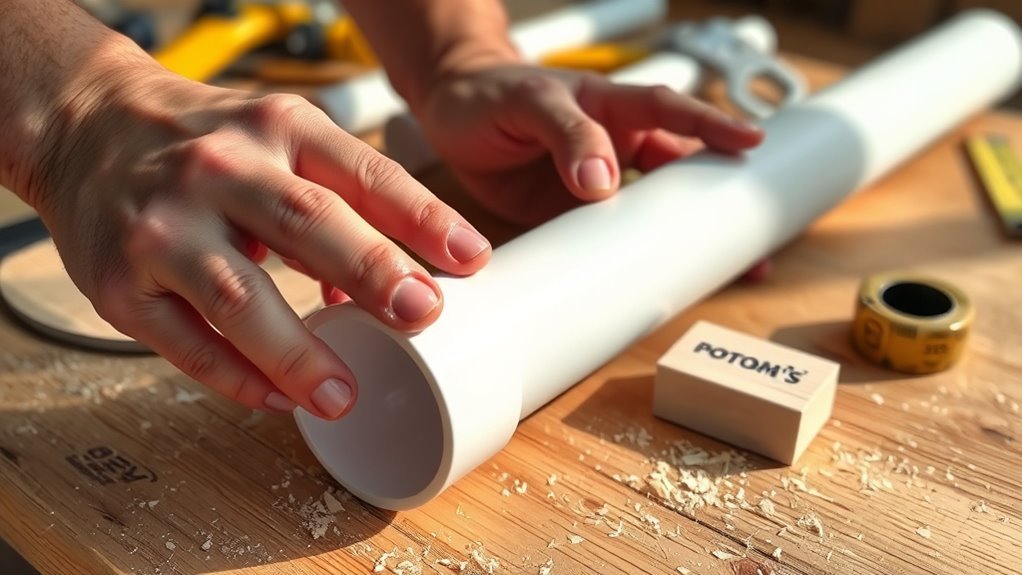
Once you have your PVC pipes and materials ready, the next step is to cut them to the proper lengths. If you’ve never built one before, precise cuts and smooth edges are essential for a safe, functional potato gun.
Use a hacksaw or PVC pipe cutter to get clean, straight cuts. Then, smooth the edges to avoid burrs that could damage seals or cause injury.
Focus on these key steps:
- File one end of the 2-inch pipe to taper it, making it easier to insert the potato snugly.
- Sand or file all cut edges to round off sharp bits.
- Clean the surfaces with solvent or primer before gluing to guarantee airtight bonds.
These steps set the foundation for a reliable build. It might seem like a lot, but taking your time here really pays off in the end.
Drill Holes and Install the Spark Ignitor
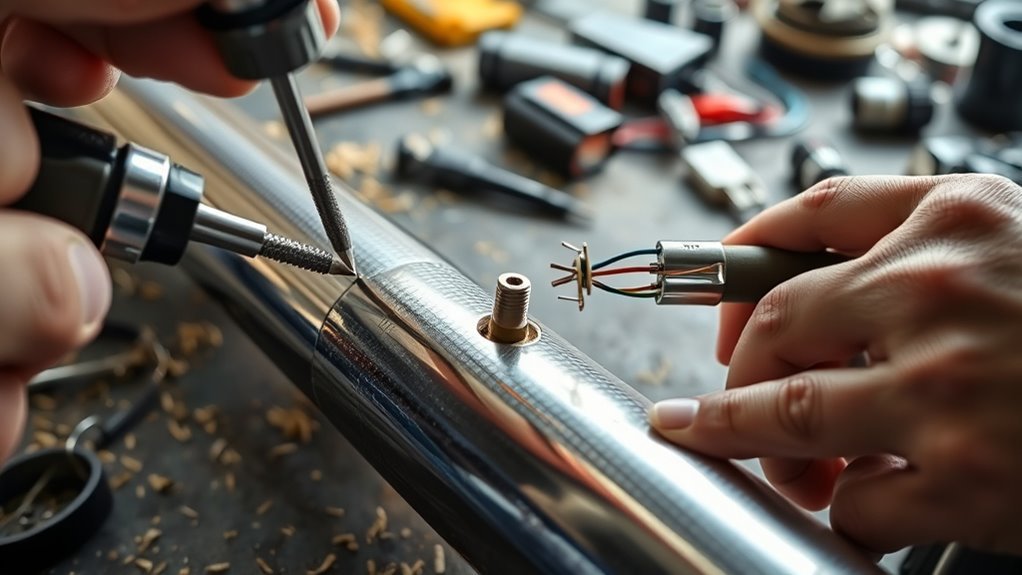
You’ll need to drill two precise holes at a 45° angle, spaced 1.5 inches apart, to fit the screws securely.
Make sure the holes are clean before installing the screws and attaching the ignitor wires.
Proper wiring and solid contact are key to getting a reliable spark every time.
Hole Placement Precision
Although drilling precise holes may seem tricky, getting their placement right is vital for your potato gun’s spark ignitor to work reliably. You need to drill two holes at a 45° angle, just 1.5 inches apart, with their tips nearly touching on the 4-inch PVC pipe.
This guarantees the screws you install will contact the ignitor wires securely, creating a reliable spark.
To achieve this precision, follow these steps:
- Use a drill bit designed for PVC to make clean, smooth holes without cracking the pipe.
- Align holes carefully to allow screws to sit with a small gap between their tips for effective sparking.
- Connect grill ignitor wires firmly to the screws, ensuring good contact and insulation to prevent misfires.
Screw Installation Tips
Drilling the holes at the right angle and distance sets the stage for proper screw installation. Drill two holes at a 45° angle, 1.5 inches apart, with tips nearly touching.
Use a drill bit matching your screw size to ensure a snug fit. Insert the screws so their tips have a small gap to allow sparking.
Attach the grill ignitor wires securely to the screws, soldering if needed for solid contact. Finally, insulate the connections with electrical tape to prevent shorts.
| Step | Detail |
|---|---|
| Hole Angle | 45° |
| Distance Apart | 1.5 inches |
| Drill Bit Size | Matches screw size |
| Screw Gap | Small, for sparking |
| Insulation | Electrical tape on connections |
Ignitor Wiring Guide
When installing the spark ignitor, start by drilling two holes near the end of the 4-inch PVC pipe at a 45° angle, spaced 1.5 inches apart. Insert the grill ignitor into these holes, making sure the tips nearly touch to form the spark gap.
Secure it firmly with screws, guaranteeing the wire contacts attach properly for good electrical contact.
Follow these steps for reliable ignition:
- Solder or securely attach ignitor wires to the screw terminals.
- Insulate the connections with electrical tape to avoid short circuits.
- Test the ignitor by pressing its button to confirm a strong spark before final assembly.
This wiring guide ensures your potato gun ignitor works safely and effectively. Just take your time with each step, and you’ll be good to go!
Glue and Assemble the Barrel and Chamber
How do you guarantee a strong, airtight connection between the barrel and chamber? Start by applying PVC primer to all surfaces that will join. This step cleans and prepares the plastic, ensuring a solid bond.
Next, use PVC cement to glue the barrel to the chamber, aligning them carefully for a tight fit. Practice on scrap pieces first to perfect your technique and avoid leaks.
After gluing, leave the cap off and wait at least 24 hours for fumes to clear completely. Check all joints to confirm they’re fully cured and free of excess cement before moving forward.
| Step | Material Needed | Tip |
|---|---|---|
| Primer Application | PVC Primer | Apply evenly, no skipping |
| Gluing | PVC Cement | Align parts before bonding |
| Curing | None | Wait 24 hours, cap off |
Assemble and Attach the Trigger and Grip
Although assembling the trigger mechanism and fore-grip separately takes some patience, it guarantees a secure and functional setup. Start by putting these components together independently, making sure all parts fit properly and align perfectly.
Assembling the trigger and fore-grip separately ensures a secure, well-aligned, and reliable setup.
Once assembled, attach them firmly to the PVC body using screws or suitable fasteners. Check that the grip feels comfortable and the trigger is easy to reach.
Focus on these key points:
- Confirm all parts are tightly fastened to avoid wobbling or misfires.
- Test the ergonomics for comfortable handling and quick trigger access.
- Double-check every connection before moving on to the next step.
Taking your time with this careful assembly really pays off. It ensures your potato gun will perform reliably and safely.
Safely Load the Potato and Add Propellant
Before loading your potato gun, make sure you insert the potato carefully using a broomstick or similar tool. This helps guarantee it doesn’t extend more than 2 inches into the chamber for a proper seal and safe operation.
Once the potato is snugly in place, spray 3-4 seconds of hairspray into the chamber to serve as your propellant. Then, screw the cap on tightly by hand to avoid any leaks or misfires.
Always aim the cannon in a safe direction before proceeding. Also, check that the propellant is evenly distributed inside.
If your shot doesn’t fire, wait at least 7-10 minutes before trying again. This lets any leftover propellant dissipate safely.
Following these steps guarantees safe and effective loading every time.
Fire Your Potato Gun and Troubleshoot Issues
Once you’ve confirmed the potato is properly loaded and the propellant is in place, you can ignite your potato gun by pressing the grill ignitor. Make sure the ignitor produces a spark and the wires are firmly connected.
Confirm the potato and propellant are set, then ignite the potato gun with the grill ignitor spark.
If it doesn’t fire, check these key points:
- Verify the potato isn’t pushed more than 2 inches into the chamber to avoid misfires.
- Ensure you sprayed 3-4 seconds of hairspray for sufficient propellant and that the cap is tightly secured to maintain pressure.
- If misfires persist, wait 7-10 minutes before trying again to let residual fumes or moisture clear.
Following these steps will help you fire your potato gun safely and troubleshoot common issues effectively.
Frequently Asked Questions
How Fast Can a Potato Gun Shoot?
A potato gun can shoot potatoes between 60 to 150 miles per hour, depending on your design and propellant. With careful adjustments, you can reach speeds over 100 mph.
But hey, always prioritize safety when experimenting. It’s fun to see how fast you can go, just make sure you’re being careful!
How Does a Potato Gun Work?
Imagine Leonardo da Vinci firing a potato cannon: you ignite fuel inside a sealed chamber. This creates high-pressure gas that rapidly pushes the potato down the barrel.
It’s like converting energy into a fast, flying projectile you control. Pretty cool, right?
How to Make a Potato Cannon in Create?
You design your potato cannon using PVC pipes and make sure to secure all the connections with cement. Adding a spark ignitor inside the chamber is key for ignition.
Next, drill angled holes for screws to keep everything firmly in place. Then, you assemble the whole thing carefully.
Finally, test your potato cannon using hairspray as fuel and potatoes as ammo. This helps you check if it fires properly and safely.
Conclusion
Now that you’ve built your potato gun, you might wonder if it really works as powerfully as some say. The truth is, with the right materials and careful assembly, your potato gun can launch spuds impressively far.
Just remember, safety comes first—always double-check your connections and never aim at people or animals. It’s super important to keep safety in mind every time you use your potato gun.
Have fun experimenting with different potato sizes and fuel types. Don’t be surprised if your potato gun becomes the highlight of your next backyard gathering!
Building and using a potato gun is a fun DIY project that combines creativity and science. With proper care and attention, your homemade potato gun will perform well and provide hours of entertainment. So get ready, stay safe, and enjoy your powerful potato launcher!