How Do You Make a Gun in 10 Essential Steps?
To make a gun in 10 essential steps, you first design precise blueprints and choose quality materials like steel and aluminum. These materials are key to ensuring durability and performance.
Then, you machine critical parts to exact measurements and apply corrosion-resistant finishes. This helps the gun last longer and work smoothly.
Next, assemble components carefully, conduct safety checks, and test for accuracy at a range. Each step is important to guarantee the gun works reliably and safely.
Maintain strict quality control throughout manufacturing and troubleshoot issues early to avoid problems down the line.
Following these steps sets a strong foundation for building a dependable firearm. Keep exploring to uncover the full process and expert tips that can help you master gun making with confidence.
Key Takeaways
- Design accurate blueprints and select high-quality materials like 4140 steel and corrosion-resistant alloys for critical gun components. These choices really make a difference in the final product’s durability and performance.
- Machine parts precisely using CNC tools and calibrated measuring instruments to maintain tight tolerances and ensure proper fit. Precision here is key to making sure everything works smoothly.
- Assemble components carefully, verifying correct alignment, headspace, and installation of safety mechanisms before function testing. Taking your time during assembly helps avoid problems later on.
- Apply protective surface treatments such as bluing or Cerakote to enhance corrosion resistance and durability. This step not only protects the gun but also gives it a nice finish.
- Conduct thorough testing of reliability, accuracy, and safety, recording performance data and addressing manufacturing defects promptly. Testing is where you confirm everything is working as it should.
Overview of the Firearm Manufacturing Process
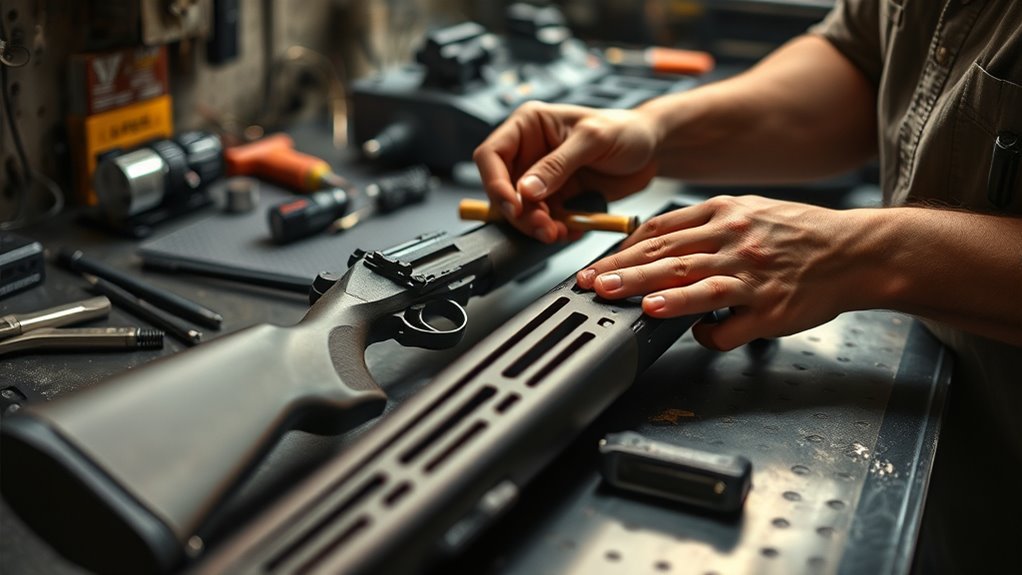
Although the firearm manufacturing process involves many complex steps, it starts with designing precise blueprints and specifications for each component. You rely on these blueprints to guide every stage, ensuring each part fits perfectly.
The foundation of firearm manufacturing lies in meticulous blueprints that ensure every component fits flawlessly.
Next, machining takes center stage—using high-precision tools, you shape critical components like the receiver, barrel, and trigger. This precision guarantees interchangeability and accuracy, which are crucial for safety and performance.
After machining, you move to assembly, where parts are carefully fitted and secured, often with specialized jigs and fixtures. This step maintains tight tolerances, ensuring the firearm functions reliably.
Each stage depends on the previous one’s accuracy, so following the blueprints closely and executing machining and assembly perfectly is essential for creating a safe, reliable firearm.
Selecting Raw Materials for Firearm Making
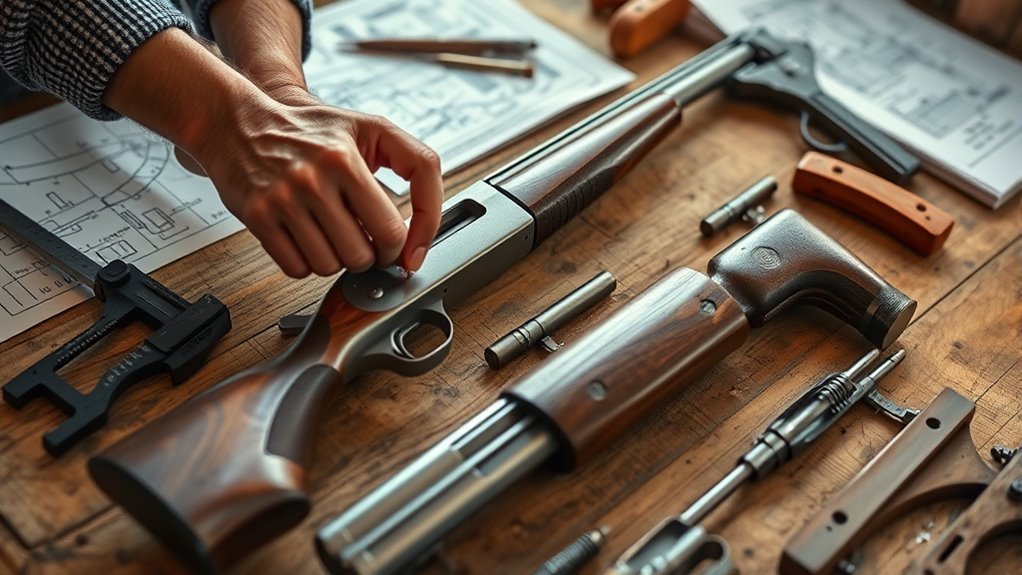
Choosing the right raw materials is one of the most important steps in firearm making. You need to select high-quality steels like 4140 or 4150 for barrels and receivers due to their strength.
Corrosion-resistant materials such as stainless steel or coated metals help guarantee longevity and reduce maintenance. Using appropriate alloys like aluminum for stocks and polymer composites for grips balances weight and durability.
Always source raw materials from reputable suppliers and verify they meet industry standards like ASTM or SAE to assure safety and performance.
| Component | Recommended Raw Material |
|---|---|
| Barrel/Receiver | 4140 or 4150 Steel |
| Exterior Parts | Stainless Steel or Coated Metal |
| Stocks/Grips | Aluminum or Polymer Composites |
Machining Firearm Parts to Precise Measurements
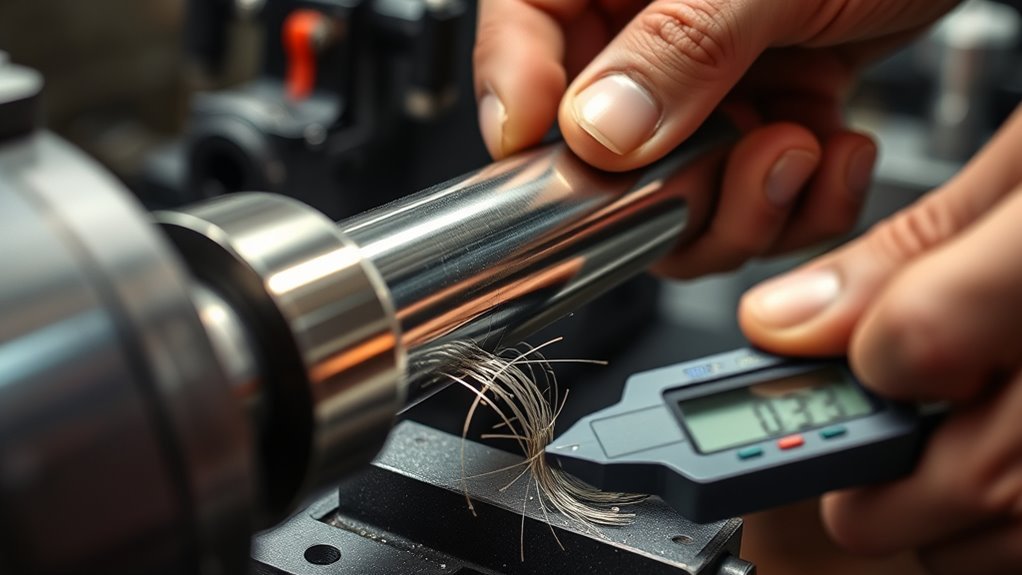
You’ll need precision measurement tools like micrometers and calipers to guarantee each part fits within tight tolerances, often just thousandths of an inch. Understanding these limits is key to achieving parts that are interchangeable and function flawlessly.
While CNC machines handle most shaping, some components still require expert hand fitting for a perfect finish. It’s all about that extra attention to detail.
Precision Measurement Tools
When machining firearm parts, you need precision measurement tools like calipers and micrometers to guarantee every component fits perfectly. Calipers let you measure internal, external, and depth dimensions, making them versatile for various parts.
Micrometers provide even finer accuracy, often down to 0.0001 inches. This level of precision is vital for critical components where precision matters most.
To maintain consistent accuracy, you must regularly perform calibration on these tools. This guarantees your measurements remain reliable throughout the machining process.
Using digital or dial indicators alongside calipers and micrometers can further help verify proper alignment during fitting. By relying on these precision measurement tools and keeping them calibrated, you ensure each firearm part meets exact specifications for safe and effective assembly.
Tolerances and Interchangeability
Although machining firearm parts demands exceptional precision, maintaining tight tolerances within thousandths of an inch guarantees each component fits and functions correctly. You rely on these precise tolerances to achieve interchangeability, guaranteeing parts from different batches work seamlessly together.
Modern CNC machines help hold these tolerances consistently, minimizing variability. Quality control tools, like coordinate measuring machines (CMMs), verify every part meets exact specifications. This precision reduces the need for hand fitting, streamlining production and boosting reliability.
| Aspect | Importance | Tools Used |
|---|---|---|
| Tolerances | Ensures correct fit and function | CNC Machines, CMMs |
| Interchangeability | Enables parts to be swapped easily | Standardized Specs |
| Precision | Minimizes variation and errors | Precision Measuring |
Machine Versus Hand Fitting
Maintaining tight tolerances and interchangeability sets the stage for deciding how to fit firearm parts accurately. You’ll rely on precision machining to produce components with consistent measurements within thousandths of an inch, guaranteeing component accuracy and safety.
However, hand fitting still plays an essential role when slight adjustments or custom finishes are necessary. Consider these key points:
- Precision machining offers repeatability and efficiency, especially for complex parts.
- Hand fitting involves manual shaping and trial-and-error to achieve perfect alignment beyond machining limits.
- Combining both methods ensures reliability while allowing for tailored tweaks.
Making Barrels, Receivers, and Triggers
Because precision and durability are essential, making barrels, receivers, and triggers involves careful machining and specialized techniques. You start by rifling the barrels, cutting grooves inside to impart spin and boost accuracy.
For receivers, you’ll typically forge or machine them from high-strength steel or aluminum blocks. This guarantees they hold up under stress and maintain precise dimensions.
Triggers require casting or machining from metal stock, followed by heat treatment to enhance wear resistance and deliver smooth operation. You’ll rely on CNC machines to cut, drill, and shape these parts with exacting precision.
Finally, you apply surface treatments like bluing or parkerizing to protect against corrosion and ensure longevity. This meticulous process produces reliable barrels, receivers, and triggers critical to firearm performance.
Ensuring Parts Fit and Interchange Properly
After crafting barrels, receivers, and triggers with precision machining and surface treatments, you need to make certain these parts fit together seamlessly. Achieving proper fit and interchangeability means controlling tolerances tightly and applying rigorous quality control throughout production.
Use precision tools like micrometers and gauges to measure parts accurately. Follow standardized specs, such as SAMMI, to ensure components remain compatible and reduce hand-fitting.
Don’t overlook finishing processes—deburring and polishing prevent tight fits or damage during assembly.
- Maintain consistent manufacturing processes to guarantee interchangeability.
- Perform regular quality control checks to catch deviations early.
- Use standardized specifications for uniform dimensions and compatibility.
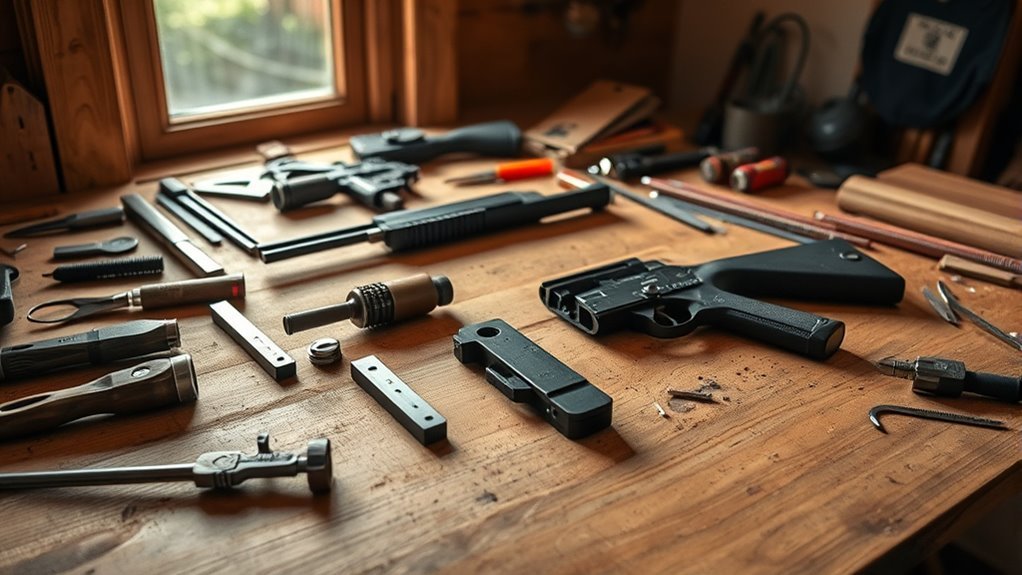
Assembling the Firearm Step by Step
Start by gathering all the essential components—barrel, receiver, bolt, trigger group, and stock. Make certain each part is compatible and clean.
To assemble, begin by joining the receiver and bolt. Follow the manufacturer instructions closely to guarantee proper alignment and smooth function.
Next, install the trigger group and safety mechanisms into the receiver. Confirm they move correctly and fit securely.
Attach the barrel to the receiver using the right tools, like a barrel wrench. This helps maintain proper headspace.
Finally, mount the stock and add any accessories, such as sights or optics.
Before proceeding, perform thorough function checks to verify everything operates as intended. This ensures your firearm is correctly assembled and ready for the next steps.
Maintaining Quality Control During Production
How do you guarantee every firearm part meets the highest standards during production? You focus on strict quality control by integrating precise inspection and calibration steps throughout manufacturing. This assures each component matches exact specifications before assembly.
To maintain consistent quality, you should implement regular inspection checkpoints to catch defects early. It’s also important to use calibrated tools like micrometers and gauges to verify dimensions.
And don’t forget to train your team in proper handling, assembly, and inspection procedures. When everyone knows the right steps, quality stays consistent throughout the process.
Testing Firearms for Safety and Accuracy
Ensuring every firearm part meets strict quality standards sets the stage for safe and accurate testing. Begin by conducting initial safety checks—inspect for proper assembly, chamber clearance, and any obstructions before firing.
Use a controlled environment, like a shooting range, to test the firearm’s accuracy and consistency at varying distances. Fire multiple rounds to evaluate reliability and functionality, watching closely for malfunctions or feeding issues.
Measure shot groupings and pattern spread to gauge accuracy, adjusting sights or optics as needed. Throughout testing, record performance data, including group size and any problems encountered.
This thorough approach ensures your firearm operates safely and meets accuracy standards. It gives you confidence in its performance before moving on to the finishing steps.
How to Finish and Protect Your Firearm
Now that your firearm is assembled and tested, it’s time to focus on finishing and protecting it. You’ll want to remove any surface oils or imperfections before applying a protective coating like bluing, parkerizing, or Cerakote to prevent rust.
Proper maintenance and storage are key to keeping your gun in top condition for years to come. Taking these steps might seem like a hassle, but trust me, it’s worth it in the long run.
Surface Finishing Techniques
Although building your firearm is a complex process, finishing it properly is just as essential to its longevity and performance. Surface finishing techniques like bluing and anodizing create protective oxide layers that resist wear and enhance durability.
You’ll also want to smooth and polish metal parts to reduce friction and improve appearance. It’s all about making sure your firearm not only works well but looks great too.
Focus on these key methods:
- Bluing provides a classic, corrosion-resistant finish through controlled oxidation. It’s a tried-and-true way to protect steel parts.
- Anodizing, ideal for aluminum parts, boosts hardness and corrosion resistance via an electrochemical process. This technique really toughens up your components.
- Polishing and buffing refine surfaces, ensuring smooth operation and a professional look. Plus, it feels better when handling the firearm.
Corrosion Protection Methods
After applying surface finishes like bluing or anodizing, protecting your firearm against corrosion keeps it performing reliably over time. A good protective coating such as parkerizing, bluing, or Cerakote forms a corrosion-resistant barrier.
You also need proper maintenance—clean and dry your firearm thoroughly after each use to prevent moisture buildup that causes rust. Using rust inhibitors or oils like CLP, Break-Free, or Ballistol provides ongoing corrosion protection.
Store your gun in a dry, climate-controlled space with desiccants to minimize corrosion risk. Regular inspections and reapplying protective finishes ensure long-term durability.
| Method | Benefit |
|---|---|
| Protective Coatings | Creates corrosion-resistant surface |
| Rust Inhibitors/Oils | Provides ongoing corrosion protection |
| Proper Storage | Reduces moisture and rust risk |
Troubleshooting Common Manufacturing Challenges
When manufacturing firearms, you’ll face challenges like maintaining proper metal temperatures during forging to prevent cracks and weak spots. Addressing these issues early is key to reliable parts.
Focus on these areas:
- Inspect castings carefully for porosity or inclusions that weaken components.
- Monitor metal temperature closely during forging to guarantee structural integrity.
- Conduct regular inspection for surface flaws and dimensional accuracy to catch errors before assembly.
Also, keep machining precise to maintain part alignment and fit. Make sure stamping or bending processes are consistent to avoid misfires.
Troubleshooting these common manufacturing challenges helps you produce durable, safe firearms while minimizing costly rework and delays. Stay vigilant throughout each step to maintain quality and function.
Frequently Asked Questions
What Is the Process of Making Guns?
You start by designing precise parts, then forge and machine metal components.
Next, you assemble everything carefully, fit the barrel and trigger, and finish with thorough testing.
This is to guarantee the gun functions safely and reliably.
What Are the Steps to Shooting a Gun?
Shooting a gun is like dancing with precision: you load it safely and grip it firmly. Then, you align your sights carefully before moving on.
Next, smoothly squeeze the trigger and release. After that, take a moment to assess your shot.
Always remember to engage the safety. When you’re done, store the firearm securely. Safety first, every time!
What Is the Simplest Gun Ever Made?
The simplest gun ever made is a basic blowgun. You just need a tube and darts to fire projectiles without any complex firing mechanism.
It’s straightforward, silent, and relies purely on your breath power. Pretty neat, right?
Can You Build Your Own Gun?
You can build your own gun, but imagine piecing together tiny, precise metal puzzles under strict laws and safety risks.
Unless you’re skilled and licensed, it’s safer and smarter to buy from trusted manufacturers instead.
Conclusion
Crafting a firearm is like forging a key—each precise cut and careful fit unlocks potential power and responsibility. As you shape metal into function, remember that every step builds more than a tool; it creates a symbol of skill and safety.
Handle each phase with respect and patience, ensuring your creation stands strong and true. This way, it’s ready to serve its purpose with honor and precision.
Your work will be the quiet heartbeat behind every shot fired. Making a gun isn’t just about assembling parts—it’s about craftsmanship and responsibility. When you follow these essential steps carefully, you ensure the firearm is reliable, safe, and effective. So take your time, respect the process, and know that your dedication defines the quality and safety of the finished piece.