How to Build a Rubber Band Gun in 5 Easy Steps
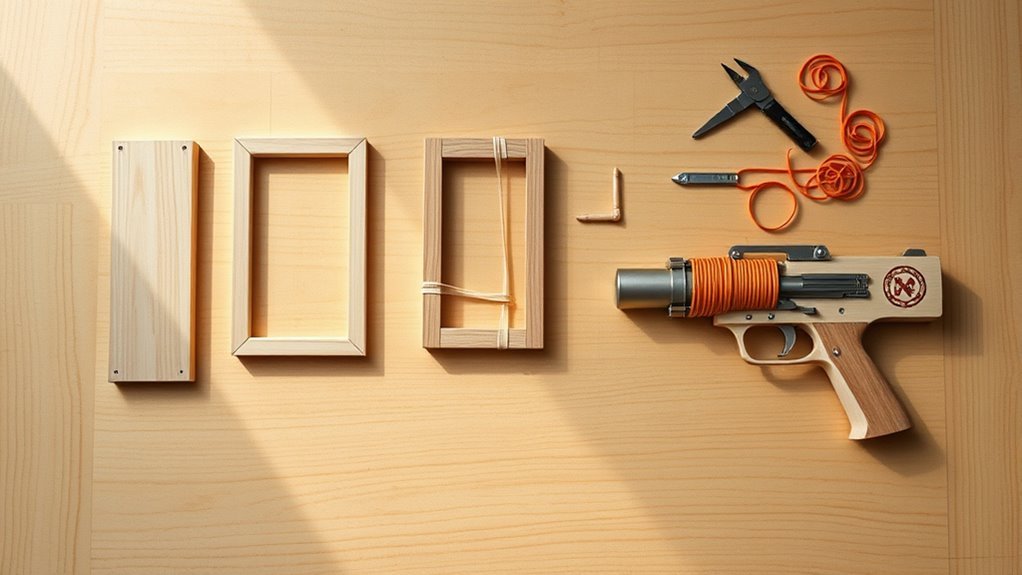
To build a rubber band gun in five easy steps, start by gathering your materials like craft sticks, rubber bands, and glue. These basic supplies will help you create a fun and simple DIY rubber band gun. It’s a great project for kids and adults who want to enjoy a hands-on craft activity.
Next, trace and cut out your gun shape on wood carefully. Sand all edges smooth to avoid splinters.
Then, attach the barrel securely and add a clothespin trigger.
Finally, load rubber bands, test your gun, and practice safe shooting. Keep going to discover tips for improving accuracy and making your design sturdier.
Key Takeaways
– Gather materials like craft sticks, rubber bands, scissors, and hot glue before starting the project.
You’ll want to have everything ready to go so the building process goes smoothly.
– Trace and cut the gun shape from wood using a ruler and saw for precision.
Take your time with this step to make sure your shape looks just right.
– Sand all edges smoothly to prevent splinters and ensure safe handling.
This part is important because you don’t want any rough spots when you’re done.
– Attach the barrel securely with screws and glue a clothespin as the trigger.
Make sure everything is tight and stays in place while you use it.
– Load rubber bands, test the trigger mechanism, and practice shooting at safe targets.
Have fun, but always be careful and aim responsibly!
Gather Materials and Tools to Build Your Rubber Band Gun
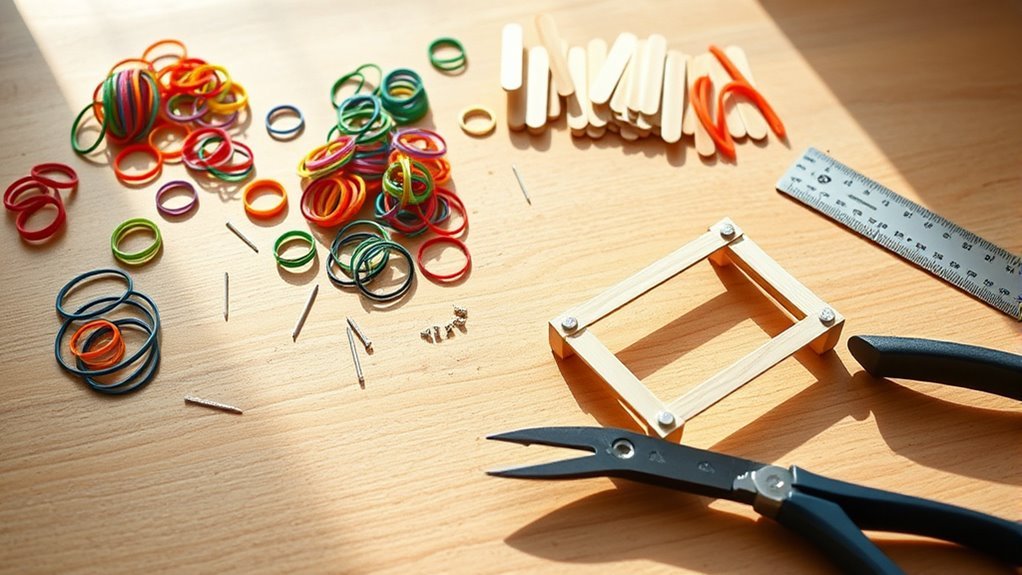
Before you start building your rubber band gun, gather all the materials and tools you’ll need. For a basic version, collect four craft sticks, three small popsicle sticks, rubber bands, scissors, and hot glue.
If you want a more complex wooden model, prepare a 4-foot dowel and 1×8 shelving material. You’ll also need tools like a jigsaw or hand saw for cutting wood, a drill with a hole saw bit to create trigger holes, and clamps to hold parts securely during assembly.
Don’t forget safety equipment such as safety glasses to protect your eyes while cutting or drilling. Having all these materials and tools ready will make your building process smoother and safer. That way, you can focus on crafting a great rubber band gun without any interruptions.
Trace and Cut Out Your Gun Shape From Wood
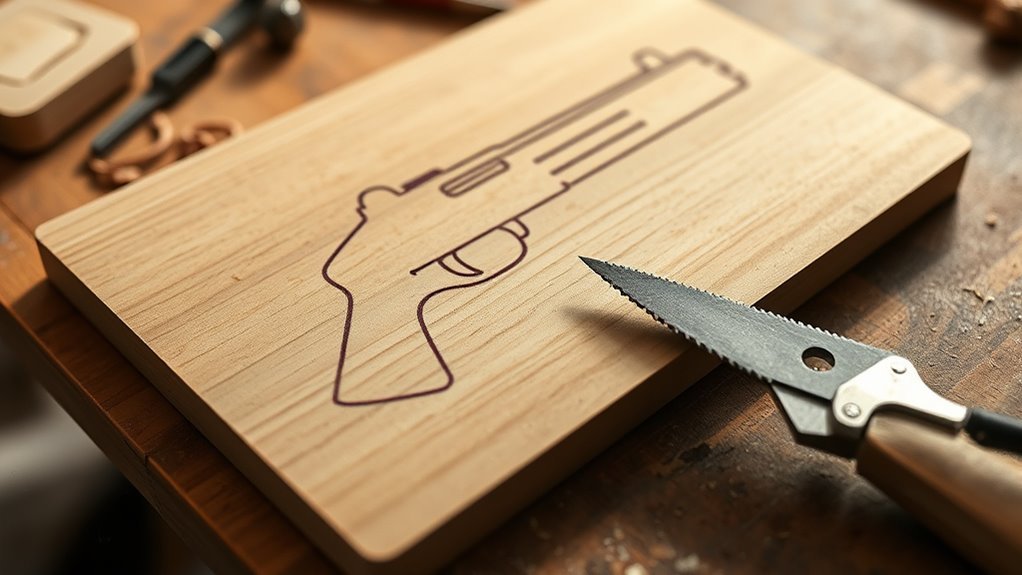
Once you have your design ready, start by drawing the outline of your rubber band gun onto large paper or cardboard, making sure the top remains flat to fit the barrel. Use a ruler or straight edge to keep the lines for the handle and barrel accurate and even.
Next, trace this outline onto a piece of plywood or craft wood using a sharpie or pencil so it’s visible when cutting. Carefully cut out the gun shape with a jigsaw or hand saw, following the lines precisely to maintain a clean edge.
This step is vital for your rubber band gun’s functionality and appearance, so take your time to ensure the shape matches your design perfectly. You’ll be glad you did!
Sand Edges Smooth to Avoid Splinters
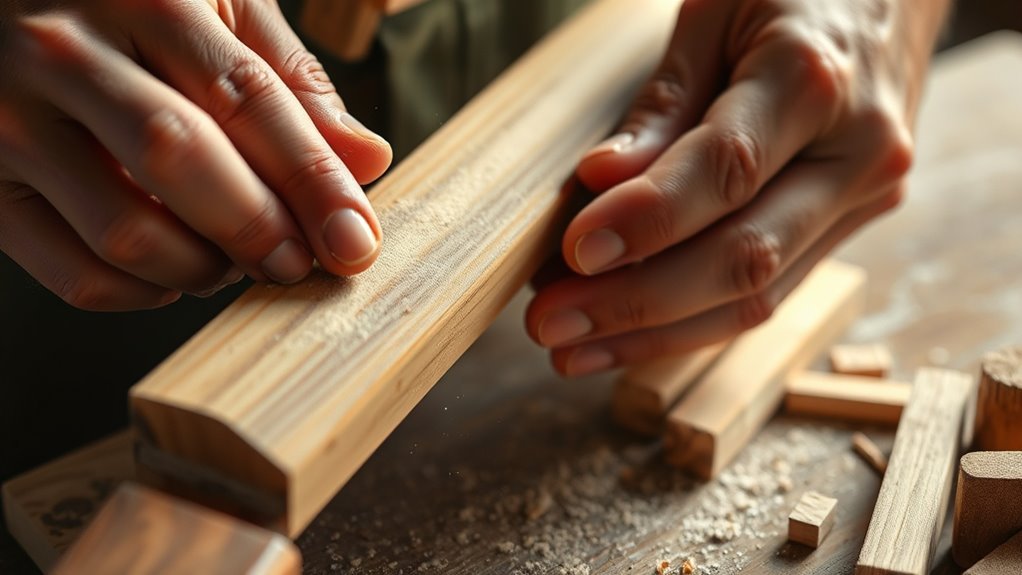
After cutting out your gun shape, the next step is to sand all edges and surfaces thoroughly to eliminate any rough spots or splinters. Use medium grit sandpaper to smooth both the front and back of your wooden pieces.
Pay close attention to edges and corners, as splinters are most likely to form there. Sand in a consistent, circular motion to create an even, smooth finish.
Take your time to check for any rough spots or splinters by running your fingers over the wood. If you find any, just sand those areas again until everything feels safe and smooth.
Proper sanding not only prevents splinters but also makes handling your rubber band gun much more comfortable and enjoyable. So, don’t rush it!
Attach the Barrel and Fix the Trigger Mechanism
While you secure the barrel to the main body with small screws, make sure they’re countersunk so they don’t get in the way of the rubber band’s path. Cut a horizontal slit at the barrel’s tip to create a resting spot for the rubber band, allowing it to launch smoothly.
Next, glue a clothespin to the back end of the barrel or gun body to act as the trigger. Position it so pulling the clothespin releases the rubber band easily. Let the glue dry completely before moving on.
Finally, check all attachment points and the trigger’s pivot action to guarantee the barrel and trigger are firmly fixed and work smoothly. These steps are essential for making your rubber band guns function reliably.
Load Rubber Bands, Test, and Try Safe Shooting Tips
Before you start firing, load a rubber band by stretching it from the barrel notch back to the clothespin trigger. Make sure it fits snugly without being overstretched.
Next, test the tension by gently pressing the clothespin to see if the rubber band launches smoothly and stays in place without slipping off.
When you load rubber bands, always keep them within the barrel and trigger area to avoid jamming or accidental misfires.
Aim only at safe targets like empty cans or paper to prevent injury. Use gentle, controlled pressure on the clothespin trigger for accurate shots.
Frequently Asked Questions
What Rubber Band Gun Is Most Powerful?
The most powerful rubber band gun uses thick, strong bands with a long barrel and a sturdy tension mechanism. You’ll want a solid frame like reinforced wood or plastic and tight, well-aligned bands to maximize shooting force and accuracy.
It’s all about that balance between strength and precision. When the bands are set just right, you get a shot that really packs a punch without losing control. So, focus on quality materials and careful setup for the best results.
How to Shoot a Rubber Band Gun?
To shoot a rubber band gun, pull back the trigger while holding it steady, then quickly release.
Make sure the rubber band is taut and aligned with the barrel for accurate, consistent shots. Aim only at safe targets to keep things fun and safe.
What Are Rubber Band Guns Made Of?
You might be surprised—rubber band guns are made of lightweight materials like craft sticks or wood, with rubber bands for ammo.
Small parts like clothespins or popsicle sticks act as triggers, keeping everything safe and fun to use. It’s pretty cool how simple stuff can come together to make something entertaining!
How to Build a Rubber Band?
You build a rubber band by mixing natural or synthetic rubber with additives. Then, you heat and extrude it into thin tubes or strips.
Once cooled, the bands form flexible loops. These loops are ready for stretching and use.
Conclusion
By now, you’ve gathered your materials, shaped your wood, and attached the trigger—all in just five easy steps. It’s funny how a simple rubber band gun can bring back memories of childhood games while giving you a new project to be proud of.
Now, as you load your first rubber band and take aim, you’ll find that creativity and fun really do go hand in hand. Sometimes, all it takes is a little stretch and snap.
Building a rubber band gun is more than just a craft—it’s a fun way to reconnect with playful moments from the past while honing your DIY skills. Whether you’re sharing it with friends or enjoying solo target practice, this simple project combines imagination, hands-on work, and a bit of friendly competition. So, grab your rubber bands and get ready to enjoy hours of entertainment with your homemade rubber band gun!