How to Make an Elastic Band Gun in 5 Simple Steps
To make an elastic band gun in five simple steps, start by gathering all the materials you’ll need. This includes PVC pipes, connectors, rubber bands, a clothespin, and some basic tools. Having everything ready will make the process smoother and more fun.
Next, shape the base of your gun and attach the trigger using the clothespin at a pivot point. This part is key because the trigger controls how your elastic bands shoot out. Take your time to get it right!
Then, load and secure your rubber bands onto the barrel and trigger. Make sure the bands are tight and ready to fire. You want them to be secure so your elastic band gun works properly every time.
When you’re ready, test it safely by wearing eye protection and aiming at soft targets. Safety first! This way, you can enjoy shooting your homemade elastic band gun without any worries.
Keep going to discover tips for boosting its power and customization. There are plenty of ways to upgrade and make your elastic band gun even cooler!
Key Takeaways
- Cut and assemble PVC pipes using a 45° corner connector to form the gun body and barrel. It’s pretty straightforward once you have the pieces ready.
- Attach a clothespin trigger to a drilled pivot point on the gun body for firing control. This part acts as your firing mechanism, so make sure it moves smoothly.
- Secure elastic bands by hooking them onto notches shaped on the barrel and trigger mechanism. These notches keep the bands in place until you’re ready to shoot.
- Wear safety gear, load the bands properly, aim at safe targets, and squeeze the trigger gently to fire. Safety first—always be careful with your shots!
- Customize with different band sizes, reinforce parts, and personalize the gun with paint or stickers. Make it truly yours by adding your own flair!
Gather Materials and Tools for Your Elastic Band Gun
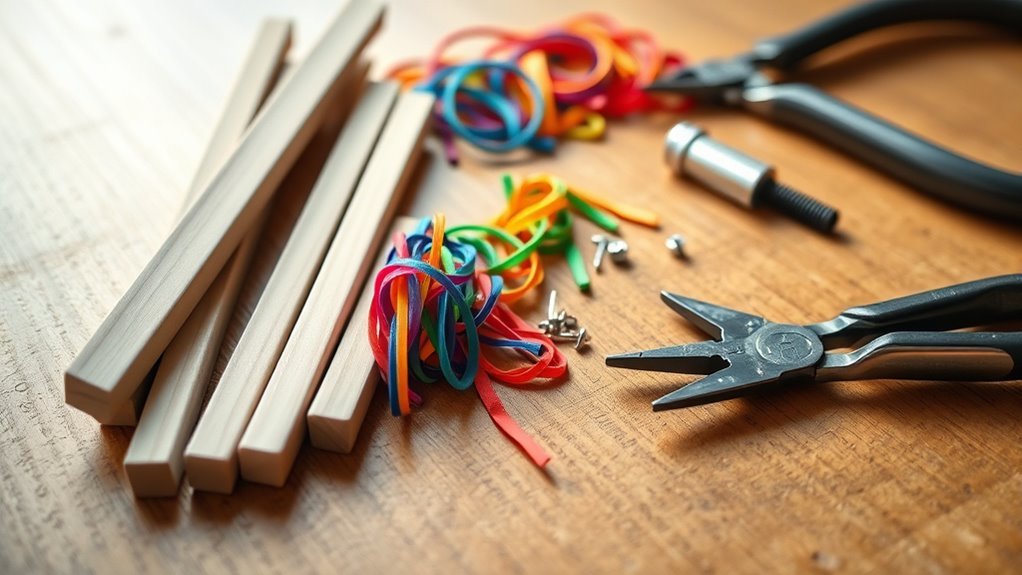
Before you begin assembling your elastic band gun, gather all the necessary materials and tools to guarantee a smooth build. You’ll need a ¾ inch PVC pipe, about 11½ inches long, plus a 4½ inch piece of the same diameter for the main body.
A 45° angle slip corner connector will join these PVC pieces at the right angle. Make sure you have rubber bands for firing and a clothes pin for the trigger.
Essential tools include a rotary tool with a saw tip or a PVC cutter for precise cuts, a glue gun or PVC cement for secure attachments, and a tape measure to ensure accurate sizing.
Don’t forget safety gear like gloves and eye protection while cutting and gluing. Masking tape helps hold parts together during assembly, keeping your build neat and steady.
Shape the Base and Assemble the Trigger Mechanism
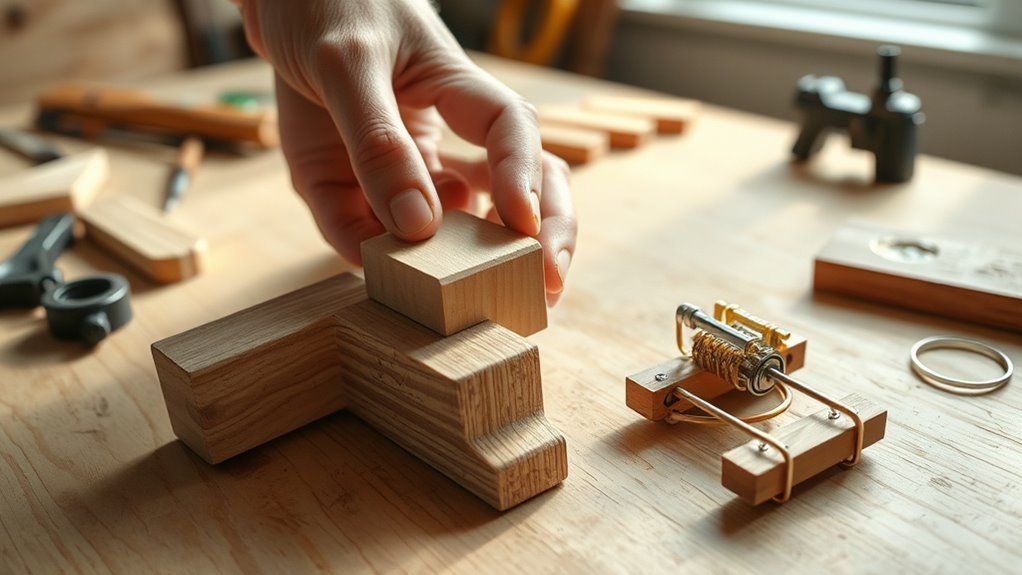
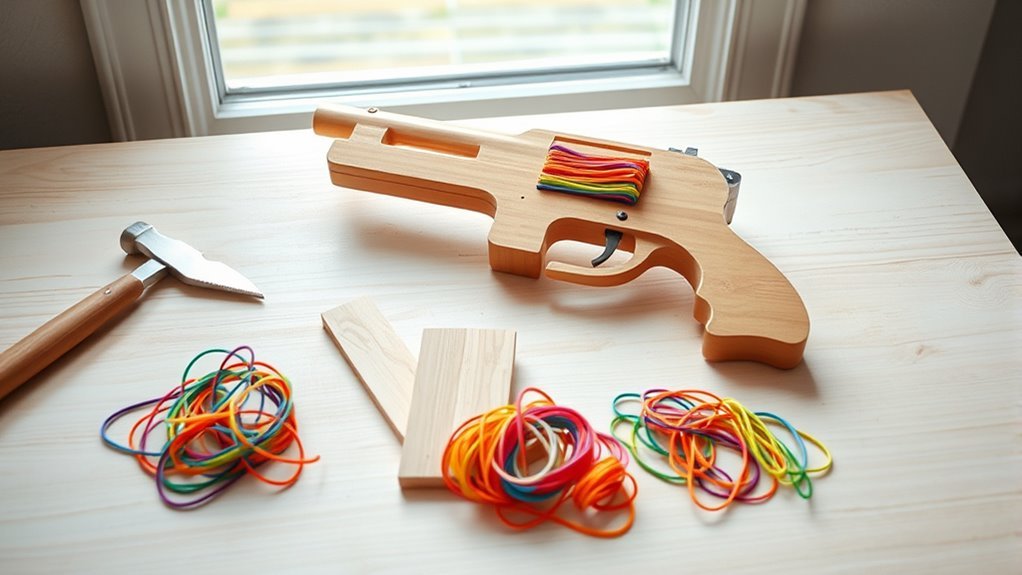
Once you’ve cut the plywood into your desired gun shape, including a handle and barrel, smooth the edges carefully to guarantee safety during use. Next, drill a 1-inch hole at the rear of the gun body; this will serve as the pivot point for the trigger.
To assemble the trigger mechanism, glue a clothespin firmly at the rear, making sure it lines up with the drilled hole. Clamp it in place and let the glue dry completely.
Shape a small notch at the front of the barrel to hold the elastic band securely when loaded. Before moving on, check that the trigger pivots smoothly on its pivot point.
This careful shaping and assembly make sure your elastic band gun works reliably and safely every time you use it.
Load and Secure Elastic Bands on Your Gun
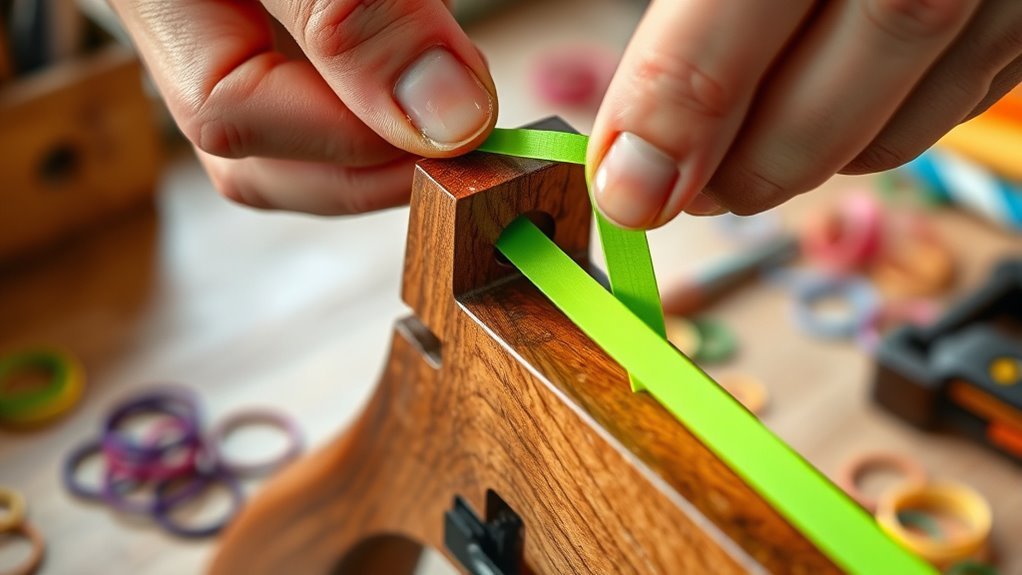
How do you properly load and secure elastic bands on your gun to guarantee it fires smoothly? Start by hooking one end of the elastic band onto the designated notch or hook at the front or top of your gun.
Then, stretch the elastic band back towards the trigger or handle, making sure it stays taut and secure. Next, attach the other end of the elastic band to the notches or trigger mechanism, ensuring it’s firmly in place.
The elastic band should have enough tension to create a ready-to-fire state without slipping. Finally, double-check that the elastic band is securely loaded and stretched properly. Doing this guarantees your gun will fire reliably every time you pull the trigger.
Test, Aim, and Fire Your Elastic Band Gun Safely
While preparing to fire your elastic band gun, always wear safety glasses to protect your eyes from any accidental recoil or misfires. Before firing, check that the rubber band is properly loaded and not overstretched to avoid breakage.
When you’re ready, aim the gun at safe targets like paper or soft objects—never at people or fragile items. Keep your fingers clear of the firing mechanism to maintain safety.
Squeeze the trigger gently to release the band, ensuring controlled firing without sudden jerks. Remember, safety comes first, so never aim at anyone’s face or eyes.
Customize and Improve Your Elastic Band Gun’s Performance
Although your elastic band gun works as is, you can boost its performance and make it truly your own by experimenting with different rubber band sizes, adjusting tension, and reinforcing key parts.
Try varying rubber bands to find the perfect balance between shooting distance and accuracy. Adding a trigger mechanism or modifying the handle can improve firing control and ease of use.
For safer, more effective shots, use lightweight, aerodynamic projectiles like small paper balls or plastic pieces instead of heavy ones. Don’t forget to strengthen your gun’s structure with extra glue or tape to prevent breakage during repeated use.
Finally, customize your rubber band gun’s appearance with paint or stickers to make it uniquely yours while enhancing both function and style. Give it your personal touch and have fun with it!
Frequently Asked Questions
How to Shoot a Rubber Band Gun?
You load a rubber band onto the gun’s notch, pull back the trigger to stretch it, then quickly release the trigger.
Make sure the band is secure and aim safely away from people or fragile items before shooting.
Safety first, right? Always double-check where you’re aiming before you let it fly!
What Are Rubber Band Guns Made Of?
Rubber band guns are usually made of materials like PVC pipes, wood, or plastic. You’ll use rubber bands for tension, and often add triggers from clothespins or small clamps to launch the bands efficiently and safely.
It’s pretty simple stuff, really. Just a few basic materials and you’re good to go!
How to Make a Rubber Band Ball Step by Step?
Start by wrapping a rubber band tightly around a core, like yarn. Add bands in layers, rotating directions.
Keep adding bands until firm and ball-shaped. Compress it gently, smooth uneven spots, then store it safely.
It’s pretty simple and fun once you get the hang of it! Just take your time and enjoy the process.
What Rubber Band Gun Is Most Powerful?
Powerful PVC or wooden rubber band guns pack a punch by pulling thicker, tension-tightened bands. You’ll want longer barrels and sturdy structures to shoot stronger, sharper shots.
Just be sure you handle them carefully to stay safe! It’s all fun and games until someone gets hurt, right?
Conclusion
Now that you’ve built your elastic band gun, you’re ready to hit the bullseye with confidence. Remember, practice makes perfect—so keep testing and tweaking to get the best performance.
Don’t forget to stay safe and have fun while you’re at it. With a little creativity and patience, you’ll turn this simple project into a real showstopper.
So go ahead, take the plunge, and enjoy your new elastic band gun creation. Keep practicing, and soon you’ll be mastering your aim and impressing everyone with your skills!