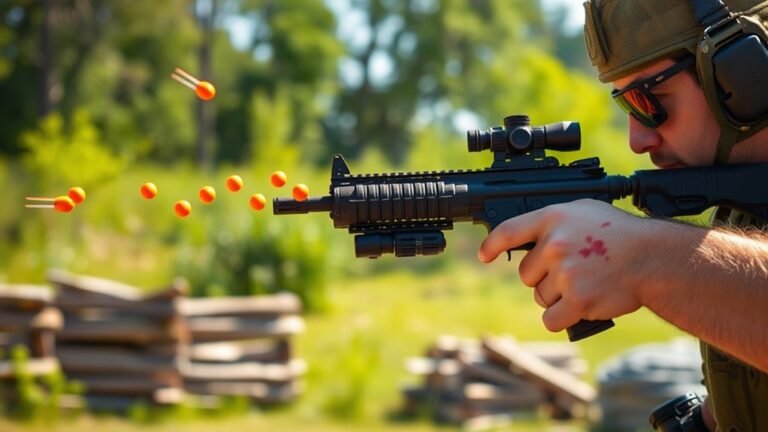
How to Make a Potato Gun in 7 Easy Steps
To make a potato gun in seven easy steps, you’ll need some sturdy PVC pipes, fittings, screws, and a grill lighter ignitor. These materials are key for building a reliable and safe potato gun that shoots well.
Start by cutting the pipes to the right size, then dry fit everything to make sure it fits perfectly. After that, glue the parts securely using PVC primer and cement for a strong hold.
Next, build and install the ignitor by attaching screws to create a spark gap. Test the ignitor safely to make sure it works before moving on.
Charge the chamber with hairspray, then load a snug potato into the barrel. Seal the cap tightly, and you’re ready to fire your potato gun—but always do this with caution.
Keep reading if you want tips to boost your gun’s power and improve safety. It’s all about having fun responsibly!
Key Takeaways
- Cut and prepare PVC pipes: one-foot 1 1/2 inch barrel and eight-inch 2 inch combustion chamber pieces.
- Assemble using PVC primer and cement, ensuring tight, leak-proof joints with proper curing time.
- Install ignitor by drilling holes in the combustion chamber and attaching grill lighter spark wires to screws.
- Charge combustion chamber with hairspray, insert potato snugly into barrel, and seal chamber quickly before firing.
- Always follow safety protocols: aim away from people, wait 24 hours post-gluing, and test ignitor sparks before use.
Gather Materials for Your Potato Gun

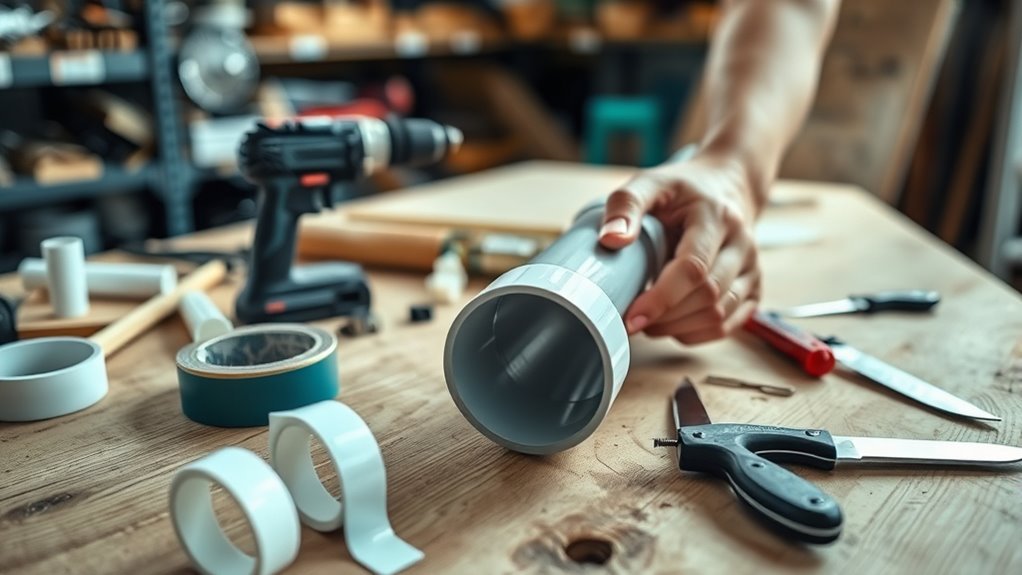
Before you start building your potato gun, gather all the necessary materials to guarantee a smooth assembly. You’ll need two small screws, a 1 1/2 inch PVC pipe cut to one foot, and a 2 inch PVC pipe cut to eight inches.
Gather your screws and PVC pipes first to ensure a smooth start to building your potato gun.
Make sure all PVC pipes are durable schedule 40 or 80 for safety and longevity. You’ll also want a coupling reducer (2 inches to 1 1/2 inches), PVC primer, cement, and a grill lighter ignitor.
Don’t forget fittings like a female adapter, plug, and couplers to connect the chamber and barrel securely. Finally, gather tools such as a hacksaw for cutting, sandpaper or a utility knife to smooth edges, and a drill for creating holes.
Having everything ready makes the build easier and safer. It really helps to have all your materials and tools at hand before you dive in!
Cut PVC Pipes to the Right Sizes

When you cut the PVC pipes to the right sizes, accuracy is key to ensuring your potato gun assembles correctly. Start by measuring the 1 1/2 inch PVC pipe and cutting it into one-foot segments for the barrel.
Next, cut the 2 inch PVC pipe into eight-inch pieces for the combustion chamber. Use a chop saw or hacksaw for clean cuts, and make sure to remove burrs with sandpaper for a smooth finish.
Before you glue anything, unscrew the cap and look down the barrel to confirm fit. Use PVC female fittings as needed.
While cutting, keep in mind that proper sizing helps your DIY potato gun work safely when you load hairspray into the chamber. If you’ve never built one, this step sets a solid foundation to make a potato launcher that’s reliable and fun.
Dryfit and Glue Potato Gun Parts Securely
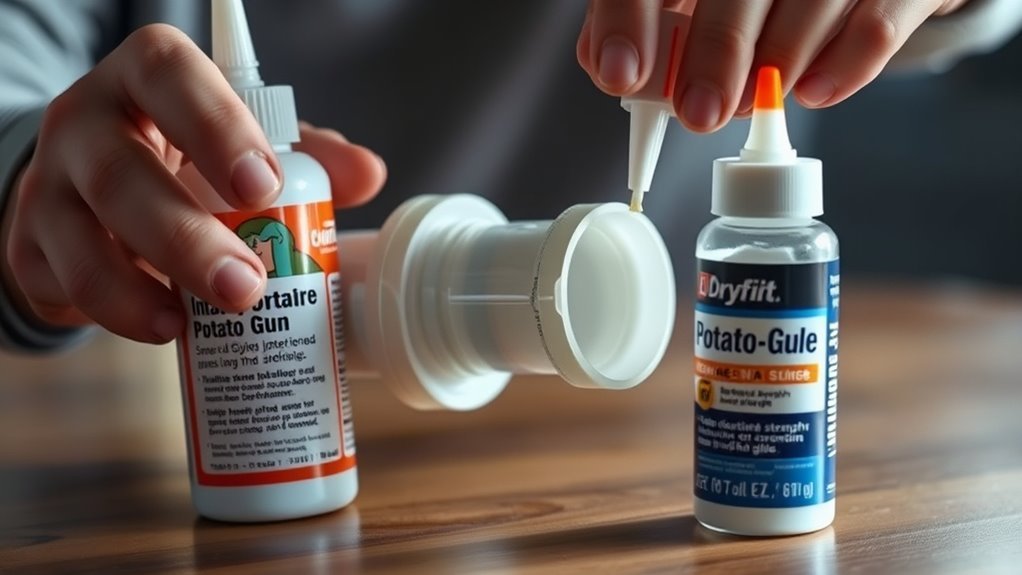
Although it might be tempting to glue your potato gun parts immediately, you should dry fit them first to make sure everything lines up perfectly. Temporarily assemble all PVC pieces without glue to check for proper fit and alignment.
Always dry fit your potato gun parts first to ensure perfect alignment before gluing.
Once you’re happy with how everything fits, apply PVC primer to the ends of each pipe and fitting to prepare the surfaces. Then, use PVC cement to bond the primer-coated parts securely—hold them together for at least 30 seconds to ensure a strong connection.
After gluing, let the joints cure for 2-3 minutes. But if you can wait, giving it 24 hours before firing your potato gun will provide full strength.
Finally, double-check that all connections are solid, properly aligned, and free of leaks. This careful process guarantees your potato gun will be safe and effective.
Build and Install the Potato Gun Ignitor
Once your potato gun parts are securely glued and fully cured, it’s time to focus on building and installing the ignitor. Start by carefully extracting the ignitor from a grill lighter, separating its seams to access the sparking mechanism inside.
Next, drill two small holes less than an inch apart near the back end of the PVC chamber. Insert screws into these holes, positioning their tips close but not touching to create the spark gap.
Wrap the ignitor wires around the screws, then cover the screw ends with electrical or duct tape to insulate and protect. This setup will allow sparks to jump across the screws when you press the ignitor button inside the chamber, giving you reliable ignition for your potato gun.
Test the Potato Gun Ignitor Spark
Make certain the ignitor wires are securely connected to the screws on the PVC chamber before testing. Press the ignitor button and watch for a visible spark jumping between screws set less than an inch apart.
Always cover the screw ends with tape to avoid shocks. Test the spark several times to ensure it’s reliable. This way, you can be sure your ignitor is working properly every time.
Ignitor Assembly Check
Before testing the ignitor spark, make sure the wires from the grill ignitor are firmly connected to the screws and insulated with electrical tape to prevent shocks. Wait at least 10 seconds after assembling to allow any residual fumes to clear before you start.
Press the ignitor button while watching the screw tips inside the chamber to check for a visible spark. Do this in a safe, open area away from flammable materials to avoid accidents.
If you don’t see a spark, adjust the screws slightly to bring them closer together, making sure they’re close enough to generate a spark when triggered. Keep repeating the test until you get a consistent spark. That way, you’ll know your ignitor assembly is working properly before moving on.
Spark Generation Testing
After confirming the ignitor assembly produces a visible spark, you’ll want to test the spark generation more thoroughly. Start by connecting the wires from the grill lighter ignitor to the screws drilled into the PVC, making sure they have good contact.
Press the ignitor button while holding the PVC chamber near a non-flammable surface and watch for a spark jumping between the screws. To guarantee safety during testing, cover the screw ends with electrical or duct tape to avoid accidental shocks.
Double-check that the wires are securely attached and not loose, as this can prevent spark production. Finally, test multiple times to confirm consistent spark creation before moving on.
- Connect ignitor wires firmly to PVC screws
- Press ignitor near non-flammable surface to observe spark
- Cover screw ends with tape for safety
- Verify connections and repeat tests for consistency
Safety Precautions During Testing
While testing your potato gun’s ignitor spark, you need to make certain the gun is fully assembled and all connections are secure to prevent accidents. Always press the ignitor button while standing behind the muzzle, never near the barrel or in front of it. This keeps you safe from unexpected sparks or ignition.
Check that the wires are properly connected and insulated with electrical tape to avoid shocks during testing. Confirm the spark produces a visible, consistent arc each time.
Never aim the gun at a person or any unsafe direction while testing, and always perform this step in an open, clear area free of obstacles. Following these precautions helps guarantee your testing is safe and successful.
Load and Fire Your Potato Gun Safely
Start by loading your potato securely about two inches into the barrel using a broomstick.
Next, spray hairspray into the chamber as your propellant. Then quickly seal and aim the gun safely away from people and obstacles.
When you press the ignition button, make sure to keep clear until the smoke fully clears. Only handle the gun once it’s completely safe.
Proper Loading Techniques
When you load your potato gun, make sure the potato fits snugly inside the barrel by pushing it in a few inches with a broomstick or a similar tool. This helps the projectile sit firmly for the best performance.
Next, unscrew the back cap to get to the combustion chamber. Spray hairspray inside for about 4-7 seconds to use as your propellant.
Quickly screw the cap back on to trap the fuel-air mixture inside. Then, push the potato all the way into the barrel to create a tight seal.
- Insert the potato firmly using a broomstick.
- Access the combustion chamber by removing the back cap.
- Spray hairspray inside for the right amount of time.
- Reseal and make sure the potato is tightly seated.
Doing this properly sets you up for a safe and effective launch.
Ignition and Firing Process
Before you ignite your potato gun, make sure the barrel is tightly sealed with the potato and the combustion chamber is properly charged with hairspray. Insert the potato snugly into the barrel, pushing it a few inches down to guarantee a solid seal.
Spray hairspray into the combustion chamber for 4 to 7 seconds as the propellant. Quickly screw on the cap to seal the chamber before aiming the gun in a safe direction.
Press the ignitor button to create a spark that ignites the hairspray, propelling the potato forward. After firing, wait until the process is complete before approaching the gun to handle it.
Following these steps ensures your ignition and firing process goes smoothly and effectively every time. Just take your time and be safe!
Safety Measures During Operation
After you’ve prepared the ignition and sealed the barrel with the potato, focus on handling your potato gun safely during operation. Always point your potato gun in a safe direction—never at people or animals.
Make sure to wait at least 24 hours after gluing the PVC parts before firing. This lets the fumes clear and ensures the gun’s strength.
Load the potato snugly with a broomstick, but don’t push it too far into the chamber. When spraying hairspray, do so for 4–7 seconds, then quickly secure the cap.
- Keep your face and body clear of the muzzle during ignition.
- Use the broomstick to load the potato firmly but carefully.
- Point the gun only at safe targets.
- Allow glue fumes to fully dissipate before firing.
Tips to Improve Potato Gun Performance
Though building a potato gun is straightforward, boosting its performance requires careful adjustments. Start by increasing the barrel length to around 4 feet; this markedly improves velocity and range.
Also, opt for a larger diameter barrel, like 3 inches, to fit bigger potatoes and enhance launch power. Using thick-walled PVC pipe (schedule 40 or higher) is a smart move to safely handle increased pressure.
Make sure to seal all joints thoroughly with PVC cement to prevent air leaks that can reduce efficiency. And finally, choose a higher-quality propellant such as a strong-hold hairspray for consistent ignition and longer flight.
These simple tweaks will make your potato gun more powerful and reliable without compromising safety. It’s pretty easy once you get the hang of it!
Frequently Asked Questions
What Makes a Potato Gun Fire?
What makes your potato gun fire is igniting the fuel inside its chamber. When you spark the propellant, it rapidly expands, creating pressure that pushes the potato out of the barrel at high speed.
This pressure is what launches the potato effectively. It’s pretty cool how a simple spark can cause such a powerful reaction!
How to Make Potato Cannons Create?
You might think potato cannons are hard to create, but they’re not. You assemble PVC pipes, add a propellant spray, ignite it safely, and the rapid combustion launches the potato.
Just follow safety steps carefully. It’s pretty straightforward once you get the hang of it!
What Can You Shoot Out of a Potato Gun?
You can shoot potatoes, marshmallows, Nerf darts, or small soft balls out of a potato gun. Just make sure the projectile fits snugly for accuracy and safety.
Always use appropriate propellants for best results. That way, you’ll get the most out of your potato gun without any trouble.
How Fast Can a Potato Gun Shoot?
A potato gun can shoot potatoes at speeds ranging from 60 to 150 miles per hour. You’ll notice that a longer barrel and more propellant usually boost velocity, letting the potato fly faster and farther.
It’s pretty cool how small changes can make a big difference in speed. So, if you want to shoot your potato even farther, try tweaking those factors a bit!
Conclusion
Now that you’ve crafted your engaging, custom potato cannon, confidently charge and cheer as it shoots spuds skyward. Remember, responsible handling heightens happiness and helps hone your handiwork.
Keep practicing precise placements and perfecting your potato propulsion for peak performance. With patience and persistence, your powerful potato gun will provide plenty of playful, potato-packed pleasure.
So, stay safe, stay smart, and savor the satisfying sound of your spud shooter soaring! Enjoy the fun and excitement that comes with mastering your very own potato gun.