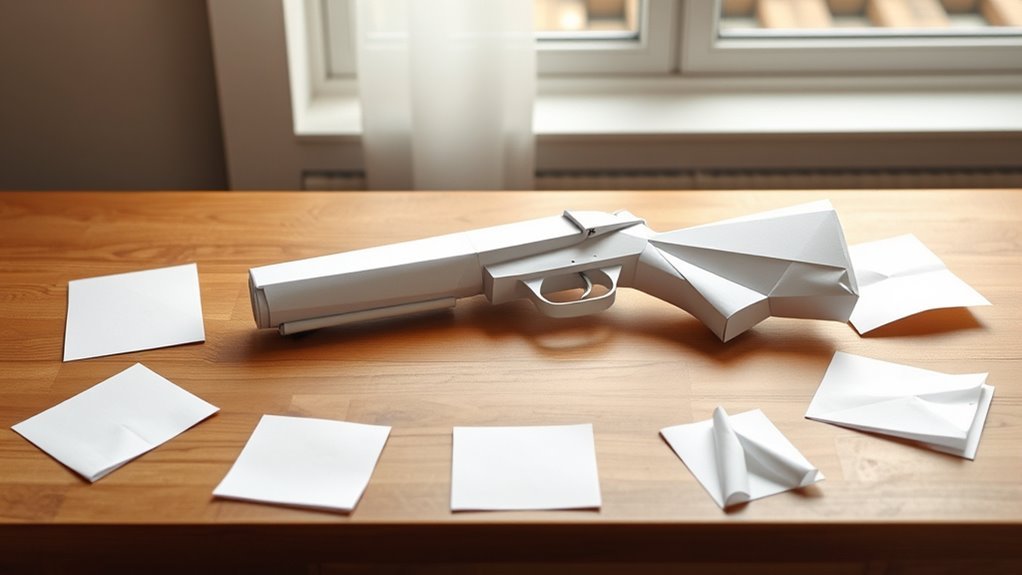
How to Make a Big Paper Shooting Gun in 7 Easy Steps
You’ll start by gathering large paper sheets, scissors, tape, a ruler, and a rubber band for launching. These materials are essential for making a big paper shooting gun that really works.
Next, design your gun with a barrel, handle, and trigger. Then carefully cut out each part following your template.
Fold and assemble the body with precise creases, reinforcing key spots to make it sturdy. Building a strong paper gun means paying attention to these details.
Build a paper spring mechanism attached to the rubber band. This part gives your gun the power it needs to shoot.
Finally, test and adjust for power. Once it’s working well, personalize it with decorations.
Keep going to discover tips for perfecting your paper gun and making it even better!
Key Takeaways
- Gather large sheets of paper, scissors, tape, glue, rubber bands, and markers for materials and decoration.
- Sketch a simple gun design with barrel, handle, and trigger, including measurements for accurate assembly.
- Cut parts precisely using scissors and rulers, ensuring smooth edges and correct shapes.
- Fold and assemble the gun body carefully, reinforcing key areas with extra paper and securing with tape or glue.
- Create a spring launch mechanism using folded paper and rubber bands, then test and adjust for shooting power.
Gather Your Materials and Tools
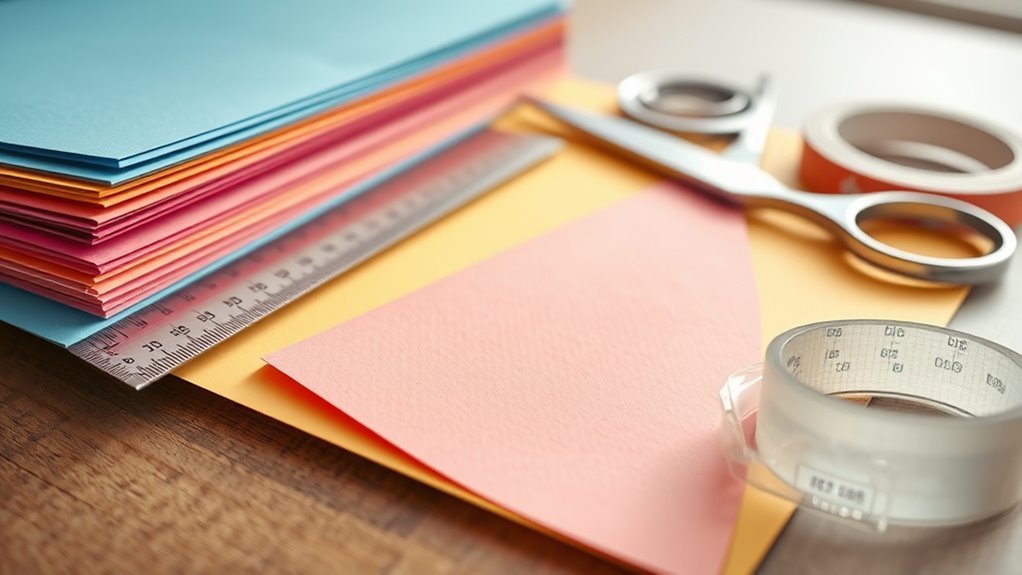
Before you begin building your paper shooting gun, gather all the necessary materials and tools. Start with large sheets of paper—standard printer paper or construction paper works best as your main material.
You’ll need scissors to cut the paper precisely, along with tape and glue to assemble and secure the parts firmly. Grab a ruler or measuring tape to make accurate folds and cuts, which are essential for a well-functioning gun.
Don’t forget a rubber band or elastic, as this will be key for launching your projectiles. If you want to add a personal touch, keep markers or stickers nearby for decorating later.
Having everything ready before you start will make the building process smoother and more enjoyable. So take a little time now to gather your stuff—it’s worth it!
Design and Draw Your Paper Shooting Gun
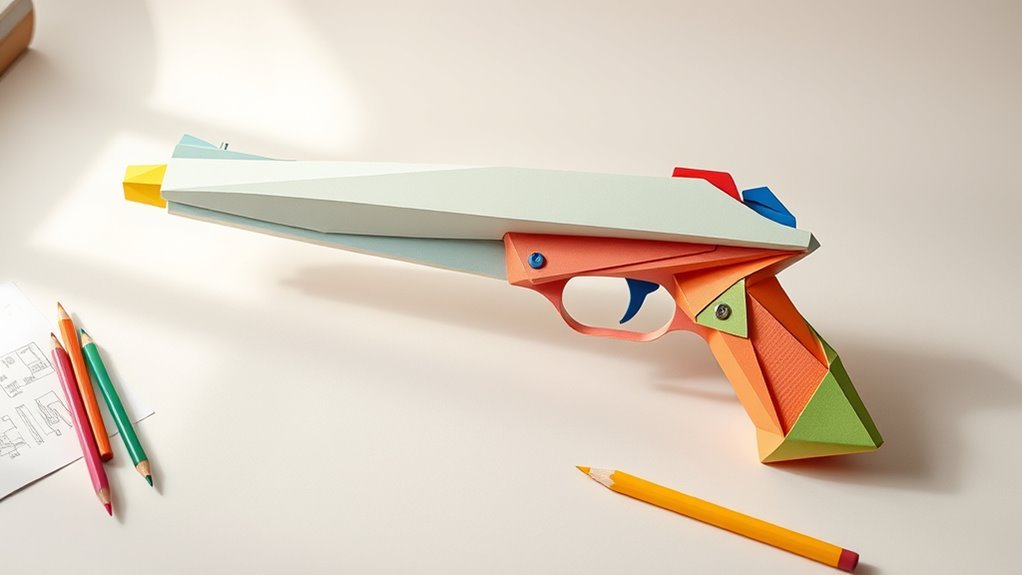
Start by choosing the shape of your paper shooting gun. Make sure it’s easy to assemble and fits your style.
Then, add details like grooves or decorative features to give it character. This will also improve its look.
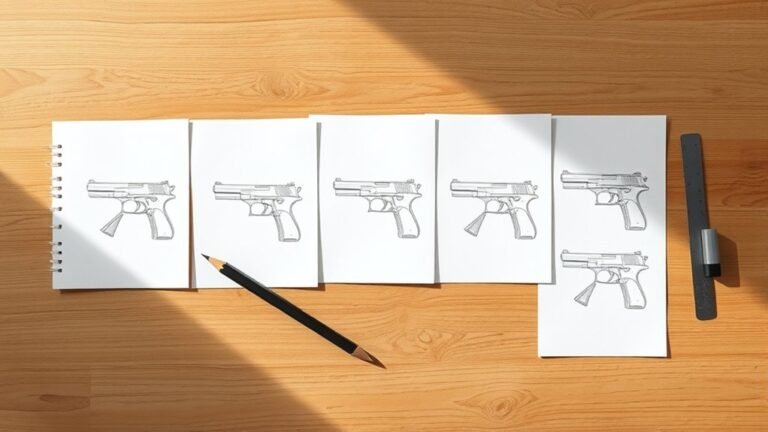
Sketch everything clearly with labels. That way, you can build it without any confusion.
Choosing Your Gun Shape
Although designing your paper shooting gun might seem challenging at first, you can simplify the process by sketching a basic shape that includes a barrel, handle, and trigger area. Start with measurements to keep your design proportionate and functional.
Outline these parts clearly to make cutting and folding easier. Consider using different colors or textures to make your gun visually appealing and assembly-friendly.
| Part | Purpose |
|---|---|
| Barrel | Guides the paper projectile |
| Handle | Provides grip and control |
| Trigger | Activates shooting mechanism |
| Outline | Facilitates cutting and folding |
Keep your shape simple but precise to ensure your paper gun will work well and look great when assembled. It’s all about balancing function with style!
Adding Details And Features
With your basic gun shape outlined, you can now focus on adding details and features that bring your paper shooting gun to life. Start by sketching precise shapes, sizes, and components, making sure to include fold lines for easy assembly.
Add functional features like a trigger mechanism, barrel, and safety lock to boost realism and performance. Reinforce your design with double layers or internal supports to increase durability and shooting accuracy.
Don’t forget to personalize it—decorate with patterns, colors, or labels that reflect your style. By using exact measurements and careful folds, each part will fit securely, ensuring your paper gun functions smoothly and looks impressive.
These thoughtful details make your creation both practical and visually appealing. It’s all about those little touches that really bring your design together.
Cut Out the Gun Parts Precisely
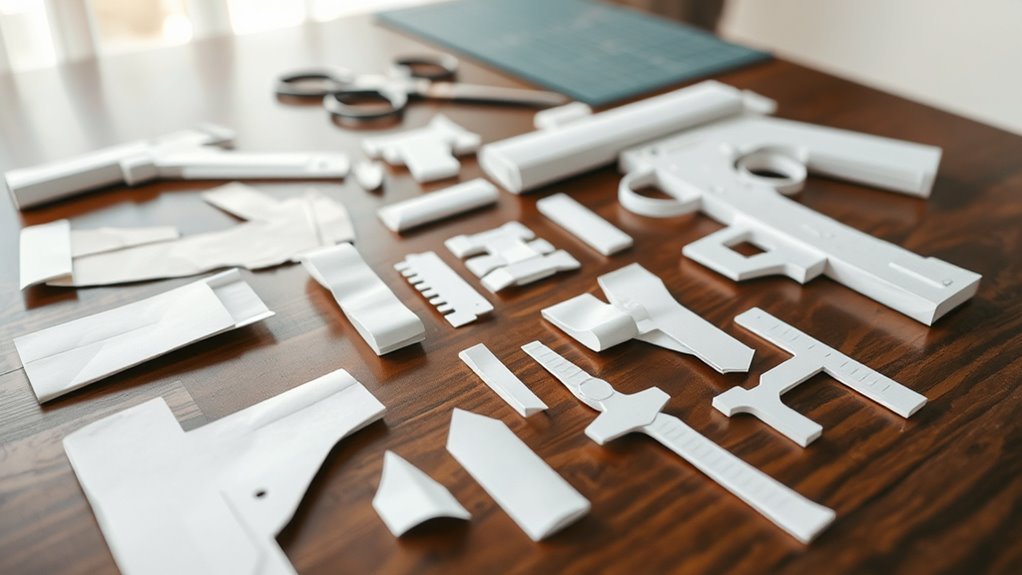
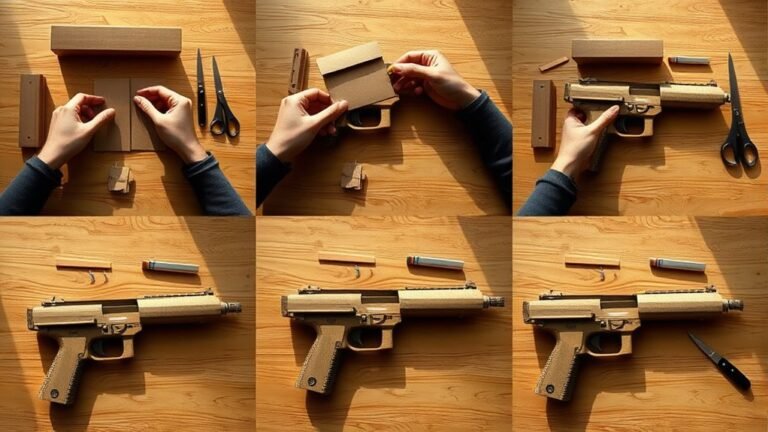
Before you begin assembling your paper shooting gun, you’ll want to cut out each part precisely to make sure the pieces fit together perfectly. Use a sharp craft knife or scissors to carefully follow the designated lines on your template.
Cut each part carefully with a sharp knife or scissors to ensure perfect fit and smooth assembly.
For straight edges, guide your cuts with a ruler to keep them clean and sharp. When dealing with curved or detailed sections, a craft knife will give you better control and accuracy.
Take your time cutting small or intricate pieces to avoid tearing or uneven edges. Once finished, double-check each part against the template to verify the shapes and sizes match exactly.
Trust me, precise cutting now will save you trouble during assembly and help your paper gun look sharp and function properly.
Fold and Assemble Your Paper Shooting Gun’s Body
Once you fold the paper along the designated creases, you’ll start shaping the main body of your shooting gun. Make sure each fold is sharp and precise to keep everything stable.
Follow these steps to assemble the body effectively:
- Use accordion or valley folds where indicated to add strength and detail. These folds really help with the structure.
- Reinforce key junctions with extra paper strips to prevent collapsing. It’s a simple trick that makes a big difference.
- Align all folded parts carefully before securing them with tape or glue. Take your time here to get everything just right.
- Follow the step-by-step folding instructions closely to ensure the body forms correctly. Stick with it, and you’ll have a solid paper gun in no time!
Build a Paper Spring Launch Mechanism
Although building the paper spring launch mechanism takes a bit of patience, you’ll find it’s the key to making your paper gun shoot effectively. Start by folding a sturdy piece of paper into a tight, compact spring using multiple tightly rolled layers.
Attach a small rubber band or elastic to both ends of this paper spring to create the launching force. Next, secure the spring onto a stable base like a cardboard platform, making sure it can bend and release freely.
When you’re ready to shoot, pull back the paper spring and release it to propel small paper projectiles or discs. You can adjust the tension of the elastic or the tightness of the roll to control how far and powerful your shots will be.
Test Your Paper Gun and Fix Common Issues
As you test your paper gun, fire it several times to evaluate its accuracy and shooting distance. Pay close attention to any jams or misfires that may occur.
If you notice issues, don’t worry. Follow these steps to fix them:
- Adjust the tension of the paper trigger or firing mechanism if the gun fails to shoot consistently.
- Reinforce weak spots like the barrel or trigger with extra paper or tape to boost durability.
- Trim or reshape parts that cause misfires or hinder smooth operation.
- After each fix, test the gun again to make sure it shoots reliably and performs well.
Decorate Your Paper Shooting Gun to Personalize
To make your paper shooting gun truly your own, start by adding colors and designs that reflect your style. Use markers, paint, or stickers to create vibrant patterns on the handle and barrel.
You can apply washi tape or masking tape to form custom accents or stripes that stand out. For extra flair, attach glitter or themed images like superheroes or animals by drawing or printing them and gluing them onto your gun.
Experiment with different textures and colors to make each part unique and eye-catching. Personalizing your paper gun not only makes it more fun to look at but also shows off your creativity.
Take your time decorating, and enjoy making a one-of-a-kind shooting gun that’s all yours. It’s a simple way to add your personal touch and have even more fun with your creation!
Frequently Asked Questions
What’s the Easiest Gun to Use?
The easiest gun to use is a simple paper slingshot with a rubber band. You just fold paper into a frame, stretch the band, and release.
It’s quick to make, fun, and works well every time. Seriously, anyone can do it without much fuss.
What Is a Toilet Paper Gun?
Imagine a playful breeze shooting across the room—that’s what a toilet paper gun is.
You’ll find it’s a simple, homemade toy that launches toilet paper rolls, sparking fun and creativity with every gentle “blast.”
How Was the First Gun Made?
The first gun was made by filling a metal tube with gunpowder and placing a projectile inside. You’d ignite the powder with a slow match, launching the projectile from the simple hand cannon’s barrel.
It’s pretty straightforward when you think about it. Just a basic tube, some gunpowder, and a way to light it up. That’s how the earliest guns worked!
What Gun Can Fold?
Think of folding guns like a transforming origami crane—special pistols and shotguns fold neatly for concealment. You’ll find durable hinges keeping them safe and compact.
But only select weapons are crafted with this clever design. It’s not something you see every day!
Conclusion
Now that you’ve crafted your big paper shooting gun, you’ve turned simple sheets into a powerful creation. Like a sculptor shaping stone, you’ve brought something ordinary to life with your hands and creativity.
Keep practicing the folds and tweaks, and you’ll sharpen your skills even more. Remember, every great maker started just like you—with a few simple steps and a lot of imagination.
Have fun shooting and personalizing your unique paper masterpiece! Making a big paper shooting gun is all about creativity and patience. The more you practice, the better your paper gun will shoot and look. So keep experimenting with different folds and designs, and enjoy the fun of crafting your own paper shooting gun!