How to Use a Grease Gun in 10 Easy Steps
First, prepare your workspace and wear safety gear before you start using the grease gun. Removing the old cartridge is easy—just pull back the plunger and unscrew the barrel.
Next, insert a new grease cartridge properly, tear off the foil seal, and reattach the barrel, making sure it’s hand-tightened. Attach the right hose or coupler, ensuring it’s clean and properly aligned for the best results.
Prime the gun to remove any air pockets, then pump grease smoothly until the flow is steady. Wipe excess grease off the fittings, disconnect the gun, and store it upright when you’re done.
Keep going to uncover detailed tips for flawless use and make sure your grease gun work is always spot on!
Key Takeaways
- Prepare your workspace by putting on safety gear and clearing the area. Make sure you know what type of grease gun you have and that the grease is compatible before you start.
- To remove the old cartridge, unlock the plunger and unscrew the barrel. Clean the inside thoroughly before popping in the new cartridge and sealing the foil.
- Clean the coupler and line it up squarely over the fitting. Press firmly until you hear it snap—that means you’ve got a proper seal.
- Next, release the plunger lock and push the follower rod to get rid of any air. Keep bleeding grease until it flows steadily without bubbles.
- When you’re ready, pump steadily with moderate strokes. After you’re done, wipe off any excess grease, check for leaks, and store the gun upright with the coupler capped.
Prepare Your Workspace and Grease Gun Components
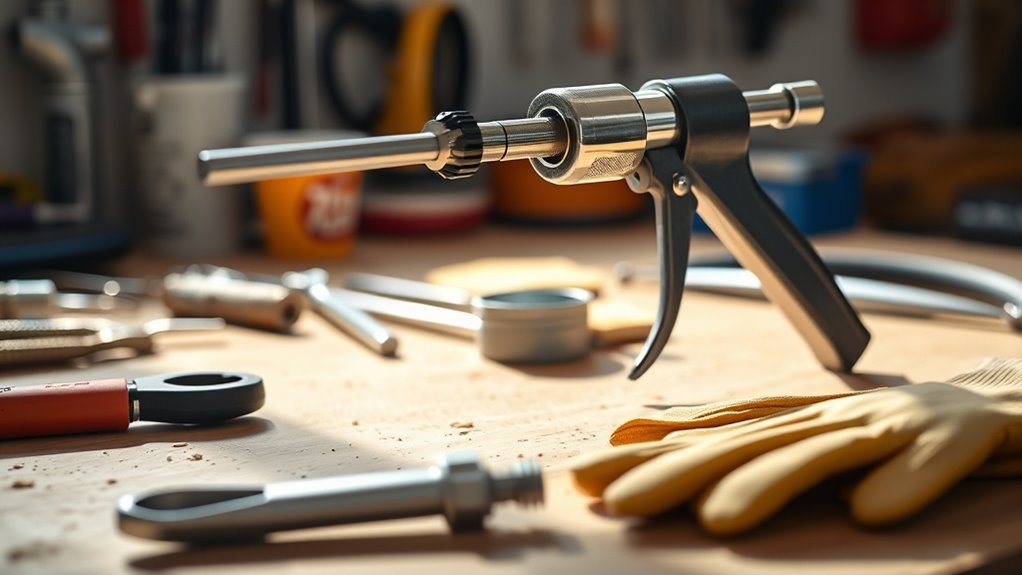
Before you begin, clear out your workspace and set up good lighting to see what you’re doing. Place clean rags and a trash can nearby to keep things tidy.
Always wear personal protective equipment like safety glasses, gloves, and non-slip footwear to stay safe. Next, inspect your grease gun—make sure the barrel type matches your cartridge or bulk grease.
Check the hose for any damage, and make certain the coupler is secure. Label the gun with the grease type to avoid mixing different greases.
Use only the manufacturer-recommended grease, whether lithium, calcium, synthetic, or food-grade. If you use a battery or electric model, disconnect power before handling cartridges.
For pneumatic guns, confirm the air supply matches the tool’s rated pressure. Prepare the cartridge by removing its cap and foil, then insert and prime it properly.
Safely Remove the Old Grease Cartridge
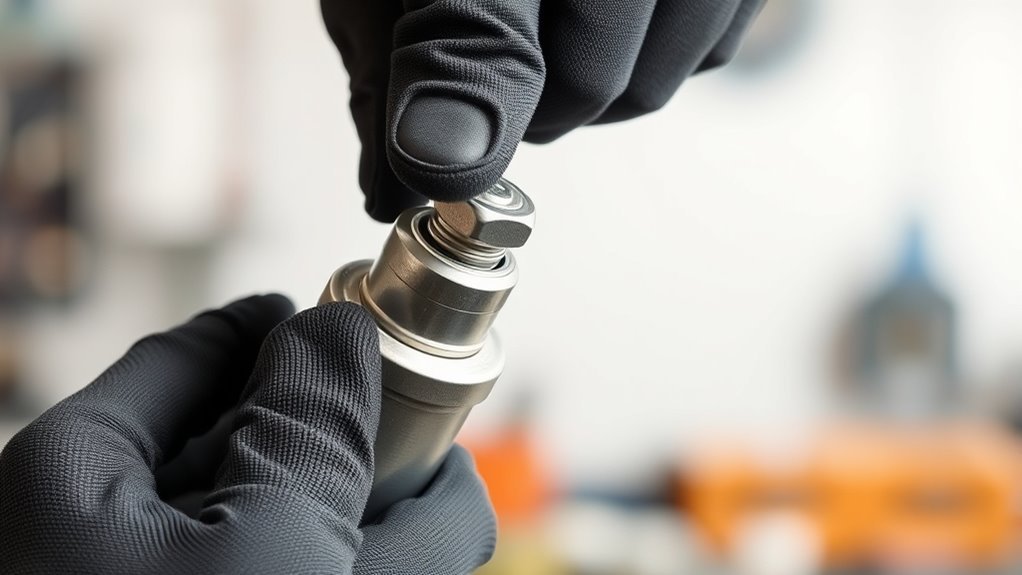
Before you start removing the old grease cartridge, make sure your workspace is clean and you’ve got gloves and safety glasses on. Point the gun away from you, relieve the spring tension by pulling back and locking the follower rod.
Then, carefully unscrew the barrel from the head. Lift out the cartridge slowly to avoid squeezing out grease and keep everything steady as you work.
Take your time with this part—it helps keep things neat and safe. You don’t want grease getting everywhere or any sudden slips.
Prepare Workspace Properly
When preparing to remove the old grease cartridge, start by setting up a clear, well-lit workspace equipped with clean rags, a trash can, and rubber gloves to protect your skin from grease.
To prepare your workspace properly, make sure everything you need is within reach to avoid interruptions. It really helps keep things smooth and quick.
Secure the follower rod by pulling it back and locking it in place to prevent spring-back during cartridge removal. Position the grease gun so the coupler points away from you for safety.
Have rags ready to wipe off grease and a trash can for disposing of the used cartridge according to local regulations. Keeping your workspace organized minimizes mess and helps you inspect parts like the plunger seal and follower for damage before reassembling or replacing components.
Cartridge Removal Procedure
Start by pulling the plunger rod all the way back and locking it to relieve the spring tension. Hold the grease gun upright, then unscrew the barrel from the head assembly carefully.
Slide out the old grease cartridge gently to avoid spilling any grease. Next, remove the cartridge cap and any foil seal, keeping the open end down to prevent contamination or leakage.
Take a clean rag and wipe the barrel and head interior thoroughly, removing old grease and debris. This helps make certain your grease gun works smoothly with the new cartridge.
Finally, securely reattach the barrel to the head and lock the plunger rod. Now, your grease gun is safe to store or ready for loading a fresh grease cartridge.
Insert a New Grease Cartridge Correctly
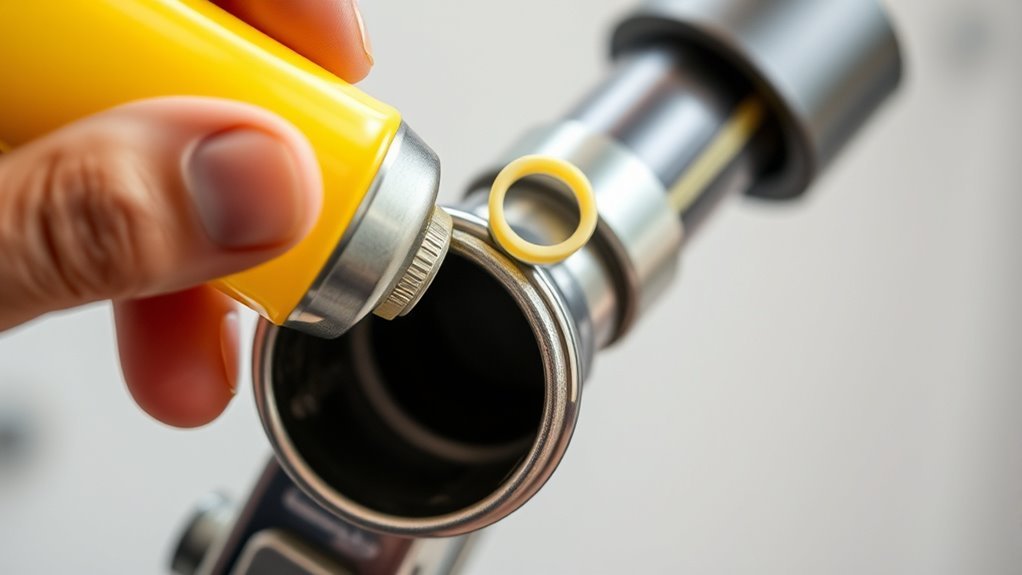
Now that you’ve removed the old cartridge, it’s time to insert the new one correctly. Make sure the open end faces the plunger and the sealed foil end points toward the head.
Then, secure the barrel tightly without over-tightening. Get the gun ready for use, and you’re all set!
Remove Old Cartridge
Before you remove the old cartridge, pull back the plunger rod fully and lock it to relieve the spring tension. This step prevents any sudden grease spray and makes disassembly safer.
Next, unscrew the barrel from the head assembly to remove the old cartridge. To do this correctly:
- Tilt out and dispose of the old cartridge carefully.
- Wipe the barrel and head mating surfaces clean of old grease and debris.
- Make certain the plunger rod remains locked while cleaning.
Following these steps helps maintain your grease gun’s efficiency and cleanliness. Removing the old cartridge properly sets you up for a smooth installation of the new one, avoiding contamination and blockages.
Now you’re ready to proceed confidently with the next step.
Insert Cartridge Properly
Insert the new grease cartridge by first removing its cap and placing it open end first into the barrel, ensuring the sealed end faces the head. This orientation is essential for proper grease flow.
Hand-tighten the barrel to seat the cartridge and act as a gasket. After you insert the new cartridge, twist off and discard the foil seal on its exposed end before reattaching any hose or coupler.
Here’s a quick reference to help you insert the new cartridge correctly:
| Step | Action |
|---|---|
| 1 | Remove cartridge cap |
| 2 | Insert open end first |
| 3 | Ensure sealed end faces head |
| 4 | Hand-tighten barrel to seat cartridge |
Following these steps guarantees your grease gun works efficiently.
Secure And Seal
Once you’ve pulled the plunger rod back and locked it to relieve tension, unscrew the barrel from the head to remove the old cartridge.
Now, to secure and seal the new grease cartridge correctly, follow the manufacturers’ instructions carefully. Here’s what you need to do:
- Remove the cartridge cap, insert the new cartridge with the open end facing the plunger, and push it fully into the barrel so it seats as a gasket.
- Tear off the foil seal, then hand-tighten the barrel onto the head to guarantee a snug fit without damaging the threads.
- Release the plunger lock, push the follower forward slowly to engage the cartridge, and prime the gun by expelling air until grease appears.
Make sure to label the gun with the grease type. Also, wipe off any excess grease to prevent contamination.
Choose and Attach the Right Hose or Coupler
Choose a hose or coupler rated for your grease gun’s maximum pressure to guarantee safety and performance. You’ll want to choose a hose or rigid extension based on your job: flexible hoses work best for hard-to-reach fittings, while rigid extensions offer precise access.
Needle or grease-Zerk couplers fit tight recessed areas. Always clean the coupler and fitting before attaching to prevent contamination. Thread or snap the coupler on tightly, then pump slowly to make certain a proper seal and flow.
| Hose Type | Best For |
|---|---|
| Flexible Hose | Hard-to-reach fittings |
| Rigid Extension | Precise, direct access |
| Needle Coupler | Tight, recessed fittings |
Prime Your Grease Gun to Remove Air Pockets
After attaching the appropriate hose or coupler, you’ll want to prime your grease gun to remove any air pockets that could disrupt grease flow. Start by releasing the plunger lock and pushing the follower rod forward slowly until grease reaches the head, expelling large air pockets.
Next, open the bleed screw or press the bleed button while aiming the coupler away from you. Then, pump the lever or trigger until you see a steady stream or solid bead of grease.
Open the bleed screw or button safely, then pump until a steady grease flow appears.
If pumping feels difficult or inconsistent, follow these steps:
- Release the plunger lock and back the plunger slightly.
- Tap the head gently to dislodge trapped air.
- Repeat bleeding until grease flows smoothly.
This makes sure your grease gun is properly primed and ready to use. Easy, right?
Clean Grease Fittings Before Lubrication
Cleaning grease fittings before lubrication guarantees you don’t introduce dirt or old grease into the bearing. Start by wiping each grease fitting with a clean rag to remove dust, dirt, and residue.
If you run into stubborn grime, grab a nylon brush or a fitting-cleaning tool to clear the area around Zerk fittings thoroughly. Take a close look at the fittings too; replace any that are bent or heavily corroded so you get a proper seal and grease flow.
Once cleaned, briefly actuate the grease gun onto a disposable rag to make sure fresh grease flows and to catch any initial contaminants. Keep your cleaning materials free from other lubricants, and store rags in a sealed container to prevent recontamination.
Following these steps will help keep your grease fittings clean and your lubrication effective. It’s a simple routine that really makes a difference.
Position the Coupler Properly on the Fitting
To start, wipe down the Zerk fitting with a rag and solvent if needed. This way, you won’t push dirt into the bearing when attaching the coupler.
Next, position the grease gun coupler cleanly and precisely over the fitting. You’ll want to:
- Align the coupler squarely over the fitting to guarantee a proper seal.
- Press straight on until you hear or feel the coupler snap or click into place.
- Use the correct coupler type—standard push-on for quick attachment or threaded/needle adapters for damaged fittings.
Hold the coupler firmly with one hand while pumping with the other. This helps maintain the seal and prevents grease leaks or air from entering.
Proper positioning keeps the lubrication process smooth and effective. It’s a simple step, but it makes all the difference!
Pump Grease Until It Flows Smoothly
Once your coupler is securely positioned, pump the grease gun steadily until you see a smooth, continuous flow without bubbles.
If you notice sputtering or air pockets, release trapped air and pump again to guarantee a clear path.
This steady pumping helps you deliver grease efficiently and prevents damage from over-pressurizing.
Ensuring Air-Free Flow
Ensuring air-free flow starts by releasing the plunger lock and slowly pushing the follower rod forward to expel trapped air until you feel resistance. Next, point the coupler away from your body, attach it to a clean fitting or rag, and pump the lever or trigger repeatedly until steady, bubble-free grease appears.
If air pockets persist, follow these steps:
- Open the bleed valve or use the bleed screw (or Allen wrench on mini guns).
- Gently depress the plunger to force out trapped air.
For battery or pneumatic guns, use short bursts on a fitting to purge air without over-pressurizing.
Confirm smooth grease flow visually, wipe excess, and repeat if air returns by pulling the plunger back and releasing the plunger lock again.
Steady Pumping Technique
After you’ve cleared the air from the system, keep the coupler firmly on the fitting and pump the lever or trigger with steady, moderate strokes. This steady pumping technique assures a smooth flow of high-pressure grease without air pockets or hose whip.
Grease guns include manual grease guns and power tools that deliver consistent pressure. If you’re using a grease gun for the first time, go ahead and wear safety glasses to protect from unexpected splatter.
Watch for sputtering or resistance; stop and bleed compressed air if needed. Whether you’ve never used a grease gun or are experienced, follow this approach for safe, effective lubrication.
| Tip | Reason |
|---|---|
| Pump steadily | Avoids air re-entry |
| Watch for resistance | Detects clogs or frozen fittings |
| Stop at firm resistance | Prevents over-greasing |
| Use safety glasses | Protects eyes from grease |
Wipe Away Excess Grease and Disconnect the Gun
You should always hold a clean rag around the fitting as you slowly release the coupler to catch any oozing grease and prevent drips. Make sure to wipe the coupler and fitting thoroughly with a lint-free cloth until no visible grease remains to avoid contamination and buildup.
If you spot excess grease around the bearing or seal, remove it carefully to leave just a thin film—too much grease can damage seals and attract dirt. When disconnecting the gun, take a moment to inspect the hose and coupler for leaks or grease trails.
If seepage persists, tighten or replace parts. Follow these three steps to finish properly:
- Catch and wipe away excess grease.
- Remove over-greasing from seals.
- Inspect and secure hose and coupler before disconnecting.
Maintain and Store Your Grease Gun for Longevity
While regular use keeps your grease gun working, proper maintenance and storage are key to extending its lifespan. After each use, wipe the exterior, coupler, and hose with a clean rag to remove grease and prevent contamination.
Regular use plus proper cleaning and storage ensure your grease gun stays reliable and lasts longer.
Store your grease gun upright in a dry, clean place with the coupler capped. Keep it away from heat and sunlight to avoid grease breakdown.
Before every use, inspect hoses and fittings for damage. Replace any parts that aren’t rated for your gun’s pressure.
Label your grease guns by type and never mix greases. Always fully purge the barrel before switching greases.
Periodically, disassemble and clean internal components. If you notice leakage, replace plunger seals, and be sure to relubricate moving parts to keep pumping smooth and efficient.
Frequently Asked Questions
What Is the Purpose of a Grease Gun?
The purpose of a grease gun is to help you apply lubricant precisely to machinery parts, reducing friction and wear.
It keeps your equipment running smoothly and extends its life by preventing overheating and damage. Using one is pretty straightforward and makes maintenance a lot easier.
What Kind of Grease Do I Need?
You need the grease specified in your equipment manual. If you’re not sure, don’t worry—just choose based on the conditions.
Lithium grease works well for general use. Calcium grease is great if you need water resistance. Synthetic grease is your best bet for extreme temperatures or heavy-duty situations.
Also, always match the consistency of the grease to what your equipment calls for. And a quick tip: avoid mixing incompatible greases because that can cause problems down the line.
How Long Will Grease Last in a Grease Gun?
Grease in a grease gun typically lasts for months if you keep the gun clean, sealed, and free from water or dirt.
Just make sure to label it and avoid exposure to heat or air to maintain freshness.
It’s pretty simple to keep your grease fresh this way. Just a little care goes a long way!
How to Properly Install Grease in a Grease Gun?
You pull back and lock the plunger rod, unscrew the barrel, and remove old grease. Then, you insert a new cartridge or bulk fill the gun.
Next, tighten the barrel back on. Finally, release the plunger and prime the gun to properly install grease. Easy, right?
Conclusion
Now that you’ve mastered these simple steps, using a grease gun will be as easy as pie. Keeping your machinery well-lubricated not only extends its life but also keeps your work running smoothly.
Remember, a little grease goes a long way, so don’t rush the process. Take your time, stay safe, and your grease gun will become your trusty sidekick in maintenance.
Whenever you need it, your grease gun will be ready to help keep everything running efficiently. Proper lubrication is key to preventing wear and tear, so make using a grease gun part of your regular routine. Trust me, once you get the hang of it, maintaining your equipment with a grease gun is quick and hassle-free.