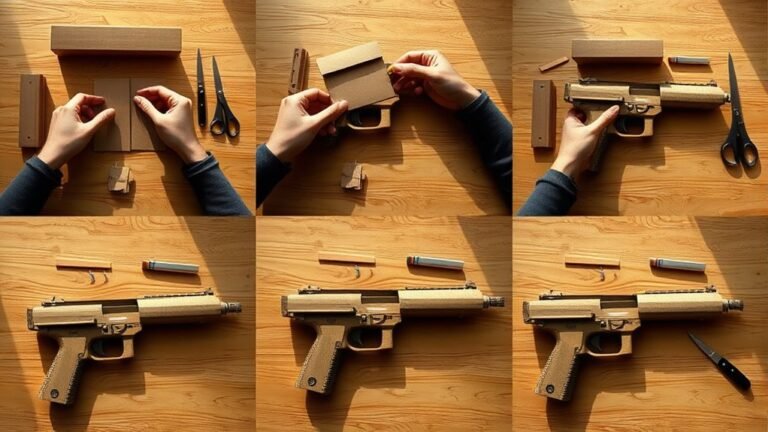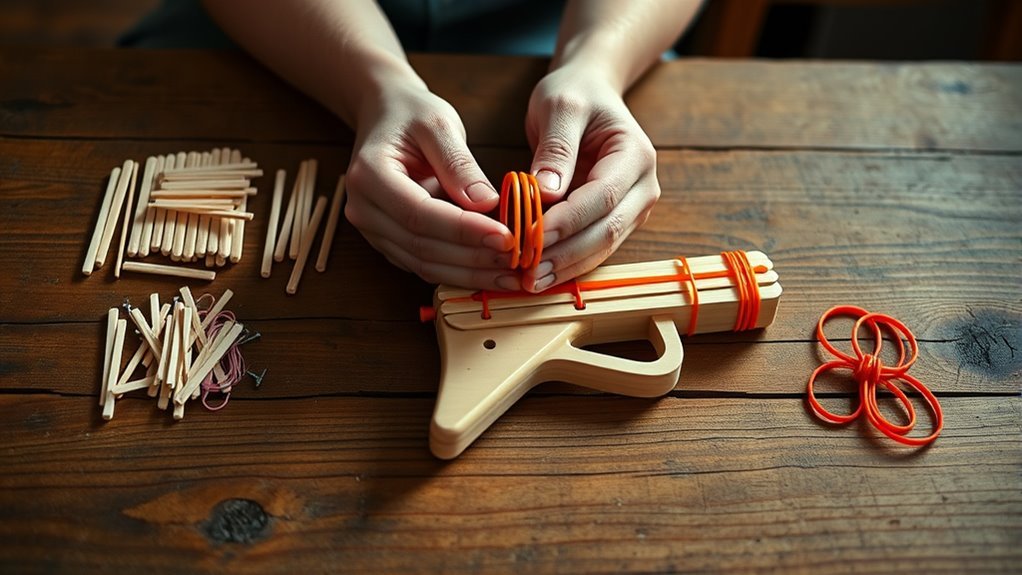
How to Make a Rubber Band Gun in 3 Easy Steps
To make a rubber band gun in three easy steps, start by gathering all your materials. You’ll need wood, a dowel, a clothespin, screws, and some basic tools. Find a clean workspace where you can work comfortably and safely.
Next, cut out the gun body and sand it down for a smooth finish. This step is important because it helps your gun look great and feel comfortable in your hand.
Then, attach the barrel and the clothespin trigger securely. After that, load your rubber bands onto the gun.
Test the trigger carefully to make sure it fires safely and works well.
Keep going to discover helpful tips for perfecting your design and ensuring safe, reliable fun. Making your own rubber band gun is a simple project that’s fun and rewarding!
Key Takeaways
- Cut and shape a wooden gun body from a 1×8 board using a saw and sand smooth.
- Attach a dowel barrel with a slit at the tip and glue a spring-action clothespin as the trigger.
- Secure all parts with screws and glue, ensuring the clothespin pivots freely.
- Load rubber bands over the barrel and into the slit, ready for firing.
- Test the trigger to safely release rubber bands and confirm proper function.
Gather Materials and Set Up Your Rubber Band Gun Workspace
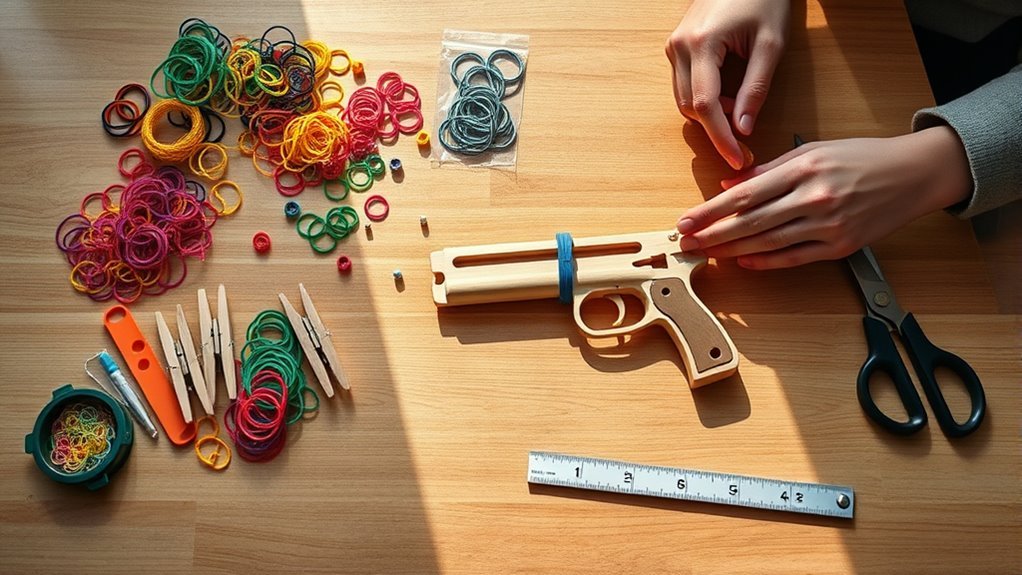
Before you begin building your rubber band gun, gather all the necessary materials and set up a safe workspace. You’ll need at least 4 feet of 1×8 shelving material, a 4-foot dowel about 1/2 to 3/4 inch in diameter, and a spring-action clothespin.
Prepare a large sheet of paper to draw and trace your gun’s outline. Assemble your essential tools, including small screws, scissors, a jigsaw or handsaw, a drill with a hole saw bit, clamps, and glue.
Gather your tools and a large sheet to sketch your rubber band gun’s outline before cutting.
Make sure to arrange everything in a clean, well-lit workspace with enough room to safely cut, sand, and assemble the parts. And hey, don’t forget safety glasses and protective gear to keep yourself safe while working with your tools during assembly.
This preparation will help make the building process go smoothly.
Cut, Shape, and Sand the Rubber Band Gun Body
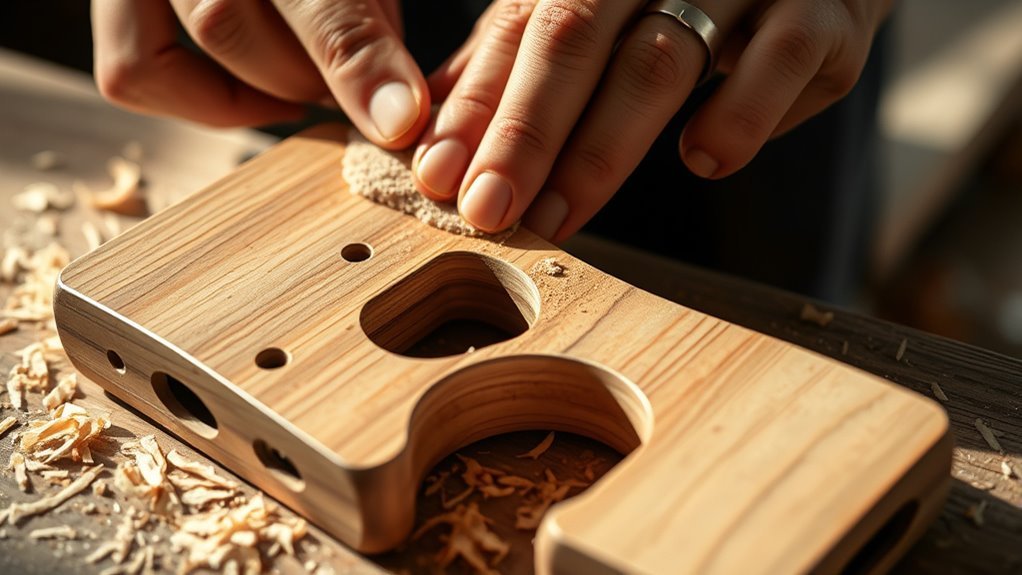
Once you’ve gathered your materials and set up your workspace, start by carefully cutting out the gun outline from your drawn template using a jigsaw or handsaw. Before cutting, trim any excess wood around the outline to maintain better control and accuracy.
As you cut, focus on following the shape precisely to create a clean rubber band gun body. After cutting, it’s essential to sand both sides and all edges with medium grit sandpaper or a sanding block.
This step removes splinters, smooths rough areas, and ensures comfortable handling. Pay close attention to the handle and barrel areas, using an electric sander if available, to achieve a polished finish.
Taking your time to cut, shape, and sand thoroughly will make assembly much easier and improve the overall feel of your rubber band gun.
Attach the Barrel and Trigger, Then Load and Fire Safely
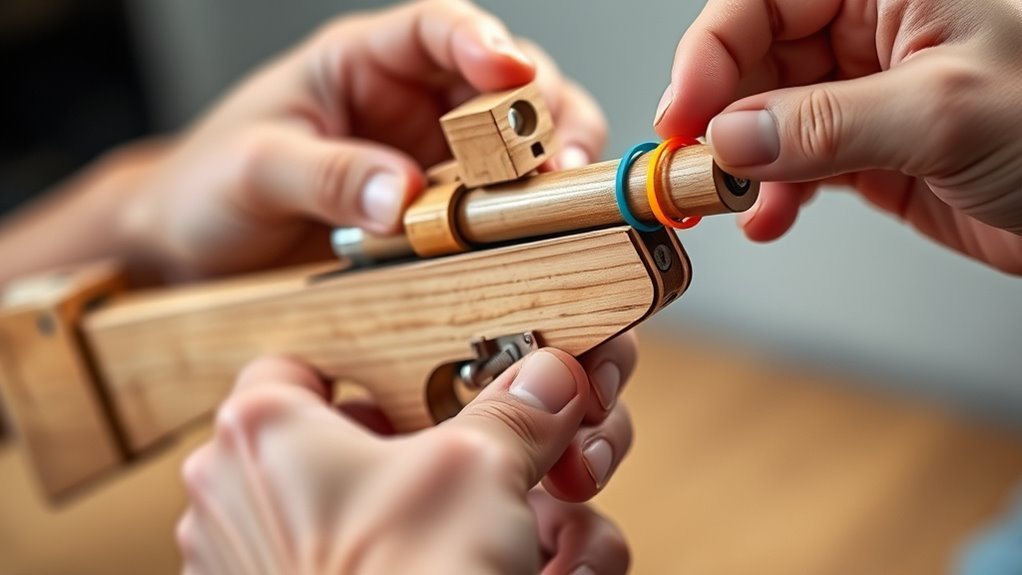
After cutting and sanding the gun body, securely attach the barrel using small screws. Make sure the tip has a horizontal slit for holding the rubber bands.
Next, glue the clothespin to the back of the barrel. Make sure the trigger pivots smoothly without nails or screws.
Glue the clothespin to the barrel’s back, ensuring the trigger pivots smoothly without using nails or screws.
Wait for the glue to dry completely before you load rubber bands. Here’s how to attach the barrel, load, and fire safely:
- Attach barrel firmly to the gun body with screws.
- Glue the trigger clothespin so it pivots easily.
- Load rubber bands by stretching them over the barrel and slipping into the slit.
- Fire safely by pressing the clothespin trigger to release the rubber band.
Following these steps ensures your rubber band gun works well and fires safely every time.
Frequently Asked Questions
How to Make a Rubber Band Gun Easy?
You can make a rubber band gun easily by gluing craft sticks together and attaching a clothespin as the trigger.
Secure a rubber band on the barrel tip, stretch it back, and press the clothespin to shoot.
It’s a simple project that’s fun to put together. Plus, you’ll have a cool little toy to play with in no time!
What Is the Simplest Gun Ever Made?
You hold the simplest gun ever made: a Y-shaped branch with a single rubber band stretched tight.
Like ancient hunters crafting tools from nature, you rely on pure tension, no triggers—just your hands and a swift snap.
It’s basic, but effective. Just you and the power of a stretched band.
What Is the Ideal Age for a Rubber Band Gun?
You should consider kids aged 6 and up for rubber band guns, but always supervise those under 8.
Make sure the design is safe, with smooth edges and limited tension to prevent injuries or choking hazards. Safety first, right?
What Rubber Band Gun Is Most Powerful?
The most powerful rubber band gun you can build uses thick industrial bands, a long, reinforced barrel, and a secure trigger mechanism.
Stretch the bands far before firing, and you’ll maximize speed and impact every time. It’s all about getting that perfect tension to pack a punch.
Conclusion
Now that you’ve built your rubber band gun, you’ll notice how satisfying it is to see your creation in action—almost like the rubber bands were waiting for you to bring them to life. It’s funny how something so simple can turn into hours of fun and creativity.
Just remember to play safely and respect others around you. Who knew that a few basic materials and some patience could spark so much excitement?
Enjoy shooting your rubber band gun, and have fun experimenting with different rubber bands and designs. Making a rubber band gun is a fantastic way to combine creativity and hands-on skills. With just a few simple steps, you’ve crafted a toy that provides endless entertainment. So grab your rubber bands, aim carefully, and enjoy the playful challenge of your new rubber band gun!