How to Make a Paper Gun That Shoots in 5 Easy Steps
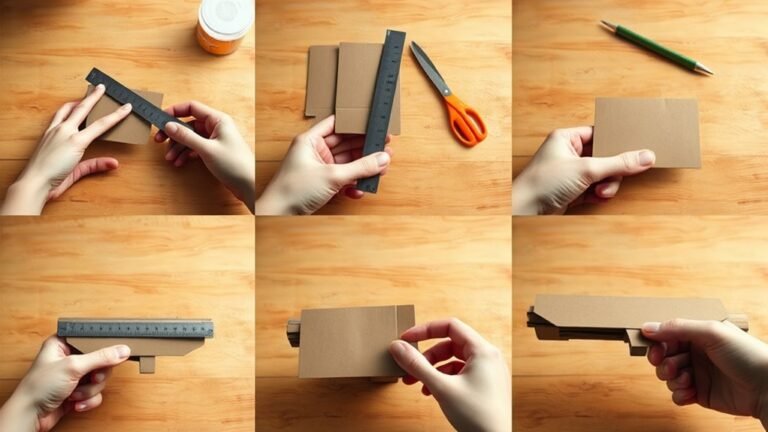
Start by cutting paper into halves and quarters for your gun’s pieces, ensuring precise sizes for easy assembly. This step is super important because the right size makes everything fit perfectly.
Fold the quarters hamburger-style and shape handle prongs for a comfortable grip. It might feel a bit tricky at first, but once you get the hang of it, it’s pretty simple and fun.
Next, fold half sheets to create a W-shaped core and wrap it to form the body. This part gives your paper gun its main structure and strength.
Roll paper tightly into a firm barrel, then insert it into the body, locking in the handle. Make sure everything fits snugly for stability.
Once all the parts are fitted together, you’ll have a sturdy paper gun ready to shoot. Keep going to master the details and impress your friends!
Key Takeaways
- Cut 5 paper sheets into halves and quarters for precise parts needed to build the gun’s structure.
- Fold quarters into a triangular, two-pronged handle with reinforced gripping ends for comfort and stability.
- Create the main body by folding sheets into W-shaped and quartered sections, wrapping tightly for firmness.
- Roll paper corners tightly to form a solid barrel, then fold and tear ends neatly for a clean finish.
- Assemble by inserting the barrel into the body and fitting handle prongs into back slits for a secure fit.
Cut and Prepare Paper Sheets for Your Paper Gun
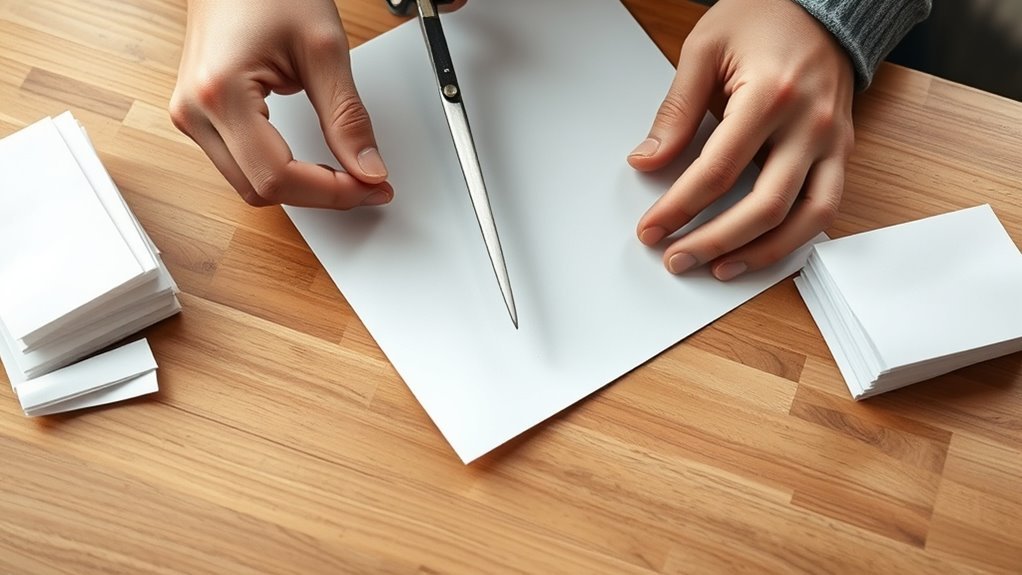
Before you begin assembling your paper gun, you’ll need to cut and prepare the paper sheets properly. Start with five sheets of paper—each should be cut into halves, but instead of two halves per sheet, cut three halves per sheet to get a total of 15.
For the handle, cut some sheets into smaller rectangular quarters, around 14 pieces. You can trim these quarters or add more depending on your hand size to make the handle comfortable and easy to grip.
Customizing the number and size of these quarters helps tailor the handle’s fit precisely to you. Taking time now to cut and prepare these pieces carefully will make the assembly smoother and guarantee your paper gun is both functional and comfortable.
Fold and Shape the Paper Gun Handle Pieces
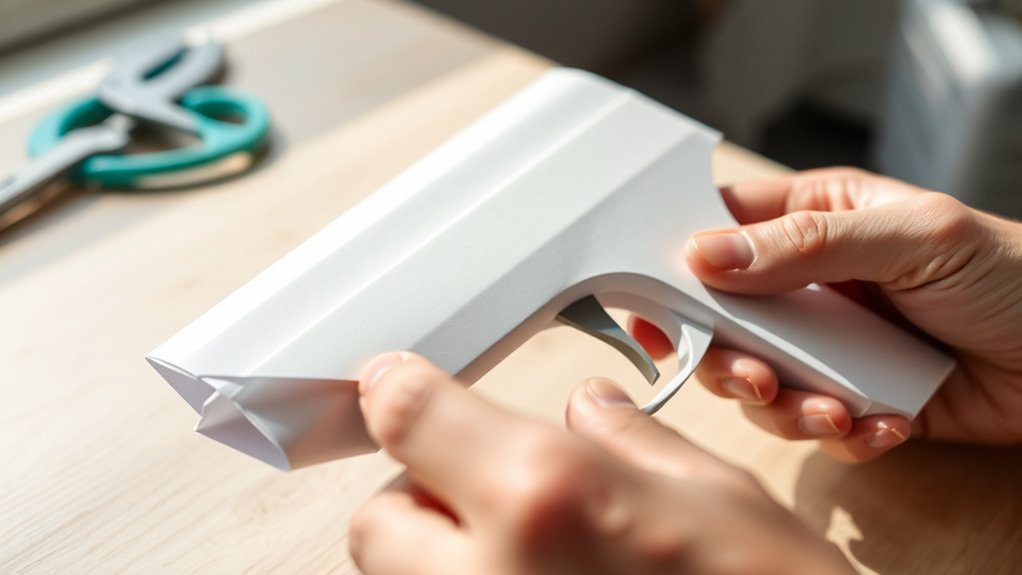
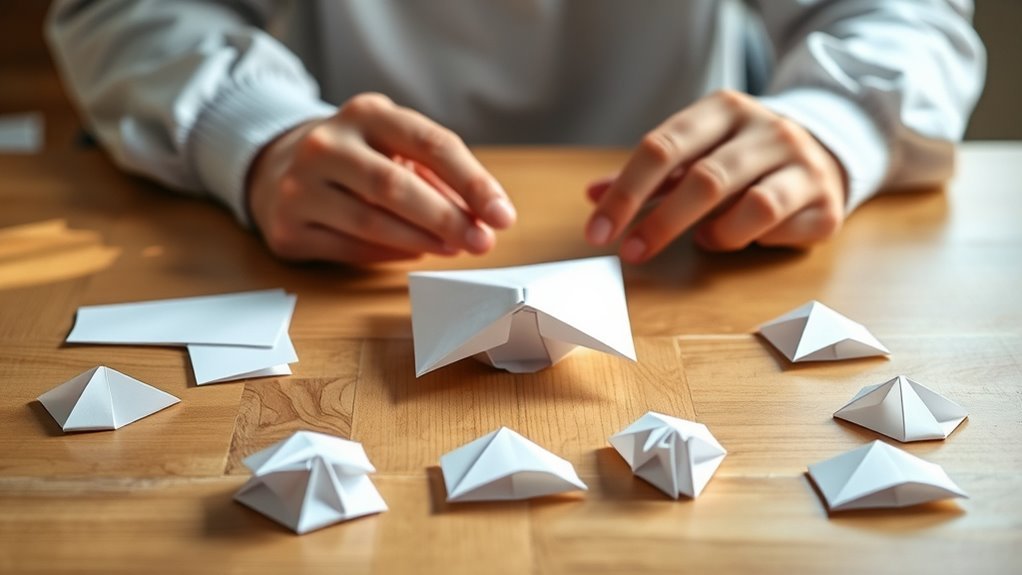
Once you’ve prepared the quarter sheets for the handle, start folding each one hamburger-style. Then, fold it again to create a two-pronged, triangular shape.
Next, fold the handle piece in the opposite direction to form a symmetrical shape. Open it up and fold both ends perpendicularly to create prongs for gripping.
Fold any overhanging corners and edges inward to strengthen the prongs. If the handle feels too big or small, trim or add quarters to adjust the size. This way, you can make sure it fits comfortably in your hand.
| Step | Fold Direction | Purpose |
|---|---|---|
| Fold 1 | Hamburger-style | Create base fold |
| Fold 2 | Same direction | Form triangular shape |
| Fold 3 | Opposite | Symmetrical shape |
| Fold 4 | Perpendicular | Shape gripping prongs |
| Adjust handle size | Trim/Add | Ensure comfortable fit |
Construct the Paper Gun Body by Folding
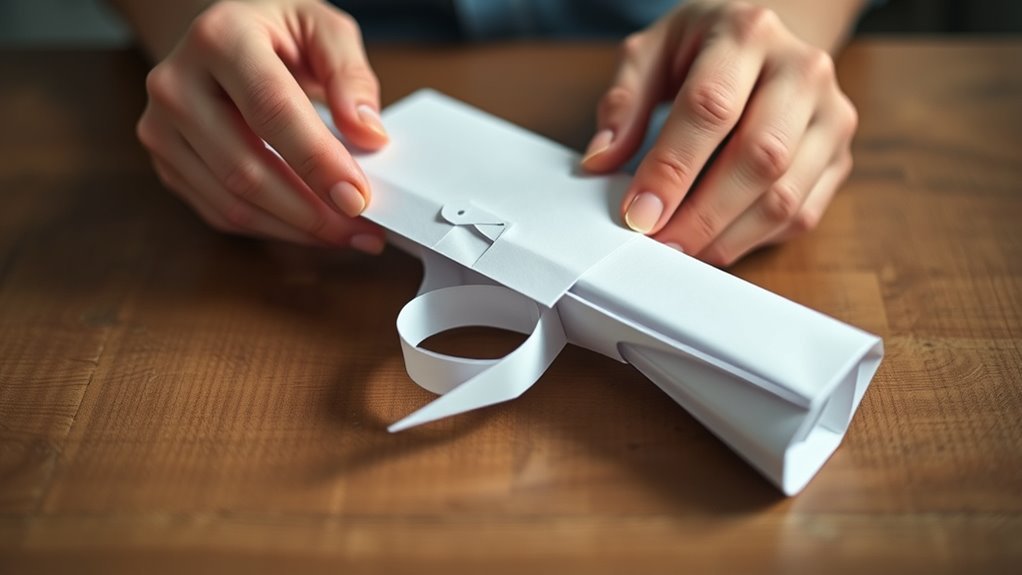
As you work on the gun body, start by folding a half sheet of paper into quarters to form the main section. Next, take another half sheet and fold it into thirds, creating a W-shaped structure that will serve as the gun’s core.
Wrap the quarter-folded sheet snugly around the middle of the W-shaped piece to shape the main body and secure the structure. Then, fold the edges of the W inward to enclose the wrapped sheet, helping the gun keep its form.
Make certain all folds are tight and well creased; this is key for a sturdy, properly shaped paper gun body. Taking your time here ensures the body holds firm as you continue building your paper gun.
Roll and Form the Paper Gun Barrel
How exactly do you create a sturdy barrel for your paper gun? Start by tightly rolling one corner of your paper. Press firmly as you roll to keep it compact.
Then, unroll this section and repeat the same process on the opposite corner. This double roll gives your barrel a strong, stable shape.
Next, fold the rolled corners inward to reinforce the barrel’s straight form and prevent it from unraveling.
For a clean finish and added stability, tear and fold the barrel’s ends neatly. This sharpens the edges and helps maintain the barrel’s structure.
Once your barrel looks solid and firm, you’ll be ready to move on to assembling it with the gun body, but hold off on that just yet!
Assemble All Paper Gun Parts Securely
With a solid barrel in hand, you can start assembling the paper gun parts. First, push the rolled barrel into the middle of the W-shaped body. Make sure it fits snugly to work properly.
Next, insert the handle prongs into the slits at the back of the gun body. Confirm the prongs are fully inserted and stable.
Finally, fold and tear the barrel edges for a neat finish that matches the gun’s shape. Double-check all parts are tightly fitted and aligned to keep your paper gun from falling apart during use.
| Part | Assembly Tip |
|---|---|
| Barrel | Fit snugly into W-shaped body |
| Handle Prongs | Insert fully into slits |
| Barrel Edges | Fold and tear for neat finish |
Frequently Asked Questions
How to Make a Paper Gun Easy and Fast That Shoots?
You’ll fold paper into a triangular handle, create a W-shaped body, roll a corner tightly for the barrel, then assemble everything by inserting prongs and slits.
This quick method makes a simple, shootable paper gun fast. It’s super easy once you get the hang of the folds!
How to Make Paper Weapons Easy?
Picture folding crisp paper into sharp blades and sturdy handles; you’ll easily create paper weapons by cutting, folding, and assembling simple shapes. Just follow clean, precise folds, secure edges, and watch your creations come to life quickly.
It’s pretty fun once you get the hang of it. Just take your time with each step, and don’t worry if it’s not perfect at first. You’ll be crafting cool paper weapons in no time!
How to Make a Paper Sniper Rifle That Shoots 5 Bullets?
You’ll cut, fold, and assemble paper parts into a rifle shape. Then, roll the barrel tightly to get that perfect form.
Next, insert a handle with prongs. After that, load five paper bullets inside.
Finally, pull the handle back to shoot each bullet accurately. It’s a fun and clever way to make a paper sniper rifle!
How to Make a Very Very Easy Paper?
You just fold a single sheet of paper in half lengthwise, crease it well, then fold the corners to the center crease.
Finally, fold it in half again, and your very easy paper airplane is ready to fly!
See? It’s super simple and quick to make. Now go ahead and give it a try!
Conclusion
Now that you’ve built your paper gun, you’re ready to impress your friends like a true Renaissance inventor! Remember, the key is in careful folding and secure assembly.
With these simple steps, you’ve turned ordinary paper into something fun and functional. Keep practicing, and soon your paper gun will shoot with the precision of a musketeer’s flintlock.
Enjoy your crafty creation and have fun showing off your skills! Making a paper gun that shoots is not only a cool craft project but also a great way to learn patience and creativity. So grab your paper, fold carefully, and keep perfecting your technique for the best paper gun shooting experience!