How to Make an Elastic Band Gun in 10 Easy Steps
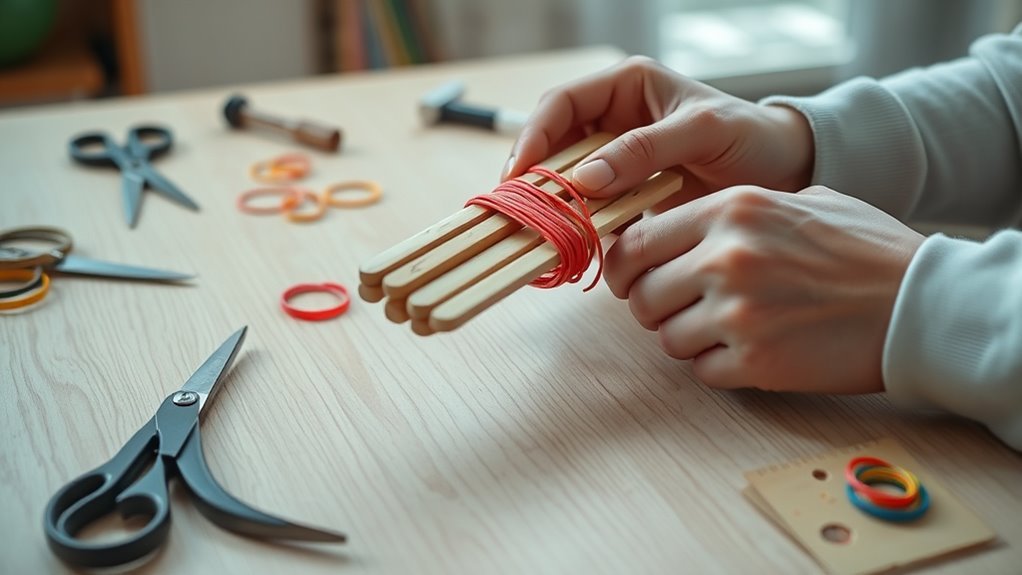
To make an elastic band gun in 10 easy steps, start by gathering large and small popsicle sticks, a clothespin, glue, and a rubber band. These materials are simple and easy to find, making this a fun DIY project for anyone interested in crafting.
Cutting and shaping the sticks carefully is crucial to get the right fit and functionality.
Next, pre-drill holes to avoid splitting the wood, which helps keep your elastic band gun sturdy. Assemble the handle and barrel with care to ensure everything lines up perfectly.
Creating a trigger cross with a toothpick adds the essential firing mechanism, so take your time with this part.
After that, attach the clothespin mechanism securely, as it acts like the trigger lock for your elastic band.
Then, stretch the rubber band across the barrel and adjust the tension to get the right amount of power for firing.
Finally, test your gun for smooth firing, making any tweaks as needed.
Stick with these steps, and you’ll soon master all the details of building your own elastic band gun. It’s a rewarding project that’s both simple and satisfying!
Key Takeaways
- Select and cut large and small popsicle sticks according to a full-size pattern for the gun body, barrel, trigger, and handle.
- Pre-drill holes in small parts and assemble the handle and barrel with transparent glue, ensuring secure alignment and drying time.
- Construct the trigger cross with glued sticks and insert a toothpick for smooth trigger movement attached via small screws or nails.
- Install a rubber band by hooking it securely on the clothes pin notch and barrel ends, adjusting tension for optimal shooting force.
- Test fire multiple shots, troubleshoot jams or misfires, adjust rubber band tension, and reinforce glued joints for consistent performance.
Easy, right? Just take your time and make sure everything fits well. You’ll have a cool elastic band gun in no time!
What You Need to Build an Elastic Band Gun
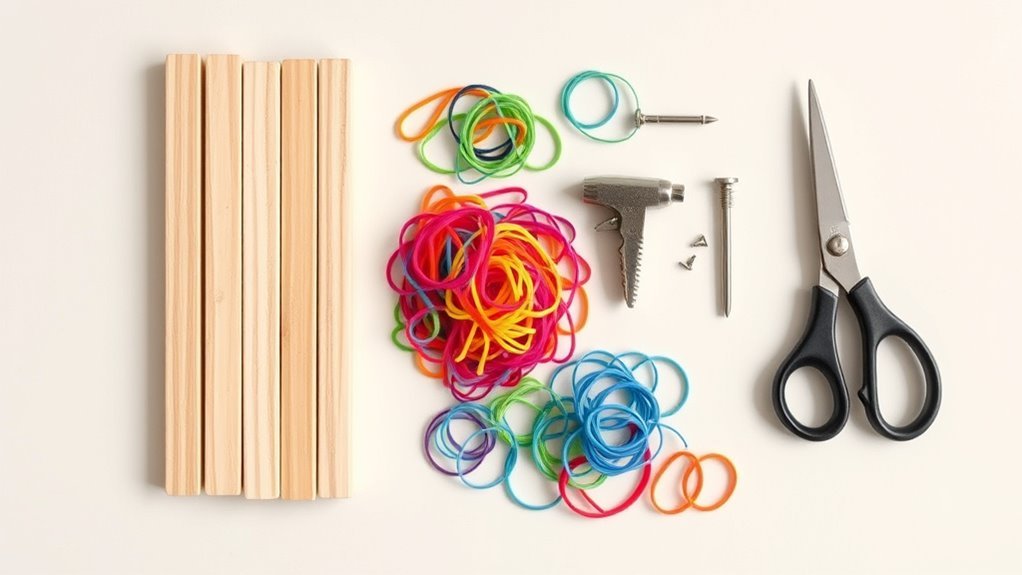
Before you start building your elastic band gun, gather all the materials you’ll need to guarantee a smooth process. You’ll require large popsicle sticks to form the main body and gun handle, ensuring the toy gun has a sturdy frame.
Gather large popsicle sticks first to build a sturdy frame for your elastic band gun.
Small popsicle sticks are essential for crafting the barrel, trigger, and other structural parts. Using a printed full-size pattern will help you trace and cut the gun handle and components accurately.
Pre-drilling holes in the smaller pieces prevents splitting when you insert screws or pins. For assembly and operation, have transparent glue, super glue, and a toothpick ready.
Finally, don’t forget the rubber band, which powers your toy gun by providing the elastic force needed for shooting. With everything prepped, you’re set for the next step.
Choose and Prepare Popsicle Sticks for Your Gun
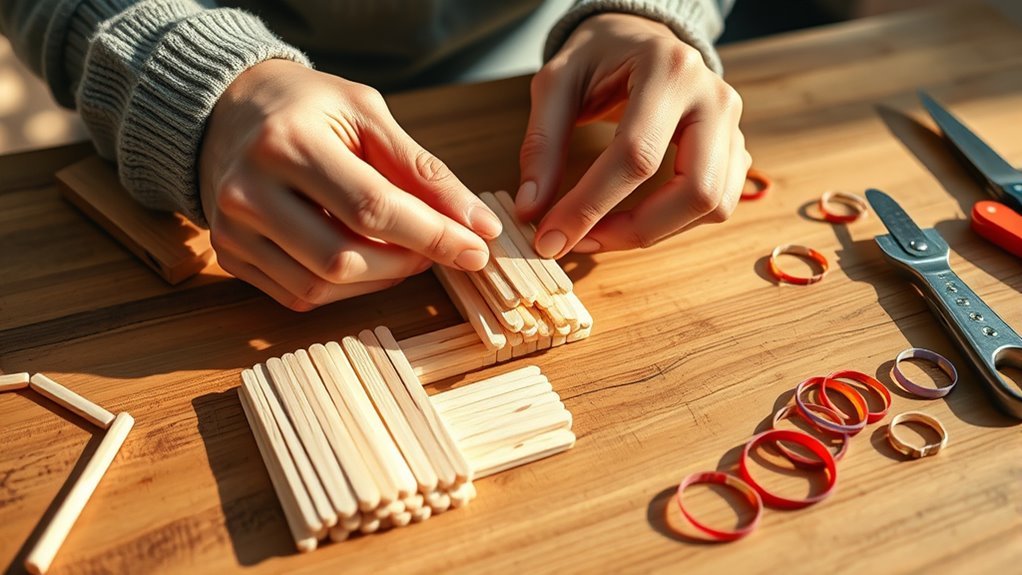
When you choose your popsicle sticks, pick a large one to serve as the gun’s main body. This will ensure stability and a solid frame.
Next, prepare your sticks carefully for assembly by following these steps:
- Select additional smaller sticks for parts like the trigger and barrel.
- Drill precise holes in the large stick at designated spots. Make sure they’re aligned properly for smooth assembly.
- Keep the holes clean and free of splinters. This will help avoid interference with moving parts.
- Organize your sticks so you can easily access the ones needed for cutting and shaping in the next step.
Cut and Shape Popsicle Sticks for Handle and Barrel
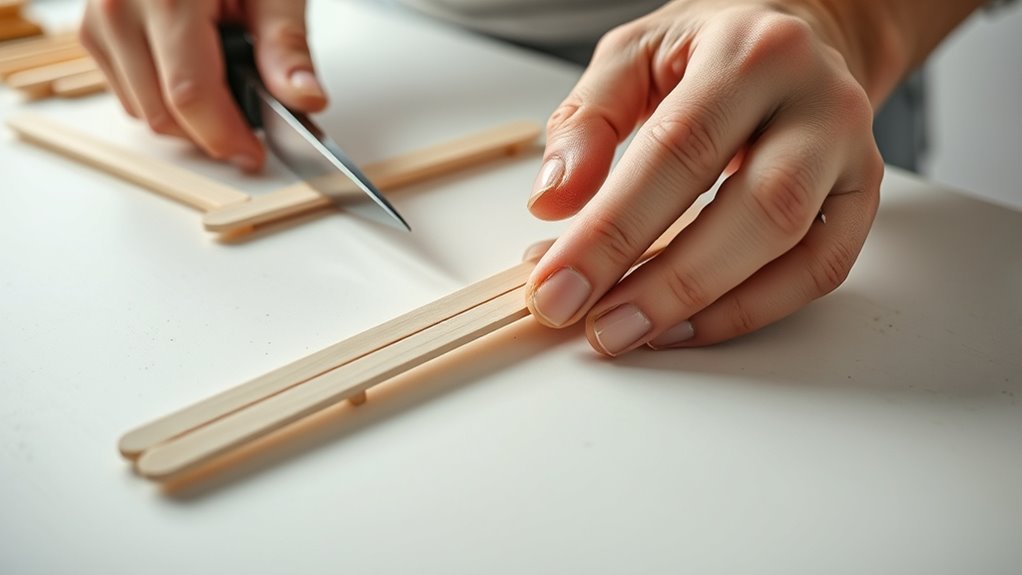
Although you’ve already selected your popsicle sticks, you’ll need to cut and shape them carefully to create a comfortable handle and a functional barrel.
Start by using a large popsicle stick as the main body and handle. Cut three smaller sticks into precise shapes shown in the reference, trimming edges cleanly for proper fit.
Prepare additional small sticks for the barrel and trigger, making sure each is cut to the correct length. Smooth all edges and round off corners to avoid splinters and improve comfort—except where the barrel attaches, because a snug fit is essential.
Pre-Drill Holes and Prepare Mechanical Parts
Shaping your popsicle sticks accurately sets you up for smooth assembly as you move on to pre-drilling holes and preparing mechanical parts. This step prevents splitting and guarantees everything fits just right.
Follow these steps:
- Mark exact hole positions on each part, focusing on the gun barrel, trigger, and handle. Take your time here to get it just right.
- Disassemble small components like clothespins to make drilling easier and more precise. It helps to work with smaller pieces.
- Use a drill bit matching your screws and toothpicks to create clean, accurate holes. This way, everything fits perfectly without any damage.
- Test fit all parts after drilling to confirm proper alignment and function. If something feels off, you can fix it before moving forward.
Glue Handle Components for Elastic Band Gun
Start by arranging the smaller sticks carefully on the larger popsicle sticks to shape the handle. Use a strong, transparent glue like Kodak Eastman 910 or Super Glue 502 for a secure bond.
Press the pieces firmly together and hold them in place until the glue sets. This way, you’ll make certain the handle stays sturdy. It’s pretty simple but makes a big difference!
Handle Stick Arrangement
How do you guarantee a sturdy handle for your elastic band gun? Start with a larger popsicle stick as the main handle base.
Then, follow these steps to arrange the handle sticks properly:
- Bore holes at precise points on the two larger sticks to assure proper alignment during assembly.
- Cut three smaller sticks into the required shapes as per your reference design for added support.
- Apply transparent glue, like Kodak Eastman 910 or Super Glue 502, to firmly attach the smaller sticks to the main handle.
- Carefully align all glued parts and allow the glue to dry completely before moving on.
This careful arrangement and secure bonding will give your handle the strength and stability it needs.
Choosing Suitable Adhesive
When assembling the handle components of your elastic band gun, choosing the right adhesive is essential to guarantee a strong and lasting bond. Use transparent glues like Kodak Eastman 910 or Super Glue 502 for quick, durable adhesion.
Apply glue evenly to avoid gaps or weak spots, and don’t use too much to prevent messy spillage. Make sure to select glue designed for wood or plastic to match the popsicle sticks and other materials.
Always follow the manufacturer’s drying time to reach full strength before handling. This way, you’ll get the best results and a sturdy handle.
| Adhesive Type | Key Feature |
|---|---|
| Kodak Eastman 910 | Strong, quick bonding |
| Super Glue 502 | Transparent, fast setting |
| Wood/Plastic Glue | Material compatibility |
Ensuring Secure Attachment
Although choosing the right adhesive is crucial, you also need to guarantee the handle components bond securely by applying glue evenly and holding them firmly until set.
Here’s how to ensure a strong attachment:
- Apply a strong adhesive like Kodak Eastman 910 or Super Glue 502 evenly to the contact surfaces. But don’t use too much—you want to avoid seepage.
- Press the glued parts firmly together. Then, keep the pressure on using clamps or rubber bands throughout the drying time.
- Double-check the alignment before the glue fully dries. This helps prevent misalignment or weak joints.
- Finally, follow the manufacturer’s recommended drying time closely. That way, you can be sure the bond sets properly.
Build and Attach the Gun Barrel Stack
Since the gun barrel needs to be sturdy, start by stacking three small popsicle sticks evenly. Apply glue along the edges of the stacked sticks to hold them firmly together.
Make certain the sticks are aligned perfectly to form a solid, straight barrel. Next, attach this glued barrel to the main gun body, aligning it carefully with the handle to maintain balance and appearance.
Press the barrel firmly in place to ensure a tight bond. Let the glue dry completely before moving on, as handling it too soon can weaken the connection.
Once dry, check that the barrel is securely attached and sits flush with the rest of the gun. This guarantees a smooth, neat finish and solid structure for your elastic band gun.
Create the Trigger Cross and Insert Toothpick
After your barrel is firmly in place and fully dry, you can focus on creating the trigger mechanism. Start by gluing two small popsicle sticks together in a cross shape. This cross will act as the trigger.
Next, drill a hole right through the center of the cross, making sure it’s slightly larger than the diameter of a toothpick. This way, the toothpick can move smoothly when pulled.
Then, insert the toothpick through the drilled hole, aligning it carefully with the slit in the gun body. Finally, secure the toothpick to the gun body using glue, but be sure not to let the glue touch the trigger itself so it can move freely.
Your trigger cross and toothpick are now ready for the next step.
- Glue popsicle sticks in a cross shape
- Drill a hole through the cross center
- Insert toothpick through the hole aligned with the gun
- Glue toothpick to gun body, avoiding trigger contact
Prepare and Attach Clothes Pin Mechanism
To prepare the clothes pin mechanism, start by carefully disassembling it so you can work with the bottom half more easily. Next, pre-drill small holes both in the bottom half of the clothes pin and the gun body to prevent wood from splitting when you insert screws.
Then, securely attach the bottom half of the clothes pin to the gun using small screws or nails. Once attached, reassemble the clothes pin onto the gun, making sure it aligns properly to act as a smooth trigger mechanism.
Finally, test the clothes pin’s movement by opening and closing it several times to confirm it functions without sticking or resistance. This ensures your trigger is ready before moving on to load the rubber band.
Install and Adjust Rubber Band on Elastic Band Gun
Start by placing the rubber band securely in the clothes pin’s notch. Then, stretch it across the barrel and hook it onto the designated points.
You’ll want to adjust the tension carefully. Pull it back enough to create force, but don’t overstretch it—otherwise, it might snap.
Give the band a gentle pull to test it. Make sure it’s tight and ready to launch before you take aim.
Rubber Band Placement
Where should you place the rubber band for the best performance? Proper placement guarantees your elastic band gun shoots effectively and safely. Follow these steps:
- Place the rubber band inside the clothes pin, securing the hooked end firmly at the barrel’s tip. Make sure it’s snug so it won’t slip off during use.
- Stretch the rubber band tautly across the top of the barrel to maximize launching force. This helps give your shot more power and accuracy.
- Hook the other end of the rubber band onto the barrel’s opposite end to keep it in place. This keeps everything stable when you pull back to shoot.
- Double-check that the rubber band is tight enough to provide power but not overstretched or at risk of snapping. You want it just right—strong, but safe.
Tension Adjustment Tips
Although securing the rubber band properly is essential, adjusting its tension can make all the difference in your elastic band gun’s performance. First, make certain the rubber band is hooked securely at both ends to maintain consistent tension during shots.
You can control the launching force by shifting the rubber band’s position along the barrel—closer or farther changes the shot distance. If the band becomes overstretched or loses elasticity, replace it to keep your gun effective.
Try experimenting with different rubber band sizes and thicknesses to find the right balance of power and safety. And don’t forget to regularly check and tighten any hooks or connections holding the band to prevent slips or misfires.
Proper tension adjustment ensures your elastic band gun shoots accurately and reliably every time.
Test, Troubleshoot, and Fine-Tune Your Elastic Band Gun
Once you’ve assembled your elastic band gun, you’ll want to test it by firing multiple times to guarantee consistent range and accuracy. If you notice misfires or jams, troubleshoot by checking the rubber band tension and confirming the trigger moves smoothly.
Fine-tuning is key to peak performance. Follow these steps:
- Adjust the rubber band tension to balance power and avoid stressing parts.
- Inspect and reposition the rubber band hook or barrel if shots veer off target.
- Ensure the trigger mechanism operates freely without obstruction.
- Regularly reinforce glued joints to maintain structural strength during use.
Frequently Asked Questions
How to Make an Elastic Band Gun?
You start by shaping the handle and grooving slots for the barrel. Then, pre-drill holes and assemble parts like the clothes pin.
Next, attach the barrel securely. Finally, load and tension a rubber band for launching. Easy, right?
What Rubber Band Gun Is Most Powerful?
Imagine firing a rubber band gun with a rifled barrel and stacked high-tensile bands—it’s the most powerful. You’ll get maximum tension and velocity, delivering accurate, forceful shots that outmatch simple designs every time.
Seriously, when you combine rifling with strong bands, the performance jumps way up. It’s like giving your rubber bands a serious upgrade in speed and punch.
How to Make a Rubber Band Gun With Cardboard?
You’ll cut cardboard pieces for the body and handle, assemble them with glue or fasteners. Then, add a pivoting trigger to bring it all together.
Next, stretch a rubber band from the barrel front to the trigger. Give it a test shot to make sure the tension is just right and it shoots well. Easy, right?
What Is the Ideal Age for a Rubber Band Gun?
Think of it as a tool best suited for young sharpshooters aged 8 to 12. You’ll want to supervise younger kids and make sure everyone handles it responsibly.
That way, playtime stays safe and fun for all. Just keep an eye out and remind them to be careful!
Conclusion
Now that you’ve crafted your elastic band gun, you hold in your hands a miniature slingshot worthy of a Robin Hood’s aim. Like the legendary archer, you’ve combined patience, skill, and a bit of creativity to bring this simple weapon to life.
Remember, every tweak and adjustment sharpens your shot, turning humble popsicle sticks into a tool of fun and precision. So, take aim, and let your elastic band fly true!
Making an elastic band gun is not just about building a toy; it’s about honing your focus and enjoying the process of creation. With each elastic band you load and each shot you take, you’re mastering a cool DIY project that brings excitement and a bit of friendly competition.
Keep practicing, and your elastic band gun will become your go-to gadget for fun. Have a blast, and always shoot safely!