How to Make a Potato Gun in 7 Easy Steps
To make a potato gun in seven easy steps, start by understanding safety rules and checking local laws. Safety is super important when building and using a potato gun, so don’t skip this part.
Once you’re clear on the rules, gather sturdy PVC pipes and fittings to get started.
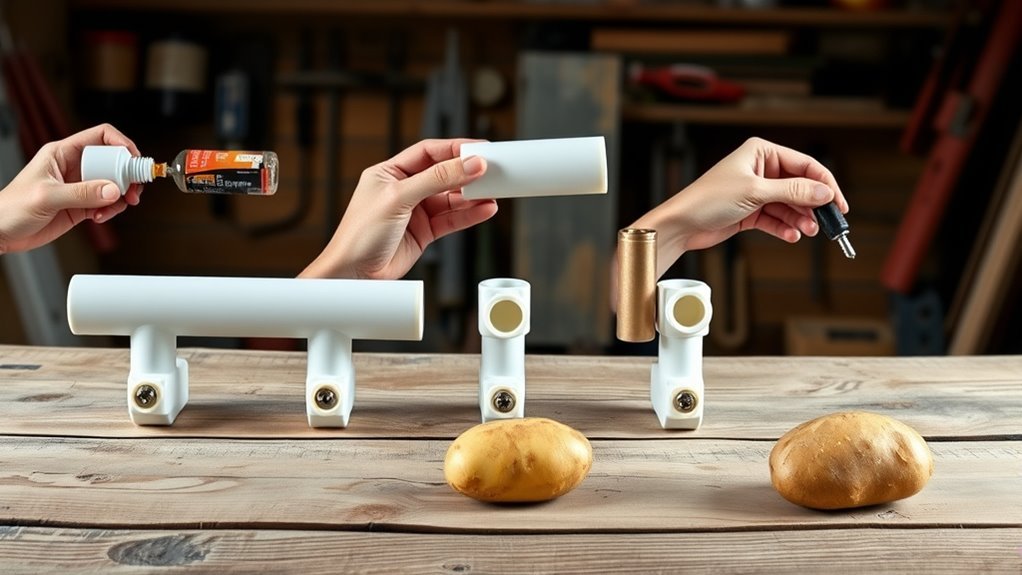
Next, measure and cut them precisely. It really helps to test-fit the parts before priming and gluing them securely. Make sure everything fits just right.
Let the glued parts cure for 24 hours. This gives the glue time to set properly and makes your potato gun strong and reliable.
After that, build a reliable ignitor system. Load your projectile carefully and always fire in a safe direction. Safety first!
Finally, keep your gun maintained for the best performance. Follow these steps closely, and you’ll soon master building your own powerful device.
Key Takeaways
- Gather materials: schedule 40 PVC pipes (1 1/2 inch and 2 inch), fittings, reducer, ignition source, and safety gear.
- Measure and cut pipes precisely; remove burrs and dry fit parts before gluing. It’s important to get these steps right for a good fit.
- Apply PVC primer and cement to joints; assemble chamber, barrel, and fittings. Then, let everything cure for 24 hours to ensure a strong bond.
- Install ignition system by drilling holes, inserting ignitor, securing wires, and testing sparks inside the chamber. This part needs careful attention for safety.
- Load the potato snugly, spray fuel propellant, and make sure everyone stays safe. Ignite, and don’t forget to keep your gun maintained by cleaning and inspecting it regularly.
Understand Safety and Legal Precautions Before You Start
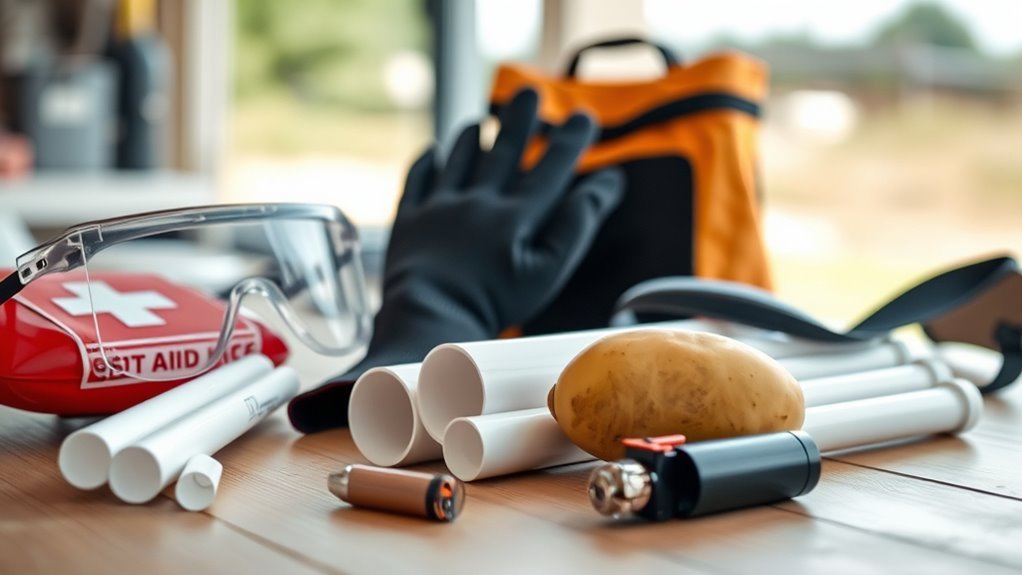
Before you start building your potato gun, make sure you understand the safety and legal precautions involved. Always wear protective gear like safety goggles and gloves to protect yourself from potential injuries.
Check your local laws carefully—many places classify potato guns as weapons or fireworks, which means their use could be illegal. Never operate the gun near other people or in public spaces to avoid accidents.
After assembling, wait at least 24 hours for any glued PVC parts to cure. This ensures structural safety and helps reduce harmful fumes.
Collect Materials Needed for Your Potato Gun
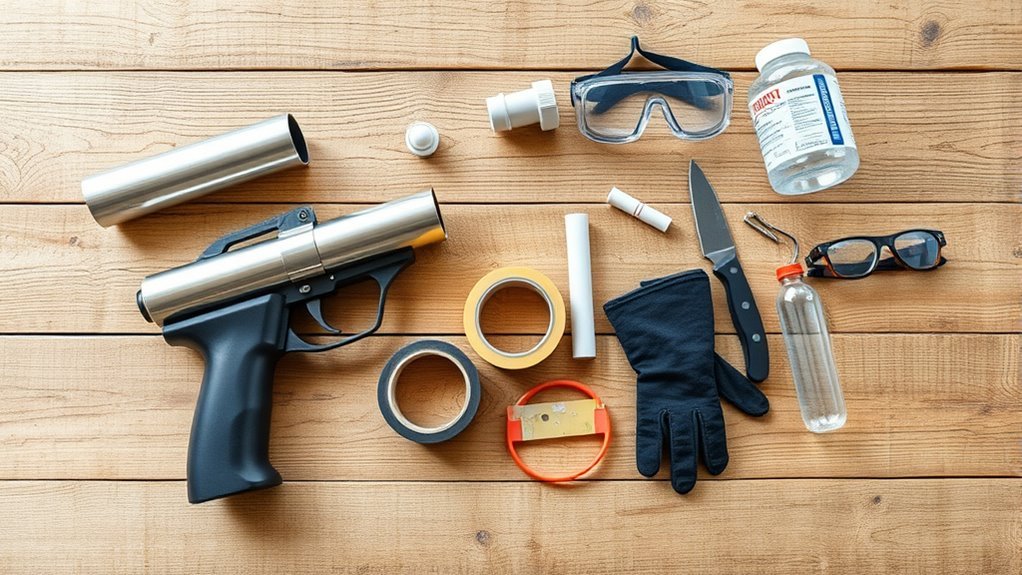
To build your potato gun, you’ll need specific parts like two lengths of PVC pipe, a coupling reducer, and small screws. Make sure to choose schedule 40 or higher PVC for strength and safety.
Also, don’t forget tools like a hacksaw and PVC cement to assemble everything properly. These will help you put it all together without any hassle.
Essential Components List
You’ll need several key components to build your potato gun, including a 1 1/2 inch PVC pipe cut to one foot and a 2 inch PVC pipe cut to eight inches for the main structure. Gather a coupling reducer, female adapter, plug, and couplers for assembly.
You’ll also need PVC primer and cement to securely bond parts, plus a grill lighter for ignition. Two small screws help secure fittings, and a hacksaw or PVC cutter ensures precise pipe lengths.
Below is a concise list of essential materials:
| Component | Size/Quantity | Purpose |
|---|---|---|
| PVC Pipe | 1 1/2 inch (1 ft) | Barrel |
| PVC Pipe | 2 inch (8 inches) | Combustion chamber |
| Coupling Reducer | 1 | Connect different pipes |
| Accessories | Screws, primer, cement | Assembly and ignition |
Material Quality Tips
The components you gathered for your potato gun will only perform well if they meet certain quality standards. When selecting your PVC pipe, choose schedule 40 or higher-grade material to guarantee strength and safety during firing.
Inspect each pipe carefully—avoid any with cracks or damage, as these can burst under pressure. Make sure the PVC pipe has smooth, burr-free surfaces for proper sealing and easier assembly.
Measure and cut the pipes precisely to prevent leaks and assure a snug fit for all parts. Additionally, confirm that all fittings and couplings are compatible with your pipe sizes to maintain structural integrity.
Prioritizing material quality at this stage will help your potato gun function reliably and safely. It’s worth taking the time to get this right!
Cut PVC Pipes for Your Potato Gun
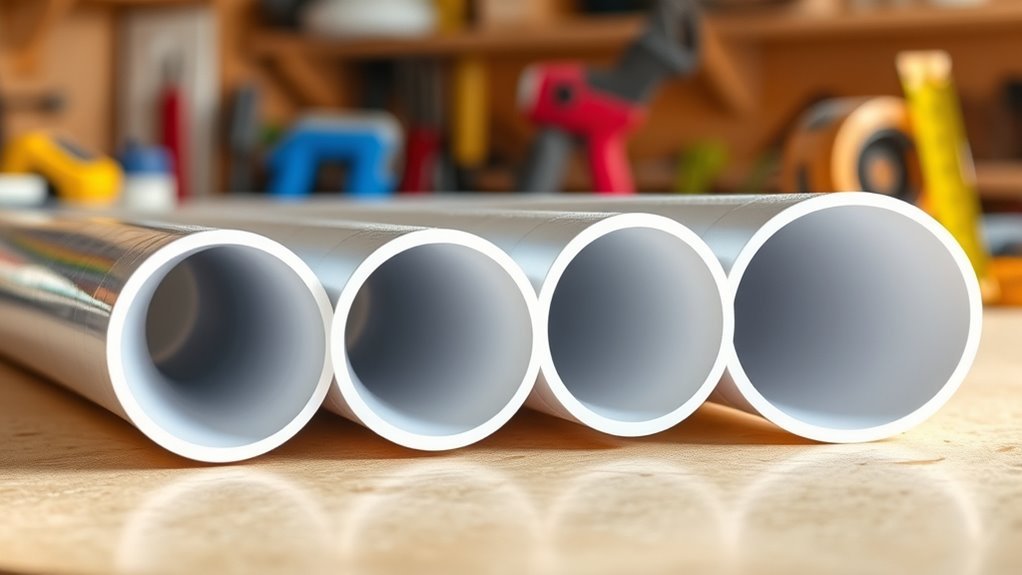
Start by measuring your PVC pipes carefully to get the exact lengths needed for your potato gun. Use a chop saw or hacksaw to make clean, straight cuts that will fit together perfectly.
Taking your time here guarantees your gun will work safely and efficiently. It’s worth the effort to get it just right!
Measuring Pipe Lengths
Before cutting, measure each PVC pipe carefully with a ruler or tape measure to guarantee your potato gun fits together perfectly. Accurate measurements are vital for proper assembly and peak performance.
Take your time to measure and mark each pipe to avoid mistakes.
Here’s what you should do when measuring PVC pipe:
- Use a reliable ruler or tape measure for precise dimensions.
- Mark cutting lines clearly with a pencil or marker.
- Double-check measurements before making any cuts.
- Note the specific lengths needed, like 1 1/2 inches for the barrel and 8 inches for the chamber.
- Keep measurements consistent to ensure all parts fit securely.
Using Proper Cutting Tools
Once you’ve measured and marked your PVC pipes accurately, it’s time to cut them using the right tools. Use a PVC pipe cutter or a fine-tooth hacksaw to make clean, straight cuts. These cutting tools prevent crushing or uneven edges, ensuring your pieces fit together precisely.
Always double-check your marks before cutting to avoid mistakes. After cutting, remove any burrs or rough spots with sandpaper or a utility knife to create smooth ends that join snugly.
Don’t forget to wear safety goggles and gloves during this step to protect yourself from flying debris and sharp edges. Using proper cutting tools not only makes assembly easier but also improves the overall performance and safety of your potato gun.
Check That All Parts Fit Perfectly Before Gluing
Although it might be tempting to rush, you should dry fit all PVC parts to make certain they slide together smoothly without forcing. Before gluing, unscrew the cap and check that the PVC female fittings align properly with the barrel and chamber.
This step prevents leaks and guarantees your potato gun functions safely and effectively. Focus on:
- Confirming barrel, chamber, reducers, and fittings fit snugly
- Checking length and diameter match specifications
- Testing ignitor and screws for secure attachment
- Adjusting or sanding rough edges for a tight fit
- Guaranteeing no gaps or loose connections exist
Taking time here saves you from errors later. A perfect fit means a reliable seal and a powerful, well-built potato gun.
Prime and Glue Your PVC Pipes Together, Then Let Them Cure
Since proper adhesion is essential for a strong, leak-proof potato gun, you’ll want to apply PVC primer to all pipe ends and fittings before gluing them together. After priming, use PVC cement to glue the pipes and fittings securely.
Connect the chamber, barrel, and reducer in the correct order. Hold each joint firmly for at least 30 seconds to let the glue set.
Finally, allow the entire assembly to cure undisturbed for 24 hours for maximum strength.
| Step | Action |
|---|---|
| 1 | Apply PVC primer |
| 2 | Use PVC cement to bond |
| 3 | Hold joints for 30 seconds |
| 4 | Let cure for 24 hours |
Following these steps ensures your potato gun is durable and airtight.
Build and Test the Potato Gun Ignitor System
After your PVC pipes have fully cured and formed a strong, airtight chamber, it’s time to focus on building the ignitor system that will ignite the fuel inside your potato gun. A reliable ignitor system is essential for safe and effective firing.
Here’s how to build and test it:
- Extract the ignitor from a grill lighter by carefully opening its seams.
- Drill small holes near the back plug of the PVC chamber and insert the ignitor with the metal tip close to the chamber wall.
- Secure ignitor wires to two screws spaced less than an inch apart, creating a spark gap.
- Wrap wires around the screws, ensuring firm contact, then tape the ends to prevent shocks.
- Test the ignitor by pressing the button inside the chamber and look for a visible spark.
This step guarantees your potato guns are ready for ignition.
Load and Fire Your Potato Gun Safely, Plus Maintenance Tips
When you’re ready to fire your potato gun, start by inserting the potato snugly into the barrel and securing the chamber cap tightly to guarantee a proper seal. Next, spray hairspray into the chamber for 4-7 seconds as your propellant, then quickly reseal the chamber.
Always point the gun in a safe direction before you fire to avoid accidents. After each shot, wait 7-10 minutes to allow residual pressure and fumes to dissipate.
To keep your potato gun in good shape, regularly check and tighten all fittings, and ensure the ignition system works properly. After firing, clean and inspect the barrel for debris or damage.
Also, wait until the PVC glue fully cures before using it again to maintain safety and performance. This will help keep your potato gun working well and safe to use every time.
Frequently Asked Questions
What Makes a Potato Gun Fire?
What makes your potato gun fire is igniting the flammable propellant inside the sealed chamber. The expanding gases create pressure that pushes the potato out at high speed.
Your ignition system triggers the combustion to start this process. So, basically, it all comes down to lighting that fuel and letting the pressure do its thing.
How to Make Potato Cannons Create?
You create potato cannons by assembling PVC pipes with airtight seals. Then, you install an ignition system and load a potato.
When you ignite the propellant inside, the combustion pressure launches the potato out of the barrel. It does this powerfully and, when done right, safely.
What Can You Shoot Out of a Potato Gun?
You can shoot potatoes, marshmallows, foam balls, tennis balls, or other soft, lightweight, non-metallic objects that fit snugly in the barrel.
Just make sure the projectile is safe and won’t damage your potato gun.
It’s all about having fun while staying safe!
How Fast Can a Potato Gun Shoot?
A potato gun can shoot potatoes as fast as a car on a city street, reaching speeds between 30 and 100 mph.
With a longer barrel and proper fuel, you’ll hit closer to that top speed easily. It’s pretty cool how much difference those factors make!
Conclusion
Now that you’ve built your potato gun, get ready to become the ultimate spud-slinging legend! With just a few PVC pipes and a spark of genius, you’re basically wielding a rocket launcher of delicious destruction.
Remember, safety first—this isn’t a toy, it’s a potato-powered masterpiece. Fire responsibly, impress your friends, and never underestimate the sheer power of a perfectly launched potato. Your backyard will never be the same again!
Making a potato gun is a fun and exciting project that combines creativity with a bit of science. When you follow these easy steps, you’re not just building a potato gun—you’re creating a backyard launcher that’s both safe and impressive. So grab your materials, think safety, and get ready to experience the thrill of spud-slinging like never before!