
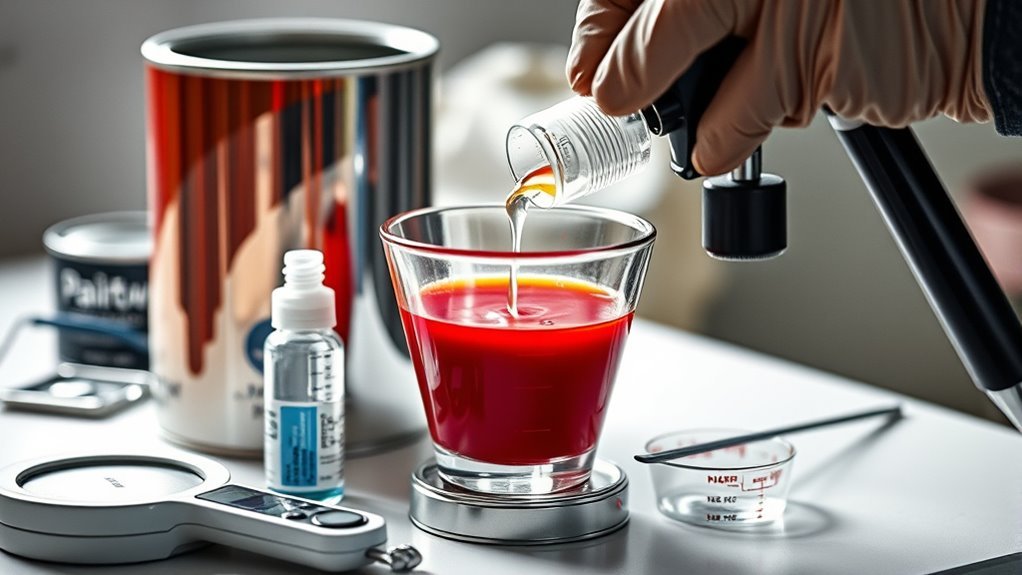
How to Thin Paint for a Spray Gun in 10 Easy Steps
Start by checking your paint label for thinning instructions and recommended thinners, usually water or specific reducers. This step is crucial to ensure you use the right thinner for your paint type and get the best spray gun performance. Prepare your spray gun and wear safety gear before you begin.
Next, test spray undiluted paint on a sample board to spot any issues. This helps you understand how the paint behaves and if it needs thinning. Thin your paint gradually, adding thinner in 5–10% increments, mixing well each time while watching the spray pattern and viscosity.
Be careful not to over-thin your paint, as this can affect its performance and finish quality. Remember to record your thinning ratios to replicate the results later.
Finally, clean your equipment thoroughly after use to keep everything in top shape. Keep practicing to master your spray gun setup and spraying techniques for flawless results every time.
Key Takeaways
– Check the paint label or technical sheet for the recommended thinner type and maximum dilution percentage before you start.
It’s important to know what the paint manufacturer suggests so you don’t mess up the finish.
– Add thinner gradually in 5–10% increments, stirring thoroughly between each addition to keep the consistency uniform.
Don’t rush this part; going slow helps you avoid over-thinning.
– Measure viscosity with a Zahn #2 cup, aiming for 18–25 seconds to make sure the paint sprays properly.
If it’s too thick or thin, the spray gun won’t perform well.
– Spray a test panel after each thinning step to check for smooth, even atomization without runs or sputtering.
Testing frequently saves you from surprises on the final surface.
– Record your thinning ratios, thinner type, spray settings, and environmental conditions.
Keeping notes like this helps you get consistent results next time you mix paint.
Read the Paint Label for Thinning Instructions
Before you thin any paint, always check the label or technical data sheet. It tells you if thinning is allowed, which thinner to use, and the maximum dilution percentage.
You only need to thin when the label recommends it. Some paints and primers shouldn’t be diluted at all.
Pay attention to the suggested mixing ratio, like “3 parts paint to 1 part water.” Measure carefully in a separate container so you can replicate the mix later if needed.
The label often specifies whether you should use water or a specific reducer. This is especially important for water-based or solvent-based paints.
Also, look for application advice, such as maximum thinning percentages for spray methods like HVLP. Following the label helps avoid problems like reduced coverage or durability that happen if you over-thin.
Select the Right Thinner for Water-Based Paint
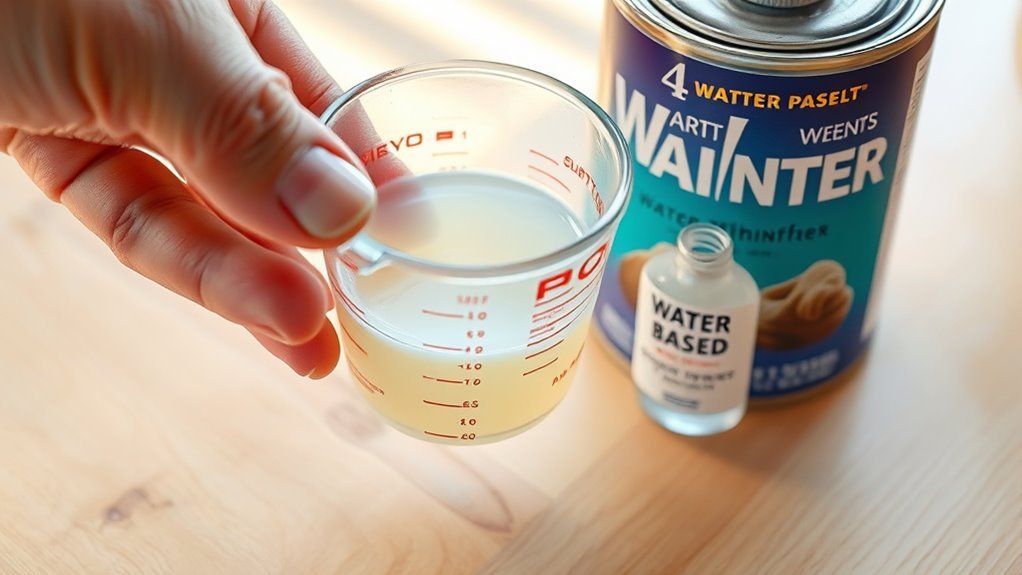
Choosing the right thinner plays a crucial role in achieving a smooth spray finish with water-based paints. Most latex or acrylic paints thin well with clean water—usually up to 10–20% by volume for HVLP sprayers. Airless sprayers often don’t require thinning.
Selecting the appropriate thinner is essential for smooth water-based paint finishes, typically using water for latex or acrylic paints.
You can also use additives like Floetrol, a paint conditioner that improves flow and reduces clogging without lowering solids. Just be sure to follow the manufacturer’s recommended amounts.
Some professionals add 5% glycol ethers or slow-evaporating glycols to boost sprayability and leveling. This is often combined with a small water addition for best results.
When you’re unsure, thin incrementally by mixing small amounts. Test the spray pattern until it’s smooth.
Always follow the paint label’s instructions, wear proper PPE, and record your thinning ratios for consistent results.
Adjust Thinning for Your Spray Gun
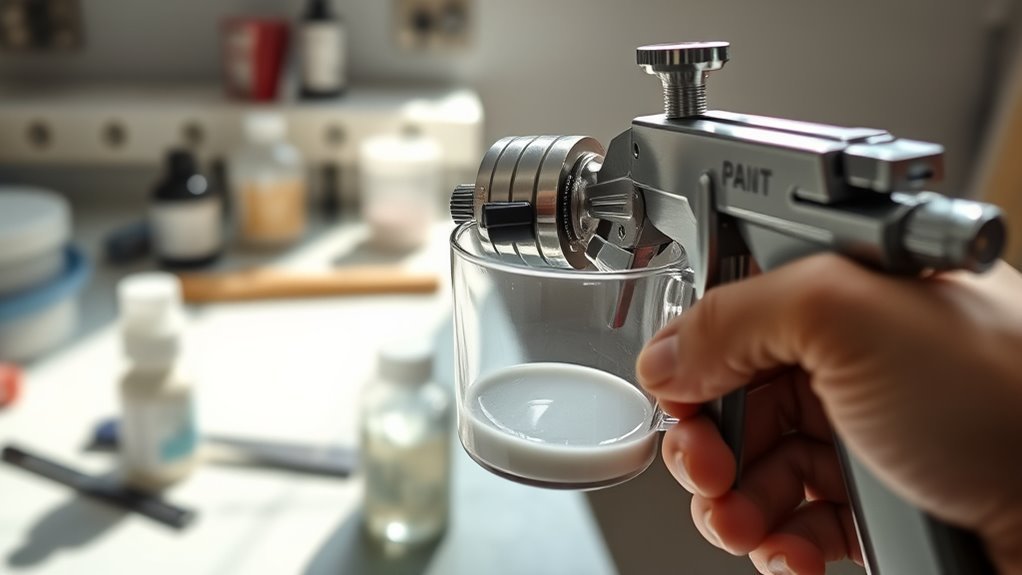
To get the best results, you’ll need to adjust the thinning ratio based on your spray gun’s compatibility and recommended viscosity levels. Start by testing the paint flow through the gun and make small adjustments until the spray pattern is smooth and even.
Always strain the paint first and record your final mix for future reference. That way, you’ll know exactly what worked when you need to do it again.
Spray Gun Compatibility
When you adjust thinning for your spray gun, you need to take into account the type of equipment you’re using. Airless sprayers often handle undiluted water-based paints, while HVLP and conventional siphon or turbine guns usually require thinning with clean water by about 10–20% to achieve proper atomization.
For HVLP guns, aim for a viscosity around 18–22 seconds on a Zahn #2 cup, adjusting in 5% increments. Instead of over-thinning with water, consider adding 5–10% Floetrol or similar conditioners to improve flow and reduce brush marks without lowering solids.
When spraying thicker acrylics or high-solids enamels, use a small amount of glycol-based extender or the recommended reducer to keep film build intact. Always test on scrap and record your exact thinning ratios for consistent results.
Adjusting Viscosity Levels
Although thinning paint can seem straightforward, adjusting viscosity precisely is key to getting a smooth, even spray. Start by measuring the paint’s viscosity using a #2 Zahn cup—aim for 18–25 seconds for most HVLP and airless guns.
Then, adjust thinning carefully. Add water 2–5% at a time for water-based paints, stirring thoroughly.
Use mineral spirits or paint thinner in 2–5% increments for oil-based paints, respecting manufacturer limits. Follow your spray gun’s recommended fluid tip size and pressure for optimal atomization.
Be sure to record the thinner type and amount used, and always test on a scrap board before your project. This methodical approach guarantees you achieve the perfect flow and finish every time you spray.
Testing Spray Flow
Start by checking your paint’s label for the recommended viscosity or thinning ratio—many water-based paints suggest 0–10% water for airless spraying and up to 15–20% for HVLP systems.
Next, use a viscosity cup like a Ford #4 to measure flow time; aim for about 20–25 seconds when spraying water-based latex with an HVLP.
Fill your spray gun with undiluted paint first and test spray a 12×12-inch panel at working pressure.
If the pattern looks heavy, add thinner in 5% increments and retest. Keep careful notes on how much thinner you add—this helps you replicate the ideal viscosity later.
Watch the atomization: a smooth, even mist without spitting or orange peel means your thinning is just right. But if you see runs or translucency, it means you’ve thinned too much.
Get Your Spray Gun and Safety Gear Ready
Gear up with the right safety equipment before handling paint or thinning agents to protect yourself from harmful fumes and skin contact. Start by putting on a NIOSH-rated respirator, chemical-resistant gloves, and safety goggles.
Next, make certain your workspace has proper ventilation or use a spray booth. Keep any ignition sources away, especially when working with flammable reducers like mineral spirits.
Now, prepare your spray gun by checking the tip size (usually 0.011–0.015″ for latex) and cleaning seals and filters to avoid clogging. Finally, gather your tools for precise thinning measurements.
- Wear respirator, gloves, and goggles for full protection.
- Ventilate your space and eliminate fire hazards.
- Inspect and assemble your spray gun carefully.
- Ready measuring cups and mixing containers for accuracy.
Test Spray Undiluted Paint on a Sample Board
Start by spraying undiluted paint on a sample board held at the normal gun distance to observe the spray pattern and paint flow. Watch for any sputtering, drips, or uneven edges that indicate consistency issues.
This test helps you pinpoint whether the paint needs thinning before you move forward. It’s a simple step but really important to get right.
Evaluate Spray Pattern
Before adding any thinner, fill your spray gun cup about one-quarter full with undiluted paint. Then, spray a 12×12 inch test board at the pressure and distance you’ll use on the job.
Now, take a close look at the spray pattern. Check for a consistent fan shape with even edges—no heavy center buildup or fisheyes.
Notice if the center is heavy or has an orange peel texture. That means the paint’s too thick and needs thinning.
If the spray spits, sputters, or atomizes poorly, add thinner in 5–10% increments. Mix it well and then retest.
Make sure to record the thinner percentage and spray pressure that create an even, wet-looking coat. This helps you get consistent results.
Taking the time to evaluate carefully like this guarantees a smooth, professional finish before you commit to thinning.
Check Paint Consistency
Fill your spray gun cup with undiluted paint and spray a 12×12-inch sample board using the same pressure and distance planned for the job. Watch for even atomization with a fine mist—no sputtering, fisheyes, heavy runs, or orange peel.
These flaws mean the paint’s too thick for your gun or settings. Use a Zahn cup (#2–#4) to measure viscosity or compare flow time to the manufacturer’s specs; water-based paints often spray well between 15–20 seconds in a Zahn #2.
Check where paint lands on the board—wet edges, pooling, or thin spots—to decide if adjustments beyond thinning, like pressure or tip size changes, are needed. Record your undiluted test results, including spray distance, pressure, tip size, and paint brand, for consistent future setups.
Identify Thinning Needs
Spray a small amount of undiluted paint onto a test board using your intended gun, tip size, and pressure to observe atomization and coverage. This test reveals if your paint needs thinning.
Watch for these signs: heavy splatter or poor atomization—your spray gun struggles to produce a fine mist. Orange peel texture or an inconsistent spray pattern means the paint is too thick.
Runs or sagging on the test board? That usually means the paint is over-thinned. Slow flow and visible brush marks? That shows the paint is too thick.
Compare your results with the manufacturer’s recommended settings. Be sure to record the paint brand, viscosity, gun setup, and appearance. This way, you can precisely replicate the thinning ratio for your full project.
Add Thinner Gradually and Stir Thoroughly
When you add thinner, do it in small increments—start with about 5–10% of the paint volume—and stir thoroughly after each addition to guarantee the mixture is uniform.
For example, add 50–100 mL of thinner per liter of paint, then stir for at least 30 to 60 seconds. This makes certain the thinner blends completely, preventing streaks or pockets.
Keep track of the total thinner you add so you can replicate the mix later. Always follow the paint manufacturer’s recommended thinning limits—usually not exceeding 20% for water-based paints—to maintain proper film quality.
Gradually increasing thinner and stirring well helps you achieve the right viscosity. This sets you up for a smooth spraying experience without compromising paint performance.
Check Spray Pattern and Paint Thickness After Each Addition
After each small addition of thinner, spray a test pass to check the spray pattern and paint thickness. Look closely for a smooth, even mist without sputtering or pooling. This will help you know if the paint needs more adjustment.
Use these results to fine-tune your mix before moving on with the job. Taking a moment here can save you time and frustration later on.
Assess Spray Pattern
Because achieving a smooth, even finish depends on proper paint consistency, you’ll want to test the spray pattern and coating thickness after each small addition of thinner. Spray a 6–12 inch test pass on cardboard or wood to check for uniform atomization and no heavy droplets.
Look for a consistent fan pattern matching your spray tip width; any narrow, clogged, or speckled output means the paint’s still too thick. Follow these steps:
- Thin water-based paint by 5% increments, retesting each time.
- Observe the spray distance (8–12 inches) and fan width (6–12 inches).
- Feel for tackiness and watch for runs or orange peel after drying a few minutes.
- Record thinner type, percentage, and spray settings for future reference.
This method ensures a flawless, repeatable spray every time. Just take it step-by-step, and you’ll get the hang of it quickly!
Evaluate Paint Thickness
Although thinning paint is essential for a smooth spray, you should evaluate paint thickness carefully after each addition to guarantee ideal consistency. After stirring in thinner, spray a short test pass on cardboard or scrap to check for a smooth, even mist without sputtering or heavy droplets.
Use a viscosity cup like Zahn #2–#4 to measure flow time—aim for 20–35 seconds for many HVLP or airless setups. Observe the spray pattern edges: feathered edges mean the paint’s too thin, while heavy, scalloped edges show it’s too thick.
Record each percentage of thinner added (usually up to 10–20% for water-based paints in HVLP). Let the paint rest 1–2 minutes before retesting to avoid bubbles or temporary viscosity shifts misleading your evaluation.
Adjust Based On Results
Once you’ve evaluated the paint thickness and made your initial thinning adjustments, keep a close eye on the spray pattern and consistency after each small addition. Start by adding thinner in 5–10% increments, stirring thoroughly before spraying a test panel.
Then, check for even atomization and a uniform fan pattern. If the fan is pinched or ragged, adjust thinning or pressure accordingly. Watch for sagging or runs on the dried film to avoid over-thinning.
Here’s what to do:
- Spray a test panel after each addition to spot spitting or orange peel.
- Aim for a full, even fan pattern to guarantee proper viscosity.
- Measure viscosity with a Zahn or flow cup if possible.
- Record thinner type, amount, and gun settings for consistency.
Avoid Over-Thinning to Maintain Paint Performance
When thinning paint for your spray gun, you should never exceed the manufacturer’s recommended percentage—usually between 0 and 20% for water-based paints. This helps keep hiding power, adhesion, and VOC balance intact.
Over-thinning weakens film build and reduces durability. So, add thinner in small increments, testing sprayability each time.
You might also consider using additives like Floetrol to improve flow without sacrificing solids. For large jobs, try using equipment designed for thicker paints to preserve performance.
| Thinner Added | Effect on Paint Properties | Recommended Action |
|---|---|---|
| 0% | Full hiding power, adhesion | Use as-is |
| 5% | Slightly thinner, good flow | Spray test panel |
| 10% | Reduced solids, slight loss | Add Floetrol if needed |
| 15% | Noticeable reduction | Spray carefully, test often |
| 20% | Minimal hiding, weaker film | Avoid over-thinning |
Record Your Thinning Ratios for Future Use
You should always record the exact thinning ratio you use, such as 10% water meaning 100 mL water per 1 L paint or 1 part thinner to 9 parts paint. This helps you replicate successful results and avoid guesswork on future projects.
Always note your exact thinning ratio to replicate success and eliminate guesswork in future projects.
Include these key details:
- Paint brand, type, batch number, and date to track consistency.
- Spray equipment and settings like gun type, tip size, and PSI since these affect performance.
- Environmental conditions such as temperature and humidity because they influence thinning needs.
- Test results including spray pattern quality, number of passes, and drying time to fine-tune your mix.
Keeping this log guarantees you save time, reduce waste, and achieve flawless finishes every time you spray. It’s a simple step that makes a big difference!
Clean Your Spray Equipment After Use
Regularly cleaning your spray equipment right after use keeps it functioning smoothly and prevents costly clogs. Start by flushing the gun, hoses, and cups with the proper solvent—water for water-based paints or mineral spirits for oil-based.
Then, disassemble removable parts and soak them for 10–30 minutes. After soaking, brush them gently to remove any leftover residue.
Run solvent through the gun until it runs clear, and don’t forget to wipe all surfaces dry afterwards. Using compressed air to clear passages is a great idea—just make sure you wear eye protection while doing it.
Finally, lightly lubricate the moving parts, reassemble everything, and store the gun in a clean, dry place. This routine will help keep your equipment in top shape and ready for next time.
| Step | Action | Tips |
|---|---|---|
| Flush | Spray solvent through gun | Use recommended solvent |
| Soak & Brush | Clean removable parts | Use soft nylon brush |
| Dry & Blow Out | Wipe and use compressed air | Wear eye protection |
| Lubricate & Store | Lubricate, reassemble, store | Prevent corrosion, keep dry |
Frequently Asked Questions
How to Thin Paint to Spray?
You thin paint for spraying by gradually adding water or thinner in small increments, stirring well each time. Test spray on scrap, adjusting viscosity until it sprays smoothly without clogging or running.
Then, record your perfect mix. That way, you’ll know exactly what ratio works best for next time.
What Thinners Can You Use With 2K Paint?
Wondering what thinners you can use with 2K paint? You’ll want 2K-specific thinners or reducers from the same manufacturer, like ketones or esters.
Don’t risk curing issues by using water or non-approved solvents! It’s really best to stick with what’s recommended to get the best results.
What Is the Best Thinner for Acrylic Paint?
The best thinner for acrylic paint is clean water for water-based types, added gradually up to 20%.
For artist acrylics, use a commercial acrylic medium or flow improver like Floetrol to maintain gloss and binder strength. This helps keep your paint looking great without losing its quality.
How Much Thinner to Mix With Paint?
You’ll typically mix 5–10% thinner with water-based paint for HVLP guns, up to 20% for some formulas.
Add thinner gradually, stir well, and test spray to avoid over-thinning and guarantee smooth application.
It’s always better to go slow with the thinner—this way, you keep control over the consistency and finish.
Conclusion
Thinning paint for your spray gun might seem tricky, but it’s really just about patience and testing. You might worry that thinning will ruin the paint’s finish, but done right, it actually helps you get a smooth, even coat without clogs or splatters.
Follow the steps, keep notes, and adjust carefully—you’ll save time and frustration. Plus, your spray gun will thank you with flawless results every time.
Give it a shot! Thinning paint properly ensures your spray gun works efficiently, giving you that perfect, professional-looking finish. With the right technique, you avoid common issues like clogging and uneven coverage. So, take your time, test as you go, and enjoy the ease of spraying paint that’s just the right consistency. Your projects will look better, and you’ll feel more confident every time you pick up your spray gun.

2 Comments