How to Make a Spud Gun in 7 Easy Steps
To make a spud gun in 7 easy steps, start by gathering PVC pipes and other essential materials. Carefully measure, mark, and cut the pipes to the right sizes. Sand the edges smooth to guarantee a good fit and avoid any rough spots.
Next, drill holes in the cap for your adapter, then glue and assemble all parts tightly. Be sure to add a lighter holder and seal every joint to keep it airtight. This will ensure your spud gun works efficiently and safely.
After everything is glued and sealed, let the assembly cure completely. Once cured, test it safely outdoors with proper precautions.
Keep going to discover tips for perfect assembly and safe firing techniques that will help you get the best performance from your spud gun.
Key Takeaways
- Cut and smooth PVC pipes to specified lengths: 7-inch, 10-inch, and 25-inch sections for the barrel and body.
- Drill and fit a 3/4-inch adapter into the cap, sealing it airtight with epoxy clay or sealant.
- Assemble and glue PVC parts, including the 4-inch coupler and 2-inch reduction, ensuring airtight joints.
- Attach accessories like a lighter holder and seal all connections with waterproof cement or sealant.
- Conduct safety checks, test outdoors with a snug potato, and follow strict safety guidelines during use.
Get Your Spud Gun PVC Materials Ready
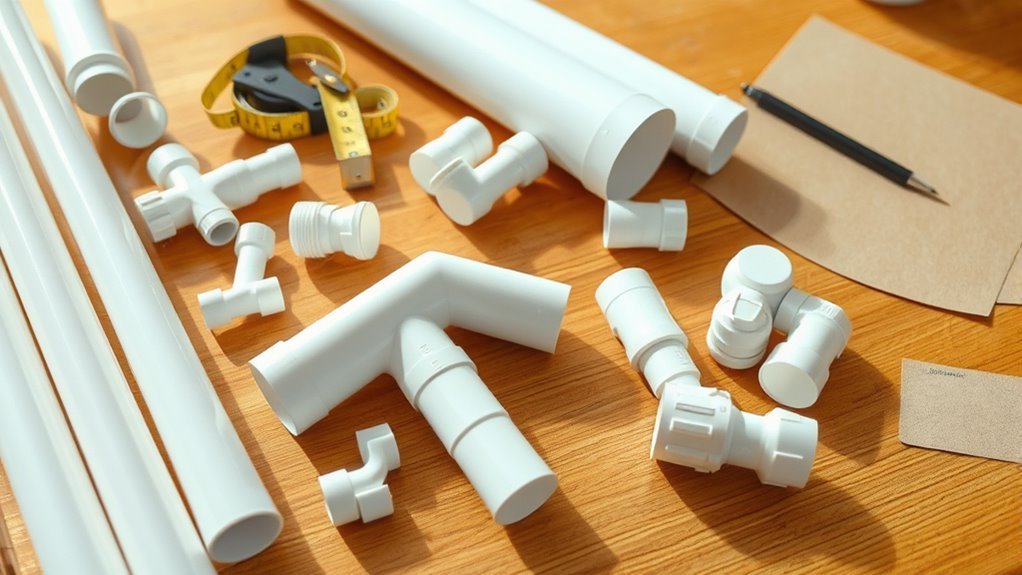
Before you start assembling your spud gun, gather all the necessary PVC materials from Home Depot. You’ll need a 4-inch diameter PVC pipe, two sections measuring 7 inches and 10 inches, and a 2-inch diameter PVC pipe.
Gather essential PVC pipes: a 4-inch diameter pipe and two sections measuring 7 and 10 inches.
Once you have them, thoroughly clean every piece to remove dirt and debris. This guarantees a secure fit and helps the glue bond effectively.
You’ll start by gluing components later, but first, prepare by marking your cutting lines carefully. Use a handsaw to cut along the marks, then sand the edges to smooth any roughness.
Also, get a cap with pre-drilled holes for the adapter, and have epoxy clay and PVC glue ready to assemble your spud gun parts securely in the next steps.
Mark and Cut Spud Gun PVC Tubes
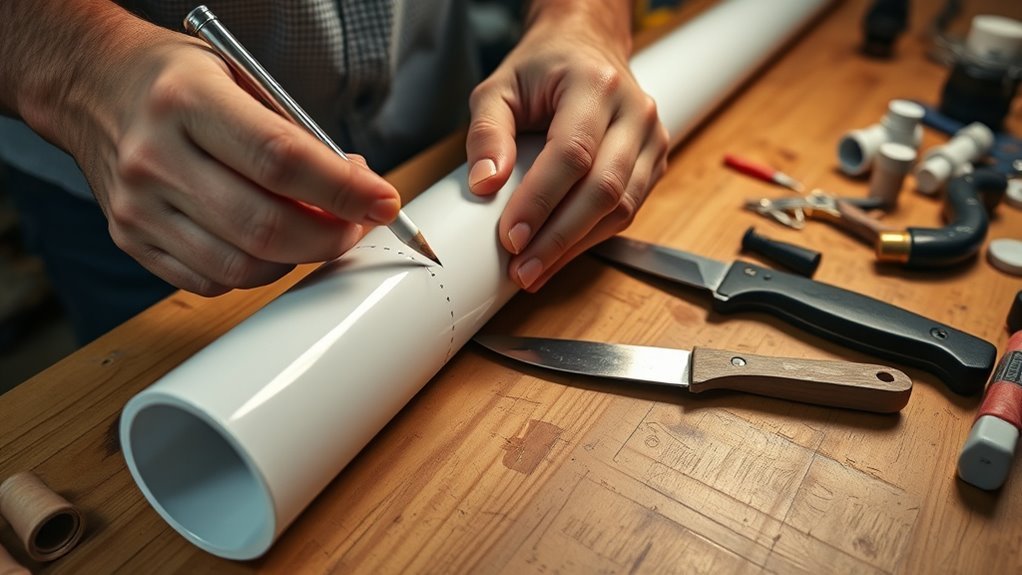
Start by measuring and marking the PVC tubes precisely according to the required lengths. Use a handsaw to cut along your marks carefully.
Then, sand the edges to guarantee smooth, safe surfaces. This will help your spud gun pieces fit together perfectly during assembly.
Taking your time here really makes a difference! It ensures everything lines up just right when you put it all together.
Measuring PVC Sections
When you measure your PVC sections, make sure to mark the 4-inch tube at 7 and 10 inches for the main body, and the 2-inch tube at 25 inches for the barrel. Use a ruler or measuring tape to get precise measurements, and mark your cut lines clearly with a permanent marker.
Double-check each mark before cutting to avoid mistakes that can throw off the fit and function of your spud gun.
Keep these key points in mind:
- Accuracy is essential—measure twice, mark once.
- Use clear, visible marks to guide your cuts.
- Focus on consistent measurements for a snug, secure assembly.
Following these steps guarantees your PVC sections will fit perfectly when you move on to cutting and assembling.
Cutting And Smoothing
Although marking your PVC tubes precisely is essential, cutting them carefully along those lines is what guarantees your spud gun parts fit perfectly. Start by firmly holding the tube and using a handsaw to cut slowly and steadily along the marked lines.
Apply even pressure to avoid jagged edges or cracking. Taking your time here pays off with cleaner cuts that make assembly easier.
After cutting, sand the edges with fine-grit sandpaper to remove any roughness and sharp bits. This step not only prevents injury but also assures the pieces fit securely when assembled.
Smooth edges help your spud gun function reliably and look professionally made. Remember, careful cutting and thorough smoothing set the foundation for a strong, safe spud gun.
Sand Cut Edges Smooth
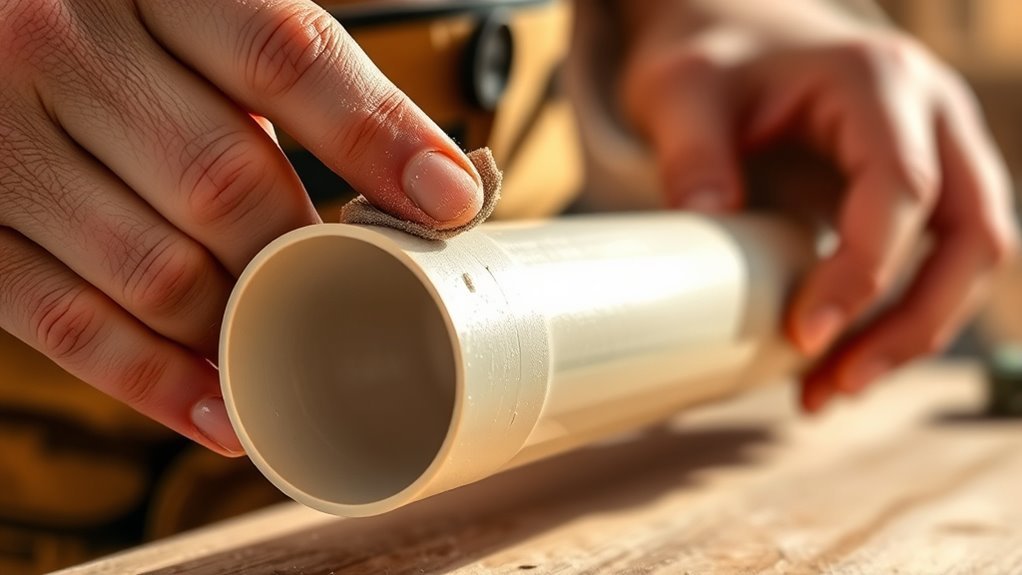
Because rough edges can cause injury and interfere with assembly, you’ll want to use fine-grit sandpaper to carefully smooth all the cut ends of your PVC tubes. Sand in a circular motion to evenly chamfer the edges and remove any burrs or splinters.
Focus on the ends to make sure they’re safe to handle and fit perfectly with other parts. Keep sanding until the edges feel smooth, which helps prevent damage and guarantees a better seal.
After sanding, wipe the edges with a clean cloth to clear away dust and debris before moving on.
Remember to:
- Use fine-grit sandpaper for gentle, precise smoothing
- Sand evenly in circular motions for consistent edges
- Clean the edges thoroughly to maintain assembly quality
Drill Holes and Prepare the Spud Gun Cap
To prepare the spud gun cap, start by marking the exact spot where you’ll attach the 3/4-inch adapter. This is usually on the side or top.
Begin by marking the precise location for the 3/4-inch adapter on the spud gun cap.
Drill small pilot holes first to guarantee correct alignment before enlarging them to fit the adapter snugly. Use a drill bit that matches the diameter of the adapter’s threaded section for a secure fit.
Once drilled, file or sand the holes to smooth out any rough edges. This will prevent damage to the adapter and avoid potential leaks.
After inserting the adapter, apply epoxy clay or sealant around it. This helps create an airtight, secure seal on the cap.
Taking these careful steps assures your spud gun cap is properly prepared for assembly and use.
Glue and Assemble Your Spud Gun
Once you’ve prepared all the parts, apply PVC cement inside each joint and quickly press the pieces together to form a strong, airtight bond. Start by gluing the 7-inch and 10-inch PVC tubes into the 4-inch coupler for a snug fit.
Next, connect the reduction piece from 4-inch to 2-inch PVC, making sure it’s airtight. Finally, secure the 2-inch PVC section to the reduction piece with glue.
Remember these key tips: apply cement inside joints for a secure seal. Join pieces quickly to avoid weak bonds.
Also, allow all glued connections to cure for at least one hour before moving or testing.
Following these steps ensures your spud gun is sturdy and ready for the next build phase.
Add the Lighter Holder and Seal Joints
While your spud gun’s main structure is solid, adding the lighter holder is essential for ignition and safety. Start by drilling a small hole on the right side of the assembled gun to hold the lighter securely.
Press the lighter into the hole, then use epoxy clay to firmly attach it, making sure it won’t move during use. Next, seal all joints and connections with PVC cement or a waterproof sealant to prevent air leaks. This step improves both performance and safety.
Double-check that the lighter holder is tightly fixed and all seals are airtight before moving forward. And hey, don’t forget to regularly inspect the sealant and lighter attachment for any wear or damage. That way, your spud gun stays safe and reliable every time you use it.
Test Your Spud Gun
Before you fire your spud gun, make sure it’s fully assembled and dry. Always point it away from people and animals.
Use a potato that fits snugly in the barrel for the best shot. Push it in gently with a broomstick.
Test in an open area so you can safely observe how far and accurately it shoots. It’s better to be safe than sorry!
Safety Precautions Before Testing
Although it’s exciting to test your spud gun, you need to prioritize safety by wearing goggles and gloves. Also, check that all parts are securely fitted, and make sure the firing area is clear of people and flammable materials.
Before you fire, take these precautions seriously to avoid accidents.
Always test outdoors in a well-ventilated area. This helps prevent inhaling fumes from glue or propellant, which can be harmful.
Perform a thorough safety check to confirm no obstructions are in the barrel. Obstructions could cause misfires or damage, so don’t overlook this step.
Double-check that all glued parts are completely cured and securely attached. This prevents any part from coming loose during firing, keeping things safe and smooth.
Proper Firing Techniques
Once you’ve confirmed your spud gun is safely assembled and the area is clear, it’s time to focus on firing techniques that maximize performance and safety. Always wear safety goggles and gloves to protect your eyes and skin from unexpected debris.
Make sure the potato fits snugly inside the barrel to avoid misfires or jams. Adding a small amount of water or lubricant inside the barrel helps create a better seal, improving firing distance.
Keep your face and body well clear of the muzzle when firing to prevent injury from recoil or flying particles. Test your spud gun only in open areas, far from people, animals, and fragile objects.
Following these steps guarantees a safe, effective firing experience every time. It’s really all about being careful and having fun!
Frequently Asked Questions
How to Make Potato Cannons Create?
You create potato cannons by assembling a sealed chamber and barrel from PVC pipes. Then, you add an ignition source like hairspray.
Make sure to seal all connections tightly so no air escapes. When everything is set, you safely ignite the fuel to launch the potato.
It’s all about controlling the pressure to get a good shot. Just remember to follow safety precautions while doing it!
How Does a Spud Gun Work?
Did you know a spud gun can launch potatoes over 300 feet? You create pressure inside a sealed chamber, then release it suddenly.
That force pushes the potato down the barrel, sending it flying at high speed. Pretty cool, right?
What Is a Potato Bazooka?
A potato bazooka is a homemade device that shoots potatoes using air pressure or combustion. You use PVC pipes to build it, creating a barrel and chamber that propels the potato when ignited or pressurized.
Basically, it’s like a fun DIY launcher. People often make them for hobby projects or just to experiment with physics. It’s a simple concept but pretty cool once you see it in action!
Is a Spud Gun a Firearm?
You might think a spud gun’s a firearm, but it’s not—unless your local laws say otherwise. It shoots potatoes using air or combustion, not gunpowder, so don’t expect to register it like a real gun anytime soon.
That said, rules can vary a lot depending where you live. So, it’s always a good idea to check your local regulations before firing one off. Better safe than sorry!
Conclusion
Now that your spud gun stands assembled, ready to roar like a dragon unleashed, you’ve crafted more than just PVC and glue—you’ve sparked imagination and adventure. Every cut, drill, and seal was a step toward launching fun into the sky.
So, take aim with confidence, knowing you built this mechanical marvel from scratch. Let your spud gun be a reminder that even simple materials can ignite boundless creativity and joy.
Building a spud gun is not just about the final product; it’s about the process of making something cool with your own hands. This spud gun project shows how easy it is to turn everyday items into a fun and exciting launcher. Whether you’re a beginner or a seasoned builder, your homemade spud gun is proof that creativity and a few simple steps can make a big impact. Now, get ready to launch some serious fun!