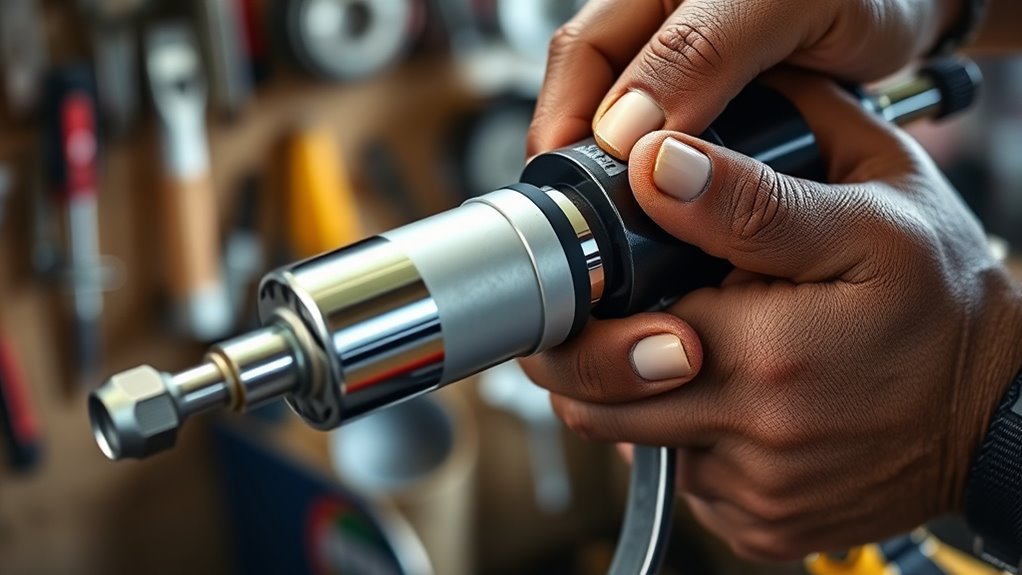
How to Load a Grease Gun in 10 Easy Steps
To load a grease gun in 10 easy steps, start by gathering your tools and preparing the grease gun properly. Having everything ready makes the process smooth and hassle-free.
First, remove the old cartridge by unscrewing the nozzle cap and releasing the handle.
Next, insert the new cartridge carefully, and don’t forget to peel off its seal before securing the gun head tightly.
Lock the plunger rod in place, then prime the grease gun by pumping it a few times to remove any trapped air inside.
Make sure the grease flows smoothly and steadily—that helps prevent airlocks, which can mess up your lubrication job.
Finally, store the grease gun properly when you’re done, so it doesn’t leak or get damaged.
Keep going to master troubleshooting tips and maintenance tricks that’ll keep your grease gun working perfectly every time.
Key Takeaways
- Remove the old grease cartridge by unscrewing the nozzle cap and separating the barrel parts.
- Peel off the metal seal from the new cartridge and insert it properly into the barrel.
- Screw the gun head tightly back onto the barrel to secure the cartridge in place.
- Pull the plunger rod fully back and lock it to prepare for priming.
- Pump the handle until grease flows smoothly and air bubbles are expelled for proper priming.
Gather Tools and Prepare Your Grease Gun
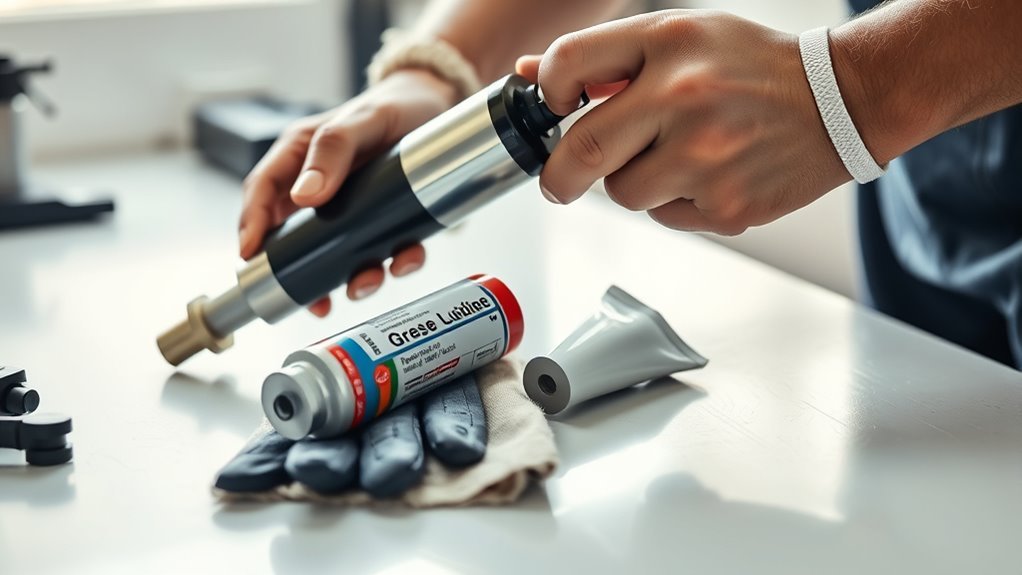
Before you begin loading your grease gun, make sure you have a compatible grease cartridge or container ready. Start by removing the plastic cap from the grease tube and the nozzle cap from the grease gun.
Next, lock the gun’s handle in the fully extended position to prepare for inserting the grease tube smoothly. It’s vital to check that washers inside the grease gun are correctly positioned, as this prevents leaks during the load process.
Also, confirm that all parts of the grease gun are clean and free of debris before assembly. Taking these preparation steps ensures your grease gun will load properly and operate efficiently. This way, you save time and avoid potential issues down the line.
Remove the Old Grease Cartridge Properly
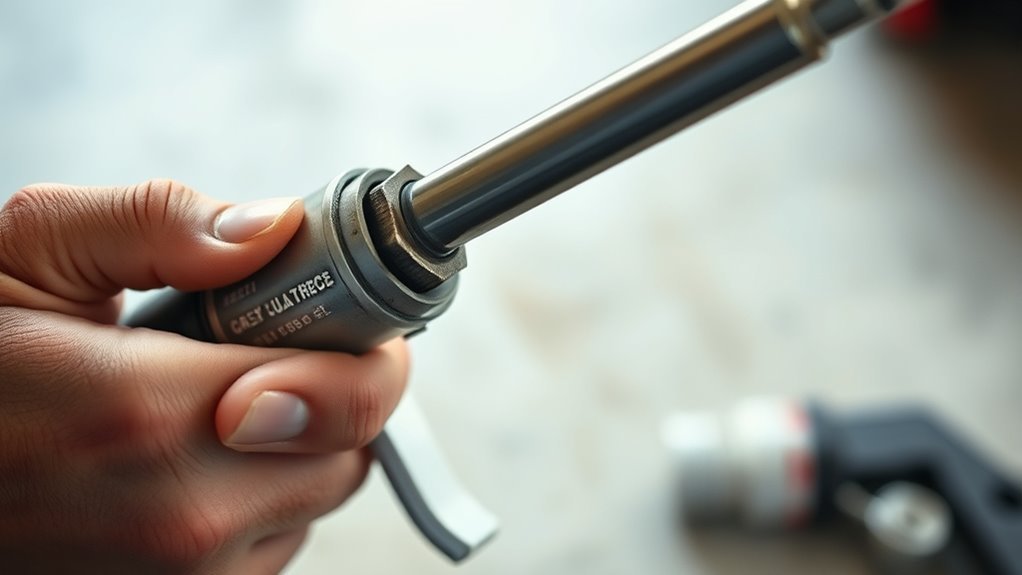
How do you remove the old grease cartridge without making a mess? First, unscrew the nozzle cap and turn the barrel clockwise to separate the parts. Lock the handle fully extended to ease removal.
Next, tip the barrel or pull out the old grease cartridge manually. Be sure to carefully peel off the plastic cap or seal from the old cartridge before disposing of it. Removing the cartridge completely prevents mixing incompatible greases.
| Step | Action |
|---|---|
| 1. Unscrew nozzle cap | Separate gun parts |
| 2. Lock handle extended | Prepare for cartridge removal |
| 3. Remove old grease | Peel off plastic cap and dispose |
Following these steps guarantees a clean and proper removal of the old grease cartridge. Easy, right? Just take it step by step, and you’ll have it done in no time.
Insert the New Cartridge in Your Grease Gun
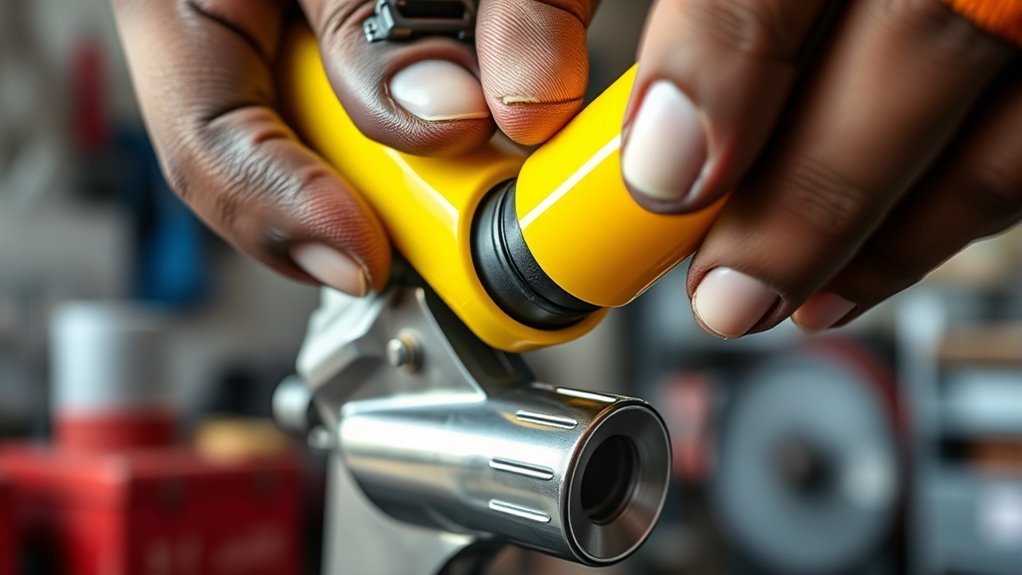
Now that you’ve removed the old cartridge, peel off the metal seal from the new one to expose the grease.
Slide the new cartridge into the barrel, making sure the open end lines up correctly with the gun’s chamber.
Finally, secure the gun head by screwing it back on tightly to prevent leaks. Easy, right? Just take your time to make sure everything fits snugly.
Remove Cartridge Seals
Why is removing the cartridge seal essential when loading your grease gun? You need to remove the seal because it allows grease to flow smoothly into the gun’s chamber.
If the seal isn’t fully removed, air pockets can form, preventing effective priming and causing the gun to malfunction.
Here’s what you should do:
- Peel off the plastic or metal seal completely from the cartridge end.
- Check the cartridge rim for any debris and clean it if necessary.
- Confirm the open end of the cartridge faces the gun’s inlet for proper seating.
Insert And Secure Cartridge
Once you’ve removed the cartridge seal, insert the new grease cartridge by aligning its rim with the bottom of the barrel and pushing it firmly into place. Make sure the grease cartridge is fully seated to guarantee proper flow when you load the gun.
Next, screw the threaded cap onto the barrel to secure the cartridge firmly inside. This step is vital to prevent leaks and maintain pressure during use.
After securing the cartridge, reattach the gun head tightly. Finally, prime the grease gun by pumping it a few times until grease starts dispensing smoothly.
Following these steps helps you load your grease gun efficiently, ensuring it’s ready for use without any blockages or air pockets.
Lock the Plunger Rod to Keep Grease In Place
Before you insert or remove the grease cartridge, make sure to pull the plunger rod back fully and engage its locking mechanism. Locking the plunger rod keeps grease in place and prevents air from entering, ensuring smooth operation.
Here’s how to properly lock the plunger:
- Pull the plunger rod back until it’s fully extended.
- Engage the locking notch or use the designated twist or clip feature to secure the plunger rod.
- Verify the plunger rod is firmly locked before you start pumping or storing the grease gun.
Doing this helps keep everything working smoothly and keeps the grease exactly where it should be.
Prime the Grease Gun to Remove Trapped Air
How do you guarantee your grease gun delivers a smooth, consistent flow? You start by priming it to remove trapped air.
Loosen the bleeder valve slightly to let air escape as you pump the handle or pull the T-pull. Keep an eye out for air bubbles and push grease through to clear them.
Lock the T-pull in place to maintain pressure and ensure continuous grease flow.
| Step | Action | Purpose |
|---|---|---|
| 1 | Loosen bleeder valve | Release trapped air |
| 2 | Pump handle/T-pull | Push grease, remove air bubbles |
| 3 | Watch for air bubbles | Identify air pockets |
| 4 | Lock T-pull in place | Maintain steady grease flow |
Priming prevents air locks, so your gun operates smoothly every time.
Use the Bleeder Valve to Remove Airlocks
To remove airlocks, keep the bleeder valve partially open while you pump the grease gun so trapped air can escape. This valve helps maintain a steady grease flow by releasing air bubbles during priming.
Make sure to adjust the valve as needed to keep the system clear and the piston moving smoothly. It’s a simple step, but it really makes a difference when you’re trying to get things flowing right.
Bleeder Valve Operation
Why does the bleeder valve matter when loading your grease gun? The bleeder valve plays a vital role during priming by allowing trapped air to escape. This prevents airlocks that block grease flow.
Here’s how you should use it:
- Keep the bleeder valve partially unscrewed or pushed down while priming to let air bubbles out.
- Pump your grease gun with the valve open, making sure all air is expelled from the chamber.
- Once priming is complete, tighten the bleeder valve securely. This helps maintain pressure and keeps air from sneaking back in.
Airlock Removal Techniques
Although airlocks can disrupt grease flow, you can quickly clear them by properly using the bleeder valve. Start by keeping the bleeder valve partially unscrewed or pushed down during priming to let trapped air escape.
Pump the grease gun repeatedly while the bleeder valve is open. This pushes air bubbles out of the system, restoring smooth grease flow.
If airlocks persist, twist or loosen the bleeder valve slightly to release more air effectively. This venting process guarantees that air pockets don’t block the grease path.
Once the air is fully removed, make sure to close the bleeder valve tightly. Doing so prevents air from re-entering the system, keeping your grease gun ready for reliable operation without interruptions.
Ensuring Continuous Grease Flow
Whenever you prime your grease gun, keep the bleeder valve slightly open to let trapped air escape. This simple step guarantees continuous grease flow by preventing airlocks.
While priming, gently pump the grease gun to push air bubbles out through the bleeder valve. This keeps pressure steady and grease moving smoothly.
Follow these key steps to use the bleeder valve effectively:
- Keep the bleeder valve partially unscrewed or pressed down during priming.
- Pump steadily to force trapped air out.
- Regularly check the bleeder valve remains slightly open until grease flows uninterrupted.
Make Sure Grease Flows Smoothly Before Use
Before you start using the grease gun, pump it until grease flows steadily from the nozzle to assure smooth operation. This priming ensures the piston moves freely and grease is visible at the outlet.
Use the bleeder valve during priming to release trapped air, preventing interruptions in grease flow. Confirm that the grease flows consistently without air bubbles before you begin your work.
Recheck the flow after priming and add more grease if needed to maintain a steady stream. It’s a quick step that makes a big difference in how smoothly your grease gun works.
| Step | Purpose |
|---|---|
| Pump grease gun | Establish steady grease flow |
| Use bleeder valve | Release trapped air |
| Confirm grease flow | Ensure smooth operation |
Keep Grease in the Hose to Prevent Airlocks
Once you’ve confirmed that grease flows smoothly from the nozzle, focus on keeping grease in the hose to avoid airlocks. Airlocks can disrupt grease flow and reduce the effectiveness of your grease gun head.
To prevent this, follow these steps:
- Pump the grease gun until grease starts flowing through the hose, ensuring it’s filled and air-free.
- Avoid pumping the cartridge dry; leave some grease in the hose to maintain pressure.
- Use the air bleeder regularly to release trapped air and keep the hose primed.
Make it a habit to regularly check the grease level in both the hose and grease gun head. This helps keep everything running smoothly.
Keeping grease in the hose prevents airlocks, so your tool performs reliably every time you use it. Easy, right?
Store Your Grease Gun to Keep It Ready
To keep your grease gun ready, store it in a cool, dry place and wipe off any excess grease before putting it away. Make sure to cap the coupler and keep the gun horizontal to prevent leaks and dirt buildup.
Also, relieve spring pressure and check that all parts are secure to maintain cleanliness and functionality. This way, your grease gun will be good to go whenever you need it!
Proper Grease Gun Storage
Although it might seem simple, storing your grease gun properly guarantees it stays in good condition and ready for use. Proper grease gun storage prevents damage and contamination, extending its lifespan.
Here’s how you can keep your grease gun in top shape:
- Store it horizontally in a cool, dry place away from direct sunlight and moisture to avoid corrosion and assure even grease distribution.
- Always relieve spring pressure before long-term storage to prevent unnecessary strain on internal parts.
- Secure the coupler cap tightly and wipe off excess grease to keep dirt and debris out and maintain cleanliness.
Preventing Grease Gun Leaks
Proper storage not only protects your grease gun but also helps prevent leaks that can compromise its performance. To keep your grease gun leak-free, always wipe the grease from the nozzle and coupler before storing it. This prevents buildup that could cause leaks.
Make certain to lock the handle to relieve spring pressure, especially if you plan to store it for a while. Store the grease gun horizontally in a cool, dry place to keep seals from drying out and leaking.
Don’t forget to securely cap the coupler after use to maintain seal integrity and stop grease from oozing. Following these simple steps ensures your grease gun stays ready and leak-free whenever you need it.
Maintaining Grease Gun Cleanliness
When you finish using your grease gun, always wipe off excess grease from the nozzle and body to prevent buildup and contamination. Keeping your grease gun clean guarantees it’s always ready and prolongs its life.
Here’s how to maintain it properly:
- Store the grease gun in a clean, dry place away from heat, moisture, and direct sunlight. This helps avoid corrosion and damage.
- Keep the coupler cap securely closed to protect the nozzle. It also prevents dirt or debris from getting into the system.
- Regularly inspect and clean moving parts like the trigger and follower rod. This ensures smooth operation and helps avoid dirt buildup.
Troubleshoot Common Loading and Priming Issues
If your grease gun isn’t priming correctly, it’s likely due to air pockets or an improperly seated cartridge. Start by ensuring the grease cartridge is fully inserted and sealed tightly.
Air pockets can block grease flow, so remove them by backing off the plunger or using the bleeder valve during loading. Pump gradually and stop once grease appears to avoid introducing more air.
Using the T-handle or pulling and twisting the T-pull helps push grease past air locks effectively. Also, check for leaks or damaged seals that let air in, disrupting priming.
Frequently Asked Questions
What’s the Proper Way to Load a Grease Gun?
You properly load a grease gun by removing the head, inserting a new cartridge with the metal cap peeled off, then reattaching the head tightly.
Next, pull back the plunger and lock it in place. After that, just pump until grease flows out. Easy, right?
Are You Supposed to Push the Rod in on a Grease Gun?
Think of pushing the rod like closing a door to keep warmth in.
Yes, you’ve got to push the rod in fully to avoid air pockets and guarantee smooth grease flow.
This helps prevent clogs and frustration later on.
Which Way to Put a Grease Tube in a Grease Gun?
You’ll insert the grease tube with the threaded end facing outward, making sure the open end aligns correctly inside the cylinder.
Push it fully in so it seats firmly, then screw on the cap securely to avoid leaks.
It’s pretty straightforward once you get the hang of it. Just take your time to line everything up right!
How Many Pumps From a Grease Gun Is 1 Oz?
You’ll need about 3 to 5 pumps from a standard grease gun to get 1 ounce of grease. Each pump usually dispenses around 0.2 to 0.3 ounces, depending on your gun’s design and size.
Conclusion
Loading your grease gun is as straightforward as following a recipe, step by step. With the right tools and careful priming, you’ll keep the grease flowing smoothly, just like a well-oiled machine.
Remember to store your gun properly and troubleshoot any issues quickly to avoid downtime. By mastering these easy steps, you’ll guarantee your equipment stays in top shape, ready to tackle any job without a hitch.
Keeping your grease gun loaded correctly not only saves time but also ensures your machinery runs efficiently. When you follow this simple guide, you’re preventing wear and tear on your equipment and avoiding costly repairs.
So, take a few minutes to learn how to load a grease gun the right way. It’s an easy skill that pays off by keeping your tools and machines performing at their best every time you need them.