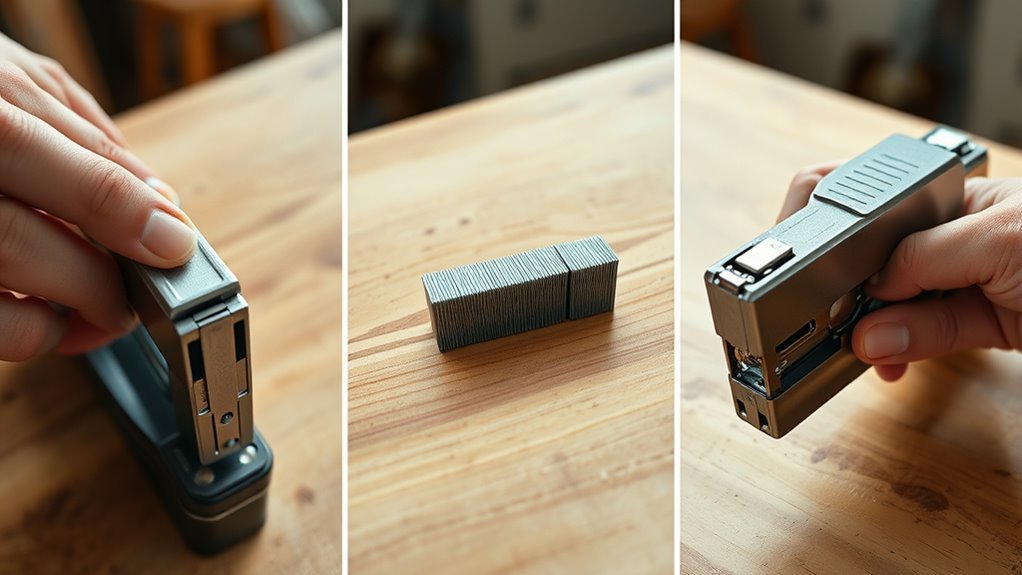
How to Reload a Staple Gun in 3 Easy Steps
To reload your staple gun, start by removing the magazine. Just push the chrome bracket forward and pull it out carefully.
Next, load the staples, U-shaped staples, or T-head nails into their designated slots. Make sure they’re properly aligned and flush for smooth operation.
Finally, reattach the chrome bracket securely. Then, test the gun on scrap material to verify it fires correctly.
If you want to know more about adjusting tension or safely completing reassembly, keep exploring these steps. It’s easier than you might think once you get the hang of it!
Key Takeaways
- Push the chrome bracket forward and carefully remove it to access the magazine for reloading.
- Place staples, U-shaped staples, or T-head nails properly into their designated channels.
- Push the plunger to seat the staples or nails flush with the surface inside the magazine.
- Reattach the chrome bracket securely until it clicks firmly into place.
- Test the staple gun on scrap material to ensure proper firing and adjust tension if necessary.
That’s it! Just a few simple steps and your staple gun is ready to go again.
Remove the Magazine to Reload Your Staple Gun
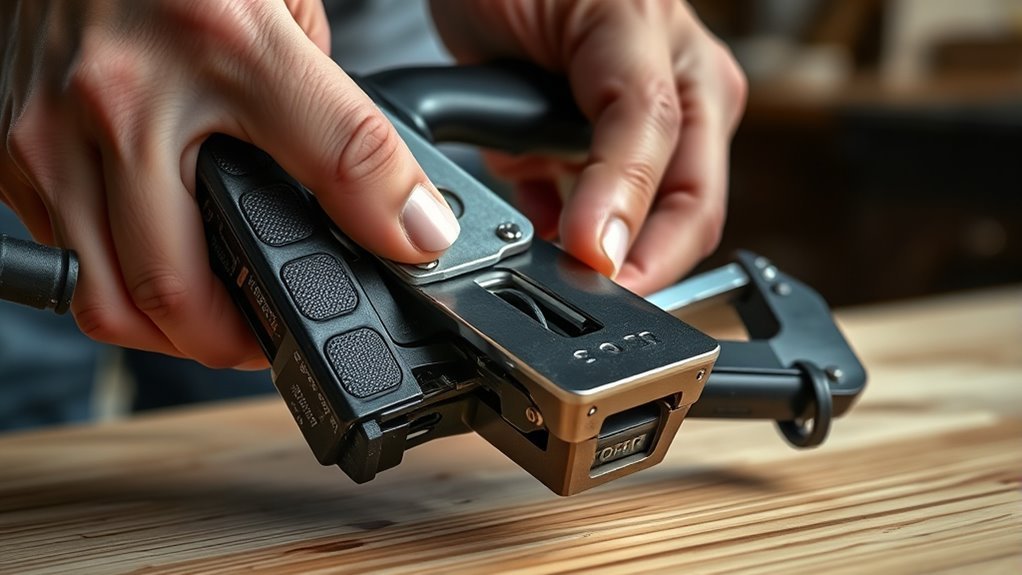
Before you reload your staple gun, you’ll need to remove the magazine. Start by locating the chrome bracket at the stapler’s end. Push this bracket forward to release it from the stapler body.
Once released, carefully pull out the chrome bracket—it holds the staple shoe and spring tensioner. With the bracket removed, you can access the magazine’s interior for reloading.
Carefully remove the chrome bracket to access the staple shoe, spring tensioner, and magazine interior for reloading.
Remember, the magazine is where staples or nails are loaded, so handling it gently prevents damage. After you finish reloading, make sure to reattach the chrome bracket securely.
This step is essential for the staple gun to operate correctly and safely. Following these steps ensures your staple gun is ready for action without any hiccups.
How to Load Staples, U-Shaped Staples, and T-Head Nails
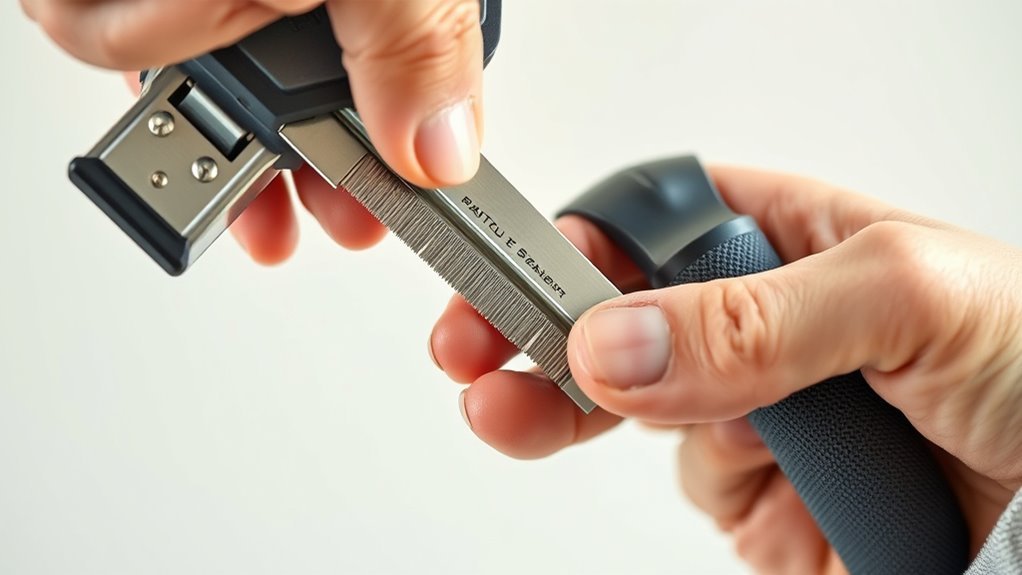
Once you’ve removed the chrome bracket, you can begin loading your staples, U-shaped staples, or T-head nails by placing them carefully into their designated slots within the staple housing. Here’s how to do it correctly:
For standard staples, slide them into the two gaps in the staple shoe. Push the plunger down until the staples spring up, then pull the plunger out to load.
Place U-shaped staples directly in the middle of the channel inside the staple housing, making sure they’re properly aligned.
Insert T-head nails in the same way, but be sure to follow the manufacturer’s guide for the exact placement.
Make sure all staples or nails sit flush and are properly tensioned before you continue.
Doing this carefully ensures smooth operation and effective fastening every time.
Reassemble and Test Your Staple Gun for Proper Operation
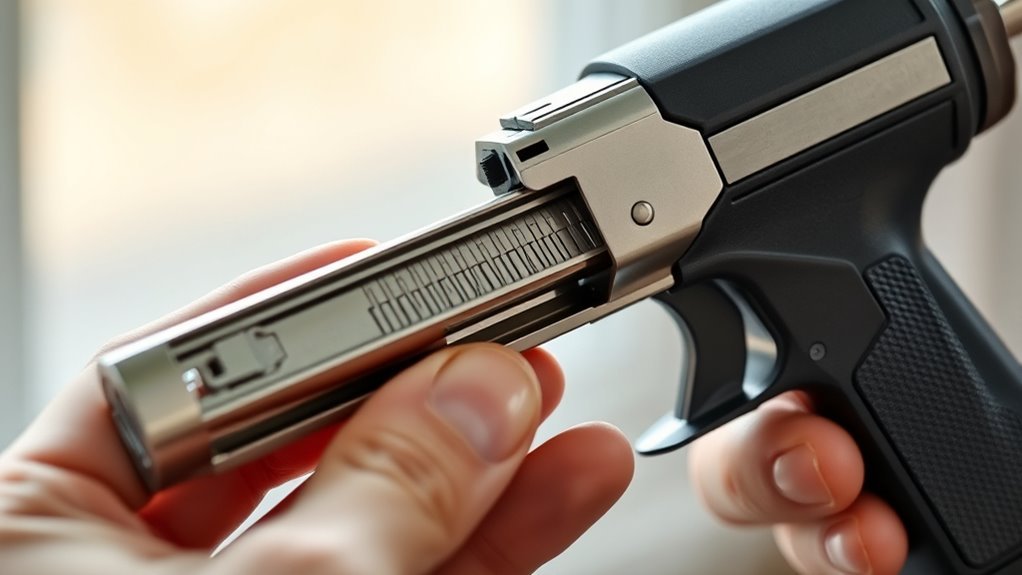
Although reassembling your staple gun might seem straightforward, taking care to securely reattach the chrome bracket guarantees reliable operation. Make sure the bracket clicks firmly into place.
Securely reattaching the chrome bracket ensures your staple gun operates reliably—listen for the firm click.
Next, load the appropriate staples or nails into their designated channels, following the correct orientation for each type. Push the plunger to seat them properly, ensuring they’re flush with the surface.
Once assembled, test the staple gun on a scrap piece of material to confirm it fires correctly and drives staples or nails properly. If you notice any issues, adjust the staple shoe tension and perform additional test shots until you achieve smooth, consistent operation.
This careful reassembly and testing will help your staple gun work efficiently every time you need it.
Frequently Asked Questions
How Do I Reload My Staple Gun?
You push the chrome bracket forward to remove it, slide staples into the shoe, push the plunger until they spring up, adjust tension if needed, then reattach the bracket securely.
Your staple gun’s ready to use!
How to Load an Easy Shot Staple Gun?
Loading your Easy Shot staple gun is like loading arrows into a quiver—slide the chrome bracket forward, insert staples carefully.
Then, push the plunger until they click, and secure the bracket. You’re set to shoot!
What Is a Three-Way Staple Gun?
A three-way staple gun lets you use staples, U-shaped staples, and T-head nails. You’ll switch fasteners easily with its interchangeable loading system.
It’s perfect for wiring, upholstery, or carpentry projects. Makes your work way more flexible and efficient!
What Is the Knob for on Top of a Staple Gun?
Like the steering wheel of your staple gun, the knob on top controls tension and depth. You’ll turn it clockwise to drive staples deeper or increase force, and counterclockwise to ease up, tailoring each staple perfectly.
It’s pretty handy for making sure your staples go in just right. So, whenever you need a bit more or less punch, just give that knob a quick twist.
Conclusion
Now that you’ve reloaded your staple gun, you’re ready to tackle any project with ease. Removing the magazine, loading the staples or nails, and reassembling it correctly is simpler than rocket science.
With your staple gun working perfectly, you’ll feel like a DIY superhero, capable of stapling through anything that stands in your way. Just remember to test it first to avoid any surprises—your projects deserve nothing less than perfection!
Reloading a staple gun is quick and straightforward, making your DIY tasks smoother. When you know how to reload a staple gun properly, you save time and avoid frustration. So go ahead, reload your staple gun with confidence, and get back to creating amazing projects without missing a beat!