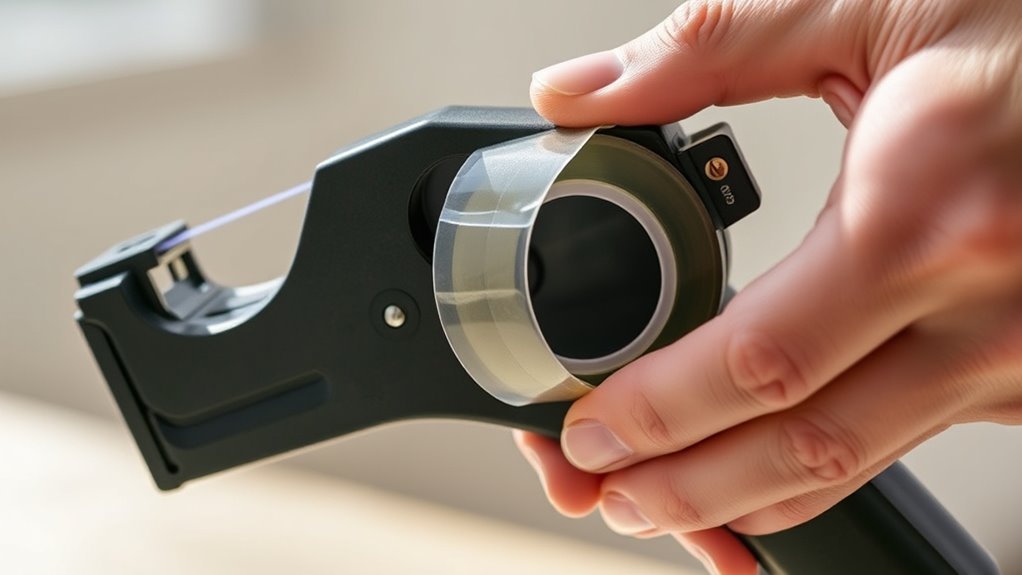
How to Load Tape in a Tape Gun in 5 Easy Steps
To load tape in a tape gun, first pick the right tape size and type that fits your gun. Choosing the correct tape is key for smooth operation and strong sealing. Make sure the tape matches your gun’s specifications to avoid jams or uneven cuts.
Next, firmly place the roll on the wheel with the sticky side down, pulling out 5-6 inches of tape.
Then, thread the tape between the roller and metal gate, keeping it taut and aligned. This step helps the tape feed smoothly and prevents it from twisting or sticking where it shouldn’t.
Cut the tape to length and adjust the tension knob for smooth unwinding. If the tape is too loose or tight, it can cause issues during application.
Finally, test the feed and tweak tension if needed. Keep going to master seamless sealing techniques.
Key Takeaways
- Match the tape roll size to the tape gun and secure the roll to prevent slipping. This helps keep everything in place while you work.
- Pull out 5-6 inches of tape with the sticky side facing down before loading. It makes threading easier and smoother.
- Thread the tape between the roller and metal gate with steady tension and proper alignment. Take your time here to avoid any twists.
- Adjust the tension knob to control tape feed speed and ensure smooth unwinding. Finding the right tension makes a big difference.
- Test the tape feed by pulling a small length and re-thread if tape twists or jams. If it’s not perfect, don’t hesitate to try again.
Pick the Right Tape Gun and Tape Size
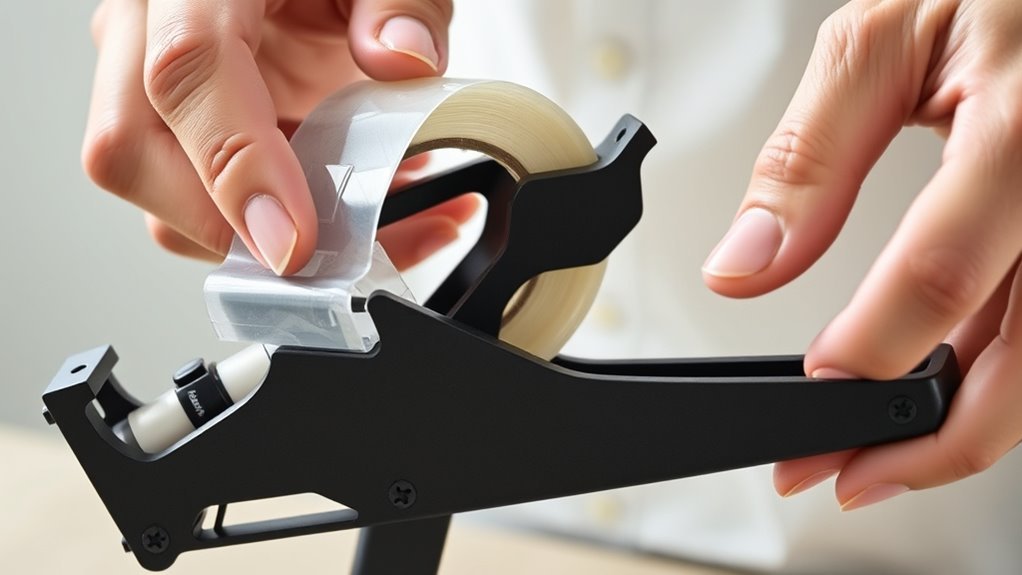
Before loading tape, make certain you pick a tape gun and tape size that match perfectly. You want to select a tape gun that fits the width of your tape roll—like using a 2-inch tape roll with a 2-inch tape gun. This ensures smooth operation and prevents jams.
Make sure the tape type matches the gun’s design as well, whether it’s polypropylene or filament tape. When you pick the right tape size, the roll will sit securely on the gun’s reel, preventing it from slipping off during use.
Also, consider tape thickness and strength to suit your packaging needs. Choosing the correct tape and gun combination will help you roll onto your sealing tasks efficiently and avoid frustrating interruptions.
Prepare the Tape Roll for Loading
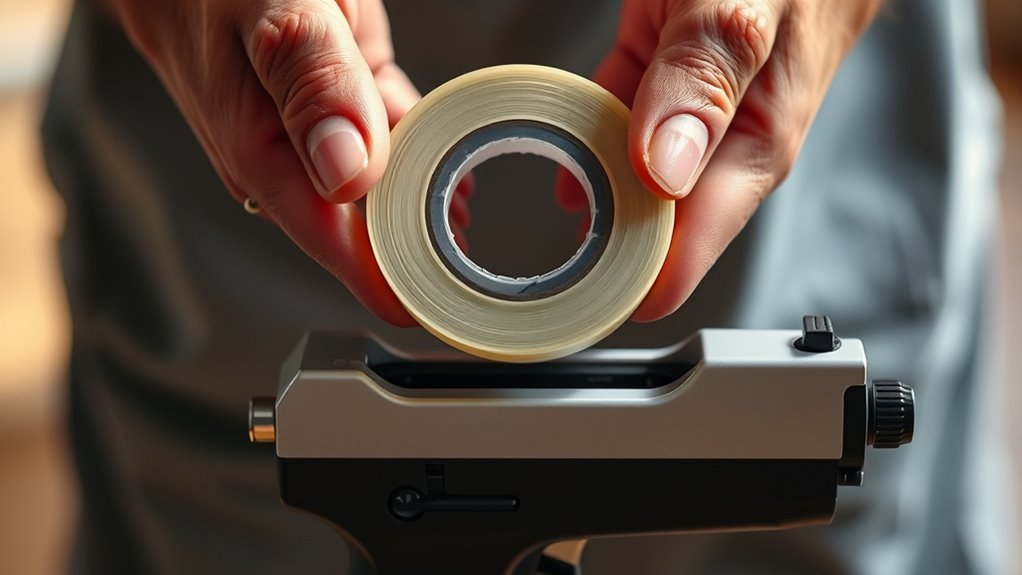
When you’re ready to load your tape roll, start by pushing it firmly onto the tape wheel while keeping the gun on a flat surface to maintain stability. Make sure the roll is securely positioned on the wheel to prevent slipping during use.
Check that the tape unwinds smoothly from the roll without any resistance or tangling. It’s important to confirm the tape’s orientation—the sticky side should face downward for proper feeding.
Ensure the tape unwinds easily and the sticky side faces downward for smooth, hassle-free use.
Once everything looks good, pull out about 5 to 6 inches of tape from the roll. This will give you enough length to easily thread the tape through the dispenser later.
Taking these steps assures your tape roll is prepped correctly and ready for the next stage of loading. Easy, right?
Thread the Tape Into the Tape Gun
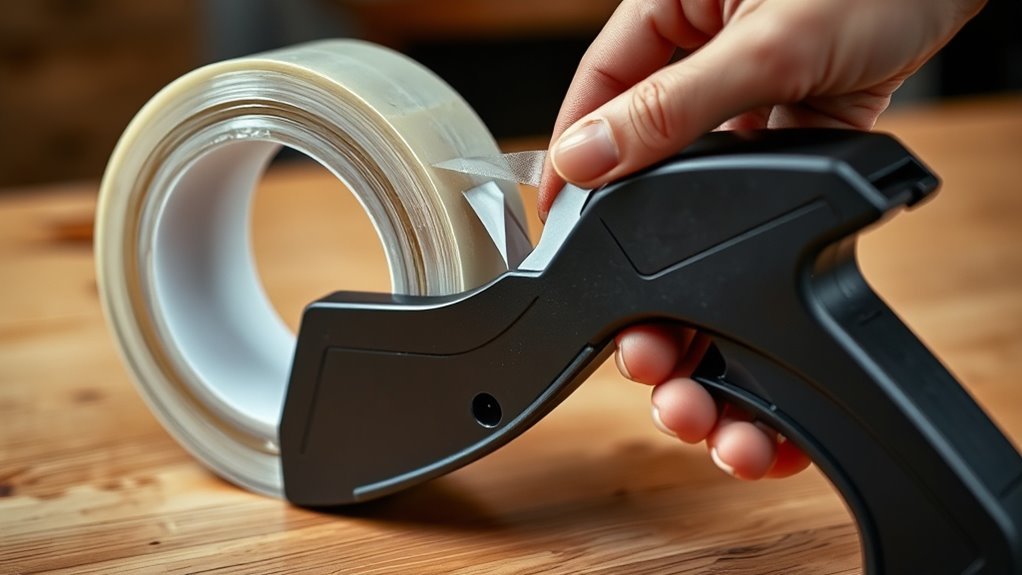
Although loading tape might seem tricky at first, threading it into the tape gun is straightforward once you know the steps. Start by feeding the tape between the roller and metal gate, making sure the sticky side faces downward.
Keep the tape taut to prevent twisting and guarantee smooth feeding. Guide the tape under the roller, aligning it properly so it won’t jam later.
Keep these points in mind as you thread:
- Feed the tape with the adhesive side down between the roller and gate
- Pull the tape with steady tension to keep it straight
- Guide the tape neatly under the roller, ensuring proper alignment
- Confirm the tape is seated correctly before moving on
Following these tips will make threading quick and hassle-free. You’ll get the hang of it in no time!
Cut the Tape and Adjust Tension
How do you guarantee your tape gun operates smoothly once the tape is threaded? First, cut the tape to the desired length using scissors or the gun’s built-in cutter. Make sure the cut is clean to avoid jams and keep the tape feeding smoothly.
Next, adjust the tension knob to control how fast the tape unwinds. Turn it clockwise to tighten the tension, which slows the tape and improves control.
If the tape unwinds too fast or is hard to manage, just loosen the knob by turning it counterclockwise. Keep checking and fine-tuning the tension for consistent performance.
Test Tape Feed and Troubleshoot Issues
Before you start sealing boxes, pull a small length of tape to check if it feeds smoothly through the tape gun without catching or jamming. If you notice any resistance, first confirm that the tension knob is properly adjusted—it shouldn’t let the tape unwind too fast or resist moving.
Next, inspect the tape for twists or misalignment that could cause feeding problems. Also, check the roller and cutting blade for debris or damage that might block the tape’s path.
If issues persist, loosen the tension knob slightly and re-thread the tape to verify it aligns correctly. Keep an eye out for these signs:
- Tape catching or jamming during feed
- Twisted or misaligned tape strip
- Debris on rollers or blade
- Excessive tension or slack on tape
Frequently Asked Questions
How to Put New Tape in a Tape Gun?
You place the new tape roll on the reel, sticky side down. Pull out 5-6 inches, feed it under the roller, close the loading gate, then pull tape over the roller.
Make sure it’s aligned and ready to use. It’s pretty simple once you get the hang of it!
How Does a Tape Gun Work?
A tape gun works by letting you pull tape smoothly using a roller, controlling tension so it doesn’t jam.
When you press the blade, it cuts tape cleanly, making your packing or sealing quick and easy.
It’s pretty straightforward once you get the hang of it! Just pull, press, and you’re done.
How to Load Tape Into a Duck Tape Gun?
You place the duct tape roll adhesive side down on the reel. Then, pull out about 5-6 inches of tape.
Next, thread it under the roller in a straight line. After that, close the loading gate.
Now, test the feed to see how it dispenses. If needed, adjust the tension for a smoother flow.
How to Set up a Scotch Tape Gun?
Imagine setting up a scotch tape gun like loading a floppy disk. You’ll place the roll with adhesive down, thread tape under the roller, close the gate, and make certain alignment before cutting smoothly.
Easy, right? Once everything’s in place, you’re ready to go!
Conclusion
Now that you’ve mastered loading tape in your tape gun, you’re ready to tackle any packing task with ease. Just like a knight preparing for battle, having the right tools and knowing the steps makes all the difference.
Remember to pick the right tape, thread it carefully, and adjust tension properly. With a quick test and a little troubleshooting, you’ll be sealing boxes like a pro in no time.
Keep at it, and you’ll never struggle with tape again! Loading tape in a tape gun doesn’t have to be tricky when you follow these simple steps. With the right technique, you can confidently seal boxes quickly and efficiently every time. So go ahead, grab your tape gun, and get packing like a pro!