How to Use a Staple Gun in 3 Simple Steps
First, pick the right staples by matching their length to your material—6 mm for thin fabric, longer for thicker stuff. Choosing the correct staple size is key to getting a strong hold without damaging what you’re working on.
Next, load your staple gun by pressing the release button, inserting the staples pointy-end down, and snapping it closed. It’s pretty straightforward once you get the hang of it.
Finally, place the gun flat and perpendicular to the surface, press firmly, and squeeze the trigger smoothly with your fingers clear of the firing area. Keep safety in mind, and you’ll quickly get clean, secure staples.
To master more tips, keep exploring the process.
Key Takeaways
- Choose the correct staple type and length based on your material thickness and project needs.
- Load the staple gun by pressing the release button, inserting staples pointy-end down, and securing the magazine.
- Test the staple gun on scrap material to ensure proper stapling and avoid jams or bent staples.
- Hold the staple gun flush and perpendicular to the surface. Press firmly before squeezing the trigger smoothly.
- Space staples appropriately for the material type, and always wear safety glasses during use.
It’s pretty straightforward once you get the hang of it! Just take your time and follow these steps, and you’ll be stapling like a pro in no time.
Prepare Materials and Choose Staples for Your Staple Gun

Before you start stapling, check your staple gun manual to confirm the compatible staple type and length. Most staple guns use staples ranging from 6 mm for thin fabrics up to 12–14 mm for wood and thick materials.
Always start by choosing the right staple length to match your material thickness—6 mm works for thin fabrics, 8–10 mm suits upholstery and insulation, and 12 mm or longer is best for wood.
Make sure to select galvanized or stainless-steel staples for outdoor or moisture-prone projects to prevent rust. It’s a good idea to keep multiple staple sizes on hand so you can make sure the staples penetrate properly.
This careful preparation guarantees your stapling is secure and efficient every time.
Load the Staple Gun and Test on Scrap Material

Once you’ve selected the right staples for your project, the next step is loading your staple gun correctly. First, disengage the magazine by pressing the release button. Then, insert a single strip of staples pointy-end down, making sure they align properly.
Begin by pressing the release button, then load staples pointy-end down, ensuring proper alignment.
Close the magazine until it clicks securely. Before starting your project, test the staple gun on scrap material or sheets of paper to check staple length and penetration.
Here’s how to test effectively:
- Hold the staple gun flat against the scrap piece with firm pressure.
- Squeeze the trigger and release it to drive a staple fully.
- Inspect the staple’s clinch and alignment on the scrap.
- If staples bend or jam, clear, reload, and re-test.
Doing this will guarantee your staples perform perfectly before you begin. It’s a quick step that saves you headaches later on!
Position the Staple Gun and Fire Safely and Accurately
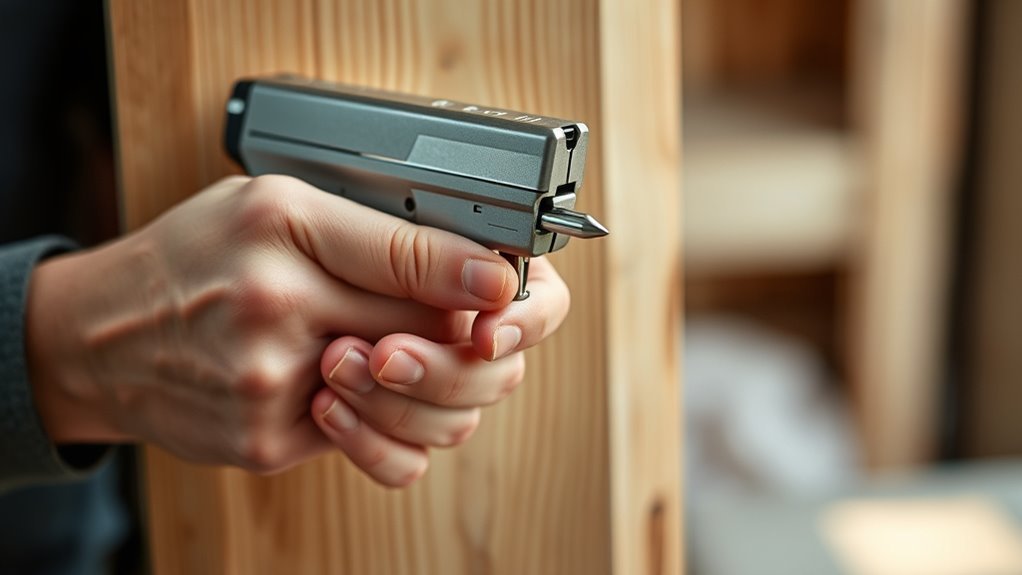
Although it might seem straightforward, positioning your staple gun correctly is vital to guarantee safety and achieve clean, secure fastenings. Place the staple gun flush and perpendicular to your work surface, pressing the nose firmly against the material. This prevents ricochet and guarantees full staple penetration.
Keep your fingers several inches away from the stapling area and wear safety glasses to protect yourself from flying staples or debris. Squeeze the trigger smoothly and maintain steady pressure.
For repetitive fastening, space staples 1–2 inches apart for fabric or 6–12 inches for insulation. Never fire at an angle or with the muzzle elevated. Following these steps makes your staple gun easy to use and safe.
If you have questions, feel free to email address support for guidance.
Frequently Asked Questions
How Do You Put Staples in a Big Staple Gun?
You unfasten the magazine and pull it out carefully. Then, insert a strip of staples with the pointed legs facing down.
Next, slide the follower back and close the magazine until it clicks. Give it a quick test-fire to make sure the staples feed properly. Easy, right?
Why Is My Swingline Stapler Not Stapling?
Your Swingline stapler isn’t stapling likely because it’s out of staples, jammed, or overloaded.
Check staple alignment, clear jams, guarantee the spring and driver work, and don’t exceed sheet capacity to fix the issue quickly.
Give these a try, and your stapler should be back in action in no time!
How Does an Electric Staple Gun Work?
An electric staple gun uses a motor or solenoid to drive staples quickly and consistently into materials. You just press it firmly against the surface, and the trigger releases a staple with enough force for wood or fabric.
It’s pretty straightforward to use. Just hold it steady, squeeze the trigger, and the staple goes right in without much effort.
Why Won’t My Craftsman Staple Gun Work?
If your Craftsman staple gun’s acting like a stubborn mule, check if staples are loaded correctly, magazine’s closed, and springs aren’t broken.
Also, make sure power’s on, and clear any jams before trying again. Sometimes it’s just a little thing blocking the works. Give it a quick once-over and you might be back in business in no time!
Conclusion
Using a staple gun is like planting seeds in a garden: you prepare the soil by choosing the right staples, load your tool carefully as you would water your plants, and then position it precisely to watch your work take root.
With each staple you fire, you’re building a strong foundation, turning simple materials into something lasting.
Stick with these steps, and your projects will grow sturdy and secure every time. Learning how to use a staple gun properly ensures your work is both efficient and professional. Whether you’re upholstering furniture, securing fabric, or tackling a DIY project, mastering these basics will save you time and frustration.
So, take your time choosing the right staples, load your staple gun with care, and position it correctly — this simple process transforms your materials into durable, well-crafted results every time.