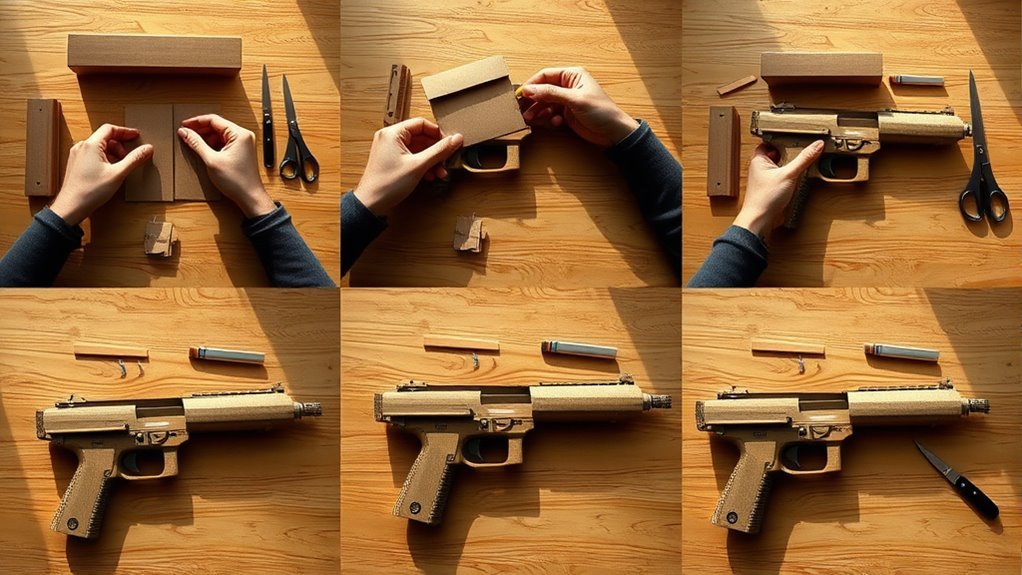
How to Make a Cardboard Gun in 5 Easy Steps
To make a cardboard gun in five easy steps, start by gathering sturdy cardboard, scissors, duct tape, rubber bands, and toy capsules for added style. These materials are easy to find and perfect for crafting a fun, safe cardboard gun.
Next, build the barrel by rolling the cardboard into a cylinder.
Then, create a thick handle and attach it firmly below the barrel for a solid grip.
After that, craft a simple trigger using a small piece of cardboard and a skewer as a pivot. Use rubber bands to add tension, so the trigger moves smoothly.
Now, assemble all the parts securely with duct tape to make sure everything stays in place.
Finally, finish your cardboard gun with paint or decorations to give it a polished and personalized look.
Keep going to uncover detailed tips for each step and make your cardboard gun look and work great!
Key Takeaways
– Gather sturdy cardboard, scissors, duct tape, rubber bands, and toy capsules for materials and tools.
These are the basics you’ll need to get started.
– Construct a cylindrical barrel and reinforce the handle by layering cardboard and securing with tape and glue.
This helps make your gun strong and durable.
– Create a simple trigger using a cardboard piece, skewer pivot, and rubber band for tension and movement.
It’s easier than it sounds, and adds a fun interactive part.
– Assemble the gun by attaching front and back pieces, adding the barrel, and slipping in internal rubber bands for launching.
You’re almost there!
– Finish by attaching decorative elements, covering with poster-board, and painting for a polished, realistic look.
Make it your own and have fun with the design!
Gather Supplies for Your Cardboard Gun
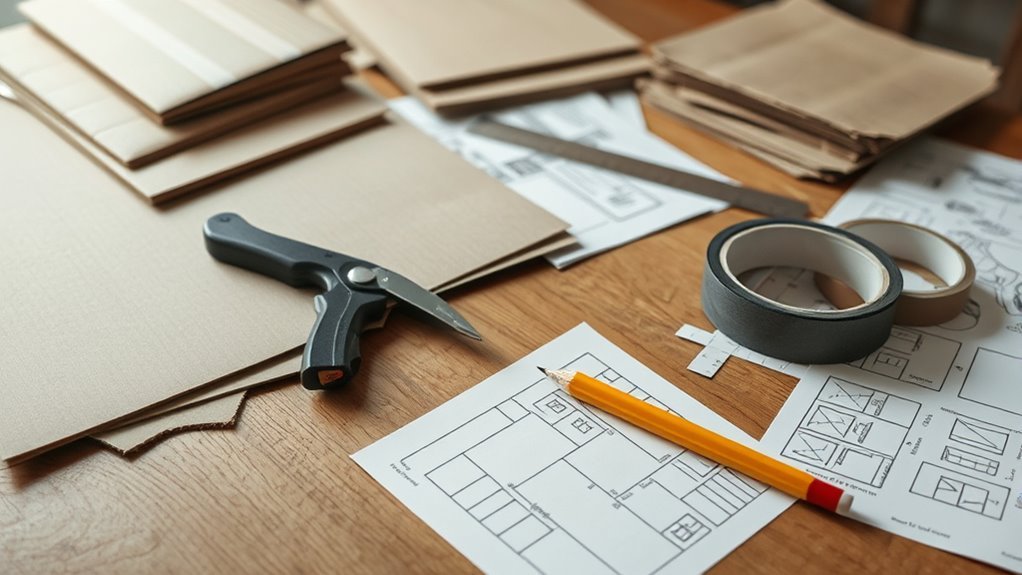
Before you start building, gather all the supplies you’ll need for your cardboard gun. The primary material is sturdy cardboard, which gives your project a lightweight yet durable base.
You’ll want sharp scissors as essential tools for cutting the cardboard into precise shapes necessary for the assembly. Duct tape plays a critical role in the construction process, providing strong adhesion and reinforcement to securely join parts together.
Don’t forget rubber bands—they’re indispensable for creating tension or functional components like launching mechanisms. Additionally, consider repurposing toy capsules from mall vending machines as decorative or functional elements.
Having all these materials and tools ready guarantees a smooth construction process and helps you focus on assembling a sturdy, well-reinforced cardboard gun.
Build the Barrel and Handle of Your Cardboard Gun
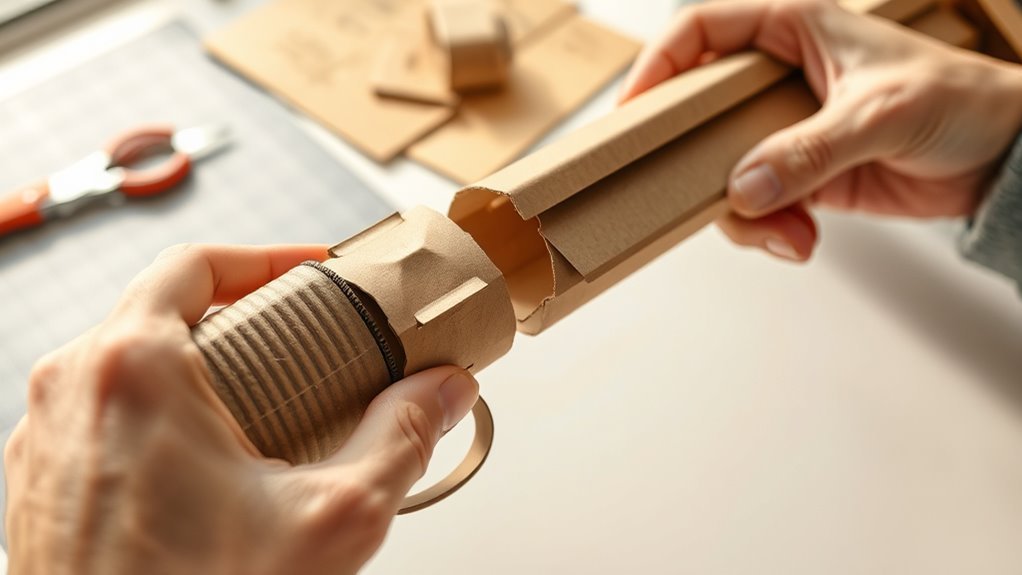
While shaping the core of your cardboard gun, start by cutting several even rectangles and taping them together to form a sturdy barrel. Create a cylindrical shape by carefully aligning and securing the cardboard barrel with tape and glue for structural stability.
For handle construction, trace a handle shape onto reinforced cardboard, cut it out, and layer additional pieces to add thickness. Attach the handle firmly to the barrel’s bottom using reliable attachment methods like tape and glue.
You can enhance the ergonomic grip by adding small cardboard strips on the sides and top of the handle. Finally, prepare a hole at the back of the barrel for a trigger mechanism, making sure it’s stable and functional.
These steps build the essential framework of your DIY toy gun. It’s pretty simple once you get the hang of it!
Make a Simple Trigger for Your Cardboard Gun
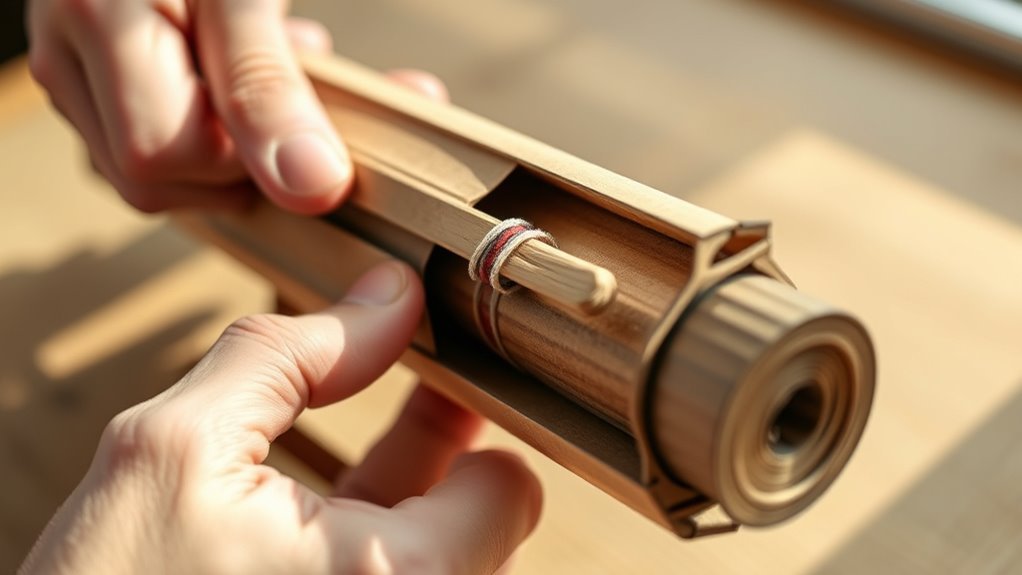
Since the trigger controls your cardboard gun’s action, you’ll want to make it both functional and easy to use. Start by cutting a small rectangular piece of cardboard for the trigger. Attach it near the handle using tape or glue.
Next, poke a hole through the trigger and gun body, then insert a skewer to create a pivot or sliding mechanism. Secure a rubber band from the back of the trigger to a fixed point on the gun, providing the necessary tension.
You can adjust the tension and pivot fit to make sure the trigger moves smoothly and works reliably. Give it a test by pulling the trigger back to safely release the projectile.
| Step | Component | Purpose |
|---|---|---|
| Cut | Cardboard | Trigger piece |
| Insert | Skewer | Pivot or sliding |
| Attach | Rubber band | Tension for function |
Assemble Your Cardboard Gun
Once you have your trigger ready, you’ll assemble the main body by cutting two cardboard pieces shaped like the gun’s front and back, then taping them together firmly.
Next, attach a hollow paper strip to the top using hot glue to serve as the barrel. This barrel will guide your projectile.
Insert a skewer through holes at the front and back of the gun to create the trigger mechanism. Inside the barrel, place rubber bands to help launch the projectile when you pull the trigger.
Make sure to secure all parts with tape or glue to maintain stability. Take your time to align the parts properly so your cardboard gun works smoothly and is sturdy enough for play.
Finish and Customize Your Cardboard Gun
To finish your cardboard gun, start by attaching the toy capsule to the back of the barrel, inserting the top down to create a bulged look. Use tape to guarantee a secure attachment.
Next, cover the entire gun with poster-board for a polished appearance. You can apply spray-paint or regular paint to give it a realistic finish.
Add finishing touches like faux sights and other decorative elements to enhance its style and authenticity. Focus on customization to make your gun unique—experiment with colors and details.
Just make sure every painted and added component is completely dry and securely attached before handling. These final steps will turn your cardboard creation into a standout piece with both form and function.
Frequently Asked Questions
How to Make a Paper Gun Without Glue for Kids?
You can make a paper gun without glue by folding strips precisely, creating tabs that slot together tightly.
Use accordion folds for tension, roll paper to reinforce, and test parts carefully to keep everything secure and functional.
It’s pretty simple once you get the hang of folding just right. Just take your time with each step, and you’ll have a cool paper gun in no time!
How to Do a Toy Gun?
You create a toy gun by cutting cardboard into shapes for the barrel, handle, and trigger. Use tape or glue to assemble.
Add rubber bands for shooting, and paint it safely so it looks fun but not real.
It’s a simple project, but just make sure it’s clear it’s a toy. That way, everyone can enjoy playing safely!
How to Make a Weapon Out of Cardboard?
You’ll craft a cardboard weapon by shaping and joining pieces like a sculptor molds clay—cut, tape, and band them together.
Add details and paint to breathe life into your creation, turning simple cardboard into a symbol of imagination.
It’s all about having fun and getting creative with what you have. Just let your ideas flow and watch your weapon come to life!
What’s the Easiest Gun to Use?
The easiest gun to use is a simple cardboard popgun with a rubber band launcher. You’ll find its lever or pull-back mechanism straightforward, making loading and firing quick, safe, and perfect for beginners.
It doesn’t have any complicated parts, so you won’t get confused. Plus, it’s a fun way to get started without any hassle.
Conclusion
Now that you’ve gathered your supplies, built the barrel and handle, and crafted a simple trigger, you’re well on your way to making an awesome cardboard gun. After assembling your gun and adding your personal touch, it’s time to show off your creation.
You’ve learned to imagine, construct, and customize—all with just cardboard and creativity. It’s pretty cool how something so simple can turn into a fun project. So grab your cardboard gun, aim for fun, and enjoy the satisfaction of making something awesome with your own hands.
Building a cardboard gun is not just about crafting; it’s about using your creativity and skills to bring an idea to life. Whether you’re making it for play or display, this project proves that with basic supplies and a bit of imagination, you can create something truly unique and enjoyable.