How to Make a Pen Gun in 10 Simple Steps
To make a pen gun in 10 simple steps, start by gathering a Pilot G2 pen, highlighter, spring, scissors, pliers, and a paperclip. These everyday items will help you create a functional pen gun quickly and easily.
Carefully disassemble the pen, removing the ink and spring.
Next, modify the barrel by bending its edges inward.
Then, insert and align the spring and pen parts snugly.
Leave the tip off for firing, load a projectile, and secure it with a paperclip trigger.
Test for smooth operation and adjust tension as needed.
Keep going to discover helpful tips for perfecting your setup.
This step-by-step guide makes building your own pen gun straightforward and fun!
Key Takeaways
– Disassemble a Pilot G2 pen and a clicky highlighter, keeping all parts organized and handling ink chambers carefully.
You want to make sure nothing gets lost or leaks while you work.
– Modify the pen barrel by bending edges inward with pliers for a snug spring fit, then insert the spring properly.
This step is key to making sure the spring stays in place and works smoothly.
– Assemble the pen tip, spring, and ink chamber ensuring tight, aligned fit without forcing components.
Take your time here so everything fits just right.
– Securely screw pen halves together, leaving the pen tip off to create the firing end.
This will be where your projectile comes out.
– Load a small projectile into the barrel, insert a paperclip trigger through the drilled hole, and build tension to fire.
It might take a few tries to get the tension just right for a good shot.
Gather the Right Materials for Your Pen Gun
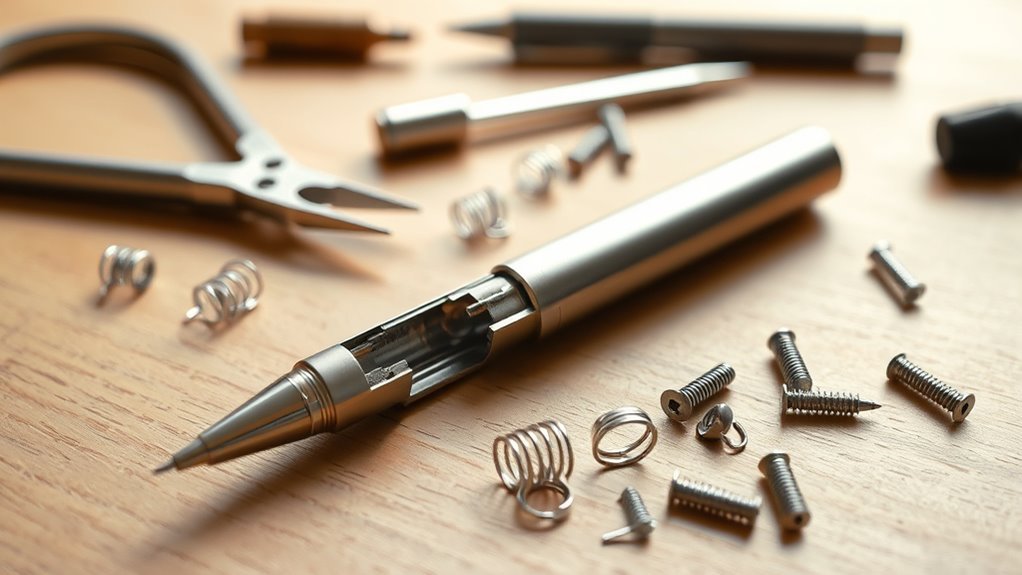
Before you start building your pen gun, make sure you have all the right materials ready. You’ll need a Pilot G2 pen, a clicky highlighter, some paper, and a large paper clip. These materials are essential for the modification process.
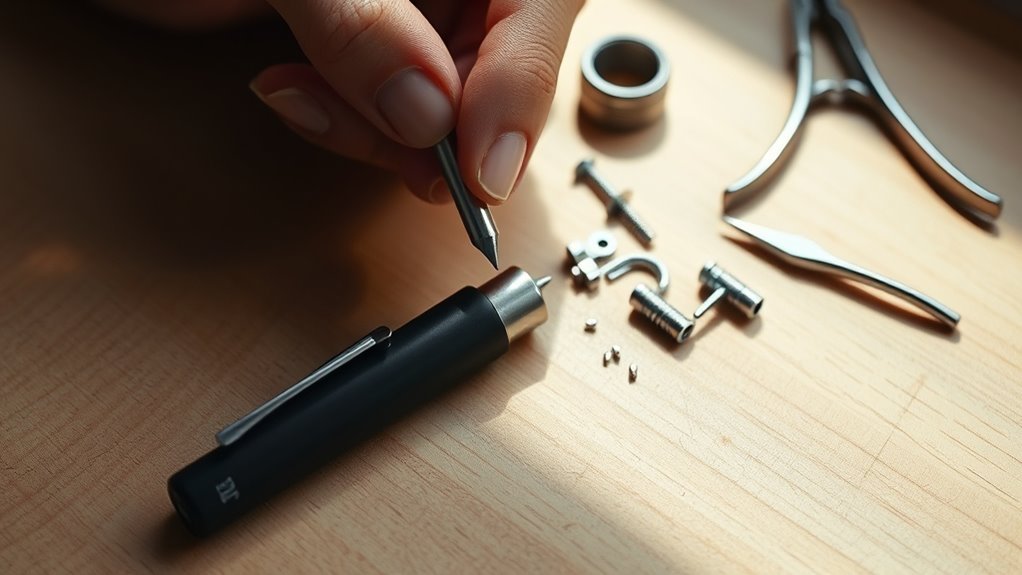
Start with disassembling the highlighter by twisting the top clip to remove its tube and spring. Then, unscrew the Pilot G2 pen to take out the ink chamber and gather the parts needed for your pen gun.
Tools like scissors and pliers will help you cut and adjust components, such as narrowing holes for proper fitting. Having all these materials prepared upfront will save you time and frustration when you begin assembling your pen gun.
Locate and Prepare Your Pilot G2 Pen for Modification
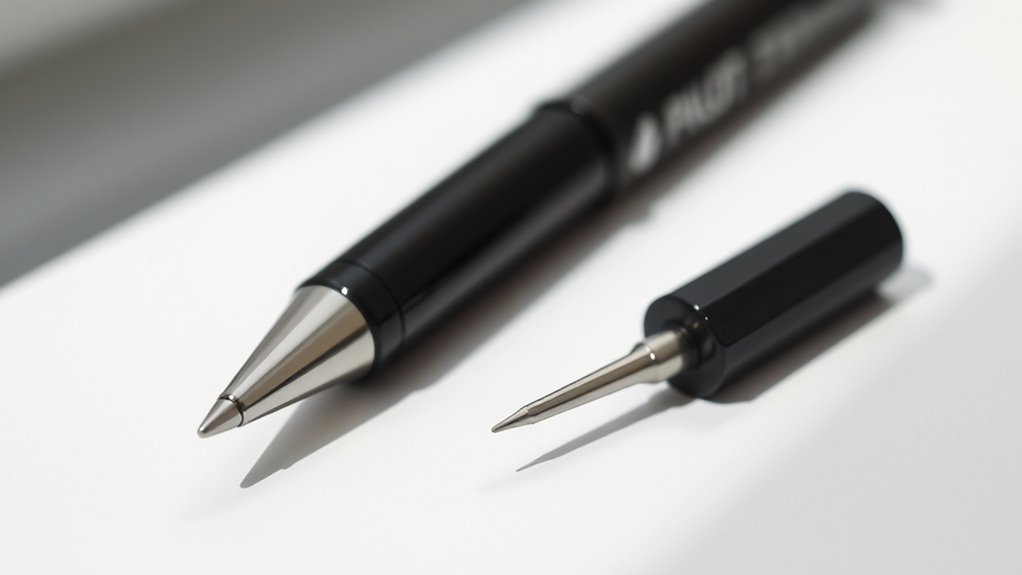
When you spot a Pilot G2 pen in good condition—whether you find one on the ground at school or already have one handy—you’re ready to begin preparing it for modification.
First, verify the pen has no damage and features a removable ink chamber. You don’t need to buy a new pen if you already have one or find a suitable Pilot G2 nearby.
Use a clean, flat surface to keep track of everything during preparation.
| Step | Action | Tip |
|---|---|---|
| 1 | Locate a Pilot G2 pen | Find one in good condition |
| 2 | Confirm model and condition | Must have removable ink chamber |
| 3 | Prepare workspace | Use clean, flat surface |
Carefully Disassemble the Pen Components
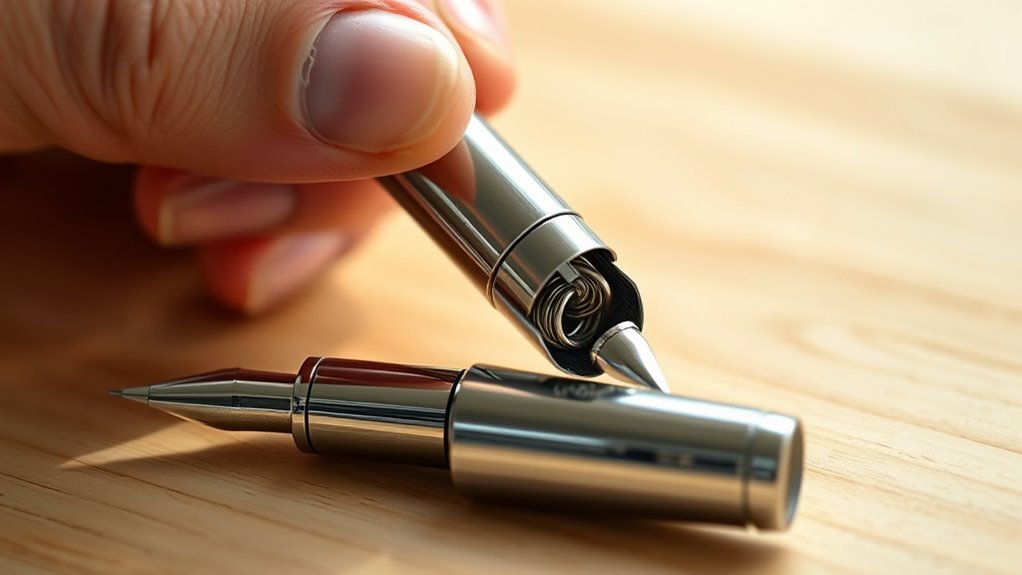
Start by unscrewing the pen’s top and bottom halves to access the ink chamber and spring. Carefully remove these internal parts, making sure not to damage them.
Keep all components organized so you can easily reassemble or modify the pen later. It’s a simple step, but staying organized really helps down the line.
Remove Ink And Spring
Although the pen may look simple from the outside, you’ll need to carefully unscrew its top and bottom halves to access the internal components. Once open, gently remove the ink cartridge along with the spring inside the barrel.
The ink cartridge holds the ink, so handle it carefully to avoid spills. If the pen tip or end cap doesn’t unscrew, use scissors or a similar tool to cut them off cleanly.
Next, extract the thrust device and thrust tube from the clicker mechanism if your pen has one. Keep the spring as you’ll need it later.
Be sure to handle each part gently and keep the ink cartridge and spring separate to prevent damage or loss during your work.
Organize Pen Parts
Since keeping your workspace organized prevents losing essential parts, carefully place each pen component into a designated container as you disassemble the Pilot G2. Begin by unscrewing the pen’s top and bottom halves to access internal components.
Remove the ink chamber and spring with care, and set aside the small white piece near the clip, since it’s unnecessary for your project. Use scissors or tools to eliminate tips that don’t unscrew, keeping only the needed parts organized.
To stay efficient, follow these steps:
- Unscrew and separate the pen halves.
- Extract and organize the ink chamber and spring.
- Discard or set aside unnecessary pieces.
Remove Ink and Springs From the Pen Barrel
How do you safely remove the ink and springs from the pen barrel? First, unscrew the top and bottom halves of the pen to access the internal parts. Carefully pull out the ink chamber without damaging the ink tube.
Next, extract the spring from inside the ink chamber or pen body—you’ll reuse this in your pen gun. If any parts can’t be unscrewed, use scissors to cut them off carefully. Keep these removed components organized for your next steps.
This process is vital for people who want to make a pen gun, supported by Autodesk and a global leader in design. When you finish, add an “I Made” post to the community for people passionate about making and design. Remember, you must be logged in to post a comment or add your project.
Modify the Pen Barrel to Fit the Spring
Start by gently bending the edges of the pen barrel’s opening inward to adjust its size for the spring.
Next, insert the spring to make sure it fits snugly inside the barrel.
Finally, align the thrust device over the spring and press it down to keep it securely in place.
Adjusting Barrel Hole
When adjusting the barrel hole, you’ll want to carefully bend the edges on the clicker side inward using pliers. Make the opening just small enough to hold the spring securely without letting it slip out.
Start by gently squeezing the edges toward the center to reduce the hole size. Be cautious not to over-bend or damage the pen barrel, as this could weaken its structure.
Test the fit of the spring frequently to guarantee a snug hold. Follow these steps:
- Use pliers to bend the edges gradually.
- Check the spring fit after each adjustment.
- Stop once the spring fits tightly without slipping.
This precise adjustment assures the spring stays in place for proper propulsion.
Inserting The Spring
Although narrowing the barrel hole takes some patience, you’ll find that inserting the spring becomes much easier once the opening fits snugly.
Use pliers to bend the edges of the barrel’s clicker side inward, reducing the hole’s diameter. This guarantees the spring stays firmly inside without slipping out.
Next, carefully insert the spring into the narrowed end of the barrel. The spring should sit tightly, ready for the thrust device to be added later.
| Step | Action | Result |
|---|---|---|
| 1 | Use pliers | Hole narrows |
| 2 | Bend edges inward | Opening fits spring snugly |
| 3 | Insert spring | Spring sits firmly |
| 4 | Check fit | Spring won’t slip out |
Aligning The Thrust Device
Once the spring fits snugly inside the narrowed barrel opening, you’re ready to align the thrust device. Start by carefully bending the edges of the hole on the clicker side of the pen barrel toward the center using pliers, reducing the hole’s size. This helps hold the spring firmly in place.
Next, place the thrust device over the spring, making sure it’s centered with the barrel. Press it down gently until it sits just below the barrel’s edge. Finally, verify the thrust device is securely positioned and properly aligned with the spring before moving on.
Follow these steps:
- Use pliers to narrow the barrel opening for a tight spring fit.
- Center the thrust device over the spring.
- Press it down gently to secure alignment.
Attach the Spring to the Pen’s Writing End for Optimal Firing
Because the spring acts as the propulsion mechanism, you need to place it directly on the pen’s writing tip. Use your fingers to position the spring carefully, making sure it’s aligned perfectly with the tip.
This alignment is vital since it maximizes the force transferred during firing, affecting the pen gun’s range, which can reach 10 to 20 feet. You don’t need any tools for this step; just make sure the spring sits securely and isn’t crooked or loose.
A properly seated spring guarantees reliable propulsion and consistent firing performance. Once you confirm the spring is firmly in place, you’re set to proceed confidently to the next step.
Proper attachment here guarantees your pen gun will work effectively every time you use it.
Insert the Pen and Spring Assembly Into the Chamber
Now, gently insert the pen and spring assembly into the chamber, making sure it fits snugly without forcing it. You’ll want the spring positioned correctly at the writing end to guarantee smooth movement and proper propulsion.
Take care not to apply excessive pressure or bend any parts. That way, everything stays aligned and functional.
Proper Pen Placement
When you insert the pen and spring assembly into the chamber, gently push it in until it fits snugly without forcing it. Proper placement guarantees your pen gun functions correctly and safely.
Make sure the spring is positioned at the writing end of the pen to provide the necessary propulsion. The pen should sit securely and stay aligned within the chamber to guarantee effective firing.
Follow these key points for proper pen placement:
- Position the spring at the pen’s writing end for maximum force.
- Ensure the pen fits snugly without gaps or looseness in the chamber.
- Verify the assembly is properly seated before moving on.
Taking these steps helps maintain alignment and readiness for the next stage in your build. It’s a simple way to make sure everything works smoothly.
Avoid Excessive Pressure
How carefully do you insert the pen and spring assembly into the chamber? You need to be gentle to avoid damaging any parts. Don’t force the assembly in; it should fit snugly but smoothly.
Applying too much pressure can crack or deform the components, causing misalignment or even jamming the firing mechanism. Use light, steady pressure instead, making sure the spring compresses correctly without strain.
If it feels stuck, double-check your alignment rather than pushing harder. Overly forceful insertion not only risks harming the pen and chamber but could also reduce the pen gun’s effectiveness.
Taking your time here prevents problems later and keeps everything working as intended. Just be patient and gentle—it really makes a difference.
Chamber Fit Importance
After gently inserting the pen and spring assembly, pay close attention to how it fits into the chamber. The fit is essential for your pen gun’s reliability and safety.
You want the assembly to slide in smoothly without forcing it. Too tight, and you risk damaging components; too loose, and it may jam or misfire, reducing effectiveness.
Keep these points in mind:
- Confirm the assembly fits snugly but slides easily.
- Check the alignment before fully inserting.
- A proper fit guarantees consistent propulsion, usually between 10 to 20 feet.
Reassemble the Pen, Leaving Off the Tip for Firing
Although it might seem straightforward, carefully screwing the two halves of the pen’s barrel back together is essential to guarantee everything stays securely in place. Before you do this, make sure the ink chamber and spring are properly positioned inside the barrel.
This ensures smooth operation and prevents any parts from shifting during use. Once aligned, reattach the barrel halves tightly, but don’t replace the pen’s tip.
Leaving the tip off creates the open end needed for firing projectiles. After reassembly, test the pen gun by pressing the end to confirm it fires properly without the tip attached.
This step ensures your pen gun is functional and ready for the next stage. Easy, right? Just take your time and double-check everything.
Load and Secure the Projectile With a Paperclip Trigger
Once you’ve reassembled the pen without the tip, load a small projectile—like a tiny ball or paper wad—into the open barrel end.
After reassembling the pen sans tip, insert a small projectile into the open barrel end.
Next, insert a paperclip through the drilled hole in the wooden dowel to create the trigger mechanism. Pull the paperclip back to build tension that will launch the projectile when released.
To keep everything secure, either bend the paperclip or tape it in place, preventing accidental firing.
Remember these key points:
- Make sure the projectile fits snugly in the barrel for proper propulsion.
- Fully engage the paperclip trigger to maintain tension.
- Secure the paperclip firmly to avoid unintended release.
Following these steps will get your pen gun ready to fire safely and effectively.
Test and Adjust Your Pen Gun for Best Performance and Safety
Before you fire your pen gun, test it in an open area where you have plenty of space to assure it shoots accurately and safely within 10 to 20 feet. Always wear safety goggles and aim away from people or fragile objects to avoid injury or damage.
Check that the projectile fits properly—not too large—to prevent jams or misfires. If the pen gun doesn’t launch with enough force or jams, adjust the spring tension or reposition the pen components.
Make sure all parts are tightly secured after reassembly to stop accidental disassembly during firing. Testing and adjusting your pen gun carefully ensures it performs reliably and safely, letting you enjoy your creation without unnecessary risks.
Frequently Asked Questions
Is a Pen Gun Illegal?
Yes, a pen gun is illegal in many places. You shouldn’t make or possess one without proper licenses because laws often classify it as a firearm.
That means you could face fines, imprisonment, or other serious legal consequences. It’s definitely not something to take lightly.
How to Make a Pen Step by Step?
Imagine holding a sleek pen in your hand. You’ll unscrew it, pull out the ink chamber, carefully trim parts if needed, and keep everything organized.
Step by step, you’ll reassemble it to function smoothly again. Easy, right? Just take your time, and soon you’ll have that pen working like new!
What Is the Simplest Gun Ever Made?
The simplest gun ever made is a basic blowgun. You just need a straight tube to shoot darts or small projectiles using your breath.
It’s easy to craft since it requires no mechanical parts or firing mechanisms. Really, it’s just you and the tube doing all the work.
How Does a Gun Pen Work?
A gun pen works by using a spring inside that stores energy. When you press or click, the spring releases, pushing a small projectile out rapidly.
The tension and fit control how far it shoots. So, it’s all about the right amount of pressure and a snug fit to make it work properly.
Conclusion
Now that you’ve crafted your pen gun, remember: nearly 60% of DIY enthusiasts find hands-on projects boost creativity and problem-solving skills.
By following these simple steps, you’ve not only built a fun, functional device but also sharpened your attention to detail and patience. Always prioritize safety and responsibility.
You’ll enjoy both the process and the impressive results. Keep experimenting, and watch your skills—and creativity—grow!
Making a pen gun is a great way to engage in a hands-on DIY project that challenges your problem-solving abilities and fuels creativity. Just remember to stay safe and responsible throughout the process. With each attempt, you’ll refine your craftsmanship and develop sharper focus. So keep building, learning, and having fun with your pen gun creation!