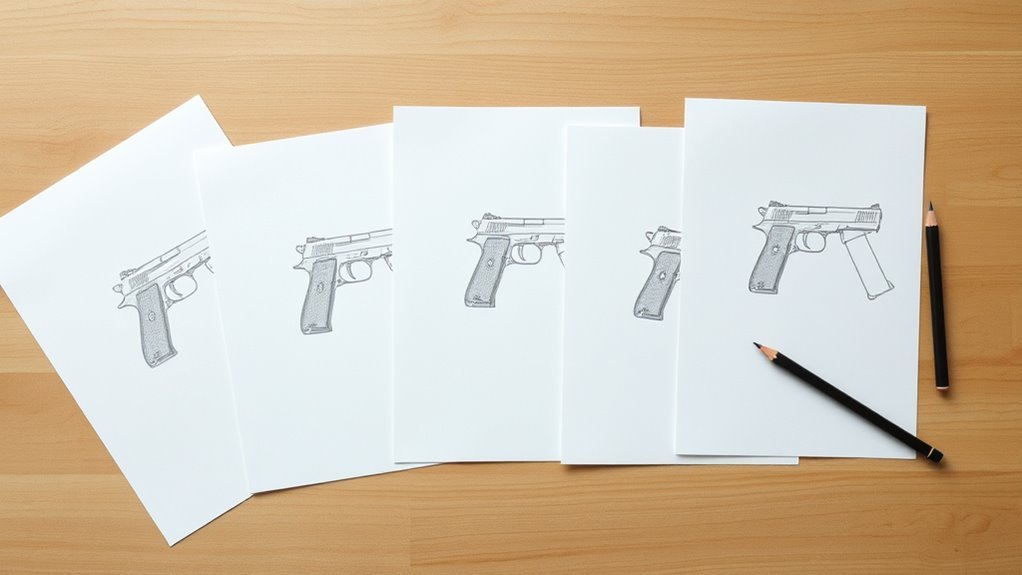
How to Draw a Gun in 5 Simple Steps
To draw a gun in five simple steps, start by sketching basic shapes like rectangles and ovals. These will help you outline the barrel, slide, grip, trigger, and sights. Using simple shapes first makes the drawing process easier and more manageable.
Next, add details such as the trigger’s curve, front and rear sights, and barrel features. Don’t worry about perfection here—just focus on getting the main components in place. It’s all about building the structure step by step.
After that, clean up your lines and add depth by varying line weights and adding some shading. This will make your drawing look more polished and realistic. Taking your time during this step really pays off.
Then, apply flat base colors for a bold and clear look. This helps define different parts of the gun and makes your drawing pop.
Finally, add shadows and highlights to bring realism and dimension. These finishing touches make your artwork stand out. Keep practicing to refine your technique and create truly impressive gun drawings.
Key Takeaways
- Start by sketching basic shapes like rectangles and ovals to outline the barrel, slide, grip, and trigger for correct proportions. This helps you get the overall shape right before adding details.
- Add key details such as the trigger inside the trigger guard, front and rear sights, and muzzle features using simple geometric shapes. These small touches bring your drawing to life.
- Clean up your drawing by erasing construction lines, varying line weights, and adding subtle shading for depth and dimension. It really makes your sketch look polished and more interesting.
- Apply flat base colors like metallic silver or matte black with simple shading to define parts and maintain a bold, clear style. Keep it simple so the drawing stays bold and easy to read.
- Finish with shadows and highlights based on a light source to create realistic reflections, cast shadows, and smooth gradations. This final step adds that realistic pop to your artwork.
Understand Gun Anatomy and Sketch Basic Shapes
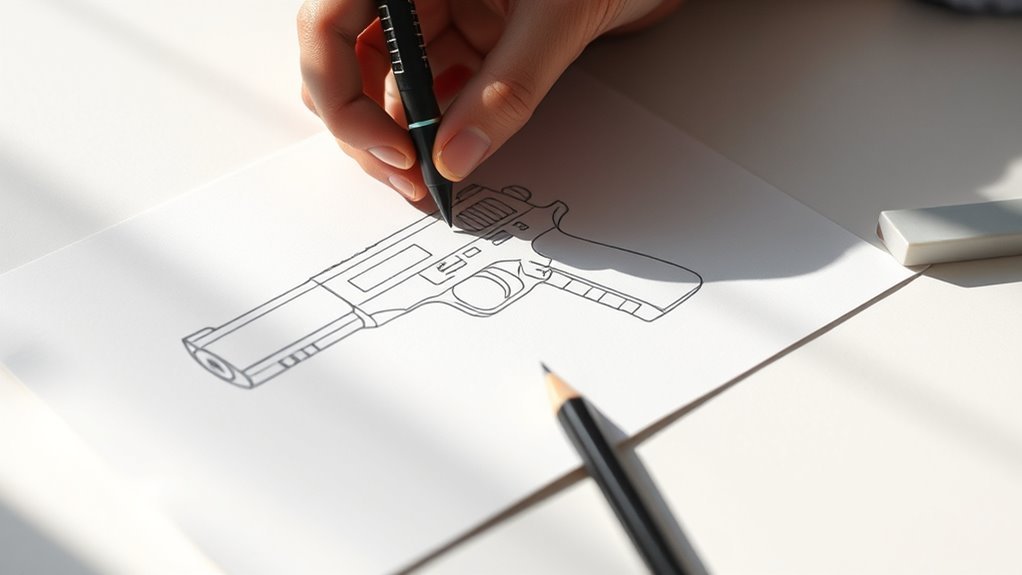
Before you immerse yourself in detailed drawing, take time to study the main parts of a gun—like the barrel, slide, grip, trigger, and sights—and understand their shapes and how they connect.
When you start your gun drawing, break down these complex parts into simple geometric shapes such as rectangles, circles, and ovals. Focus on sketching basic outlines first, paying close attention to proportions and the angles between components.
Keep your initial lines light and loose, so you can easily adjust as you refine the overall structure. By understanding gun anatomy and sketching these basic shapes, you’ll create a solid foundation that makes adding details later much easier and more accurate.
This approach guarantees your gun drawing looks balanced and realistic. Give it a try, and you’ll see how much smoother your drawing process becomes!
Add Gun Details: Trigger, Sights, and Barrel Features
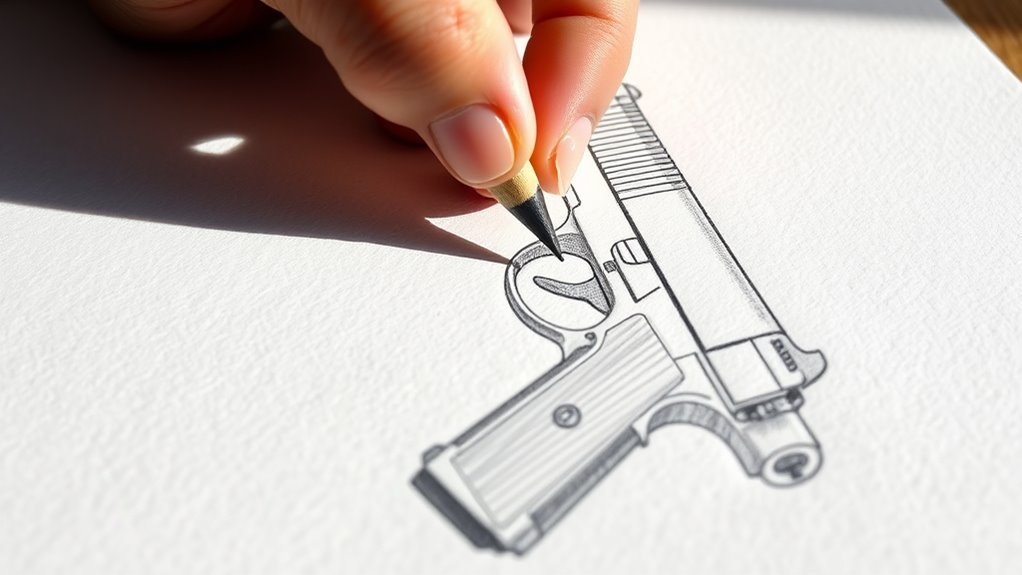
Once you’ve laid down the basic shapes, start adding key details like the trigger, sights, and barrel features to bring your gun drawing to life. Focus on these elements to enhance realism.
Draw the trigger as a small, curved triangle or rounded shape inside the Trigger Guard. Then, add the front sight as a sloped rectangle or triangle at the slide’s front, aligned with the barrel.
Next, sketch the rear sight as a tiny raised rectangle or notch on the slide’s top rear, with slight slopes for accuracy. Don’t forget the barrel feature—draw a small circle or oval at the muzzle opening, making sure it lines up with the slide’s front.
These details give your drawing character and make it look precise and authentic. Plus, they won’t overwhelm your sketch, so keep it simple and clean.
Clean Up Lines and Add Depth to Your Drawing
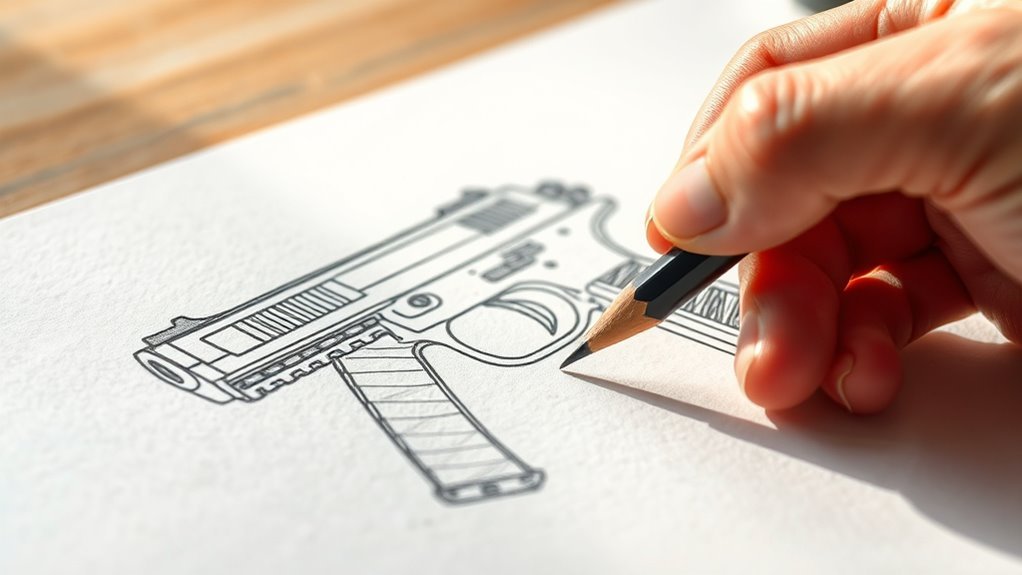
While refining your gun drawing, start by erasing unnecessary construction lines to reveal clean, precise outlines. Use an eraser carefully to keep only the clean lines that define your gun’s shape.
Next, vary your line weight—press harder for the main outlines and lighter for internal details—to add depth and dimension. Subtle shading along edges and creases enhances the three-dimensional look, so apply gentle strokes where shadows naturally fall.
You can also use cross-hatching or stippling to deepen shadows and create realistic texture. Finally, make sure all lines are smooth and confident; this sharpness improves clarity and gives your drawing a polished, professional finish.
Taking these steps will make your gun drawing stand out with clean lines and added depth. It really brings your artwork to life!
Apply Base Colors and Flat Shading for Style
Start by applying a uniform base color, like metallic silver or matte black, to your entire gun drawing to set a consistent style. When you apply base colors, keep the shading simple and flat to maintain a clean, stylized look.
Use solid, even tones without gradients to emphasize the graphic nature of your drawing. To add depth without complexity, fill distinct parts with flat colors within the outlines.
Use lighter shades on edges or raised details for subtle contrast. Also, limit your palette to just a few tones for clarity.
Try to avoid blending or gradient progressions to keep the flat design strong. This approach helps your gun drawing look bold and visually clear while setting a strong foundation before adding final shadows and highlights later.
Add Shadows and Highlights to Finish Your Gun Drawing
Building on your flat base colors, adding shadows and highlights brings your gun drawing to life with depth and dimension. Start by identifying the light source to position shadows and highlights accurately.
Adding shadows and highlights over flat colors adds depth and dimension to your gun drawing.
Use darker shades or hatching techniques for shadows in recessed areas like serrations, trigger guards, and under the slide. Apply highlights with lighter tones or white on surfaces where light naturally reflects, such as the barrel’s edge and top of the slide.
Blend your shading gradually to create smooth gradations, enhancing the three-dimensional feel. Pay close attention to subtle detailing, like metal reflections and the shadow the gun casts, to boost realism.
This careful shading and highlighting complete your drawing, making it look polished and dynamic. You’ll see how these little touches really make a difference!
Frequently Asked Questions
How to Draw a Glock 19 Step by Step?
Start by sketching the Glock 19’s rectangular body, then add the slide with serrations.
Draw the grip, trigger guard, and trigger.
Include the magazine, sights, and slide release.
Finish with shading for depth and texture.
It’s easier when you take it step by step, so don’t rush. Just keep adding details little by little!
What Are Basic Shapes for Gun Drawings?
Think of basic shapes like building blocks—rectangles, circles, ovals, and L-shapes form your gun’s foundation. You’ll use these shapes to map out the barrel, grip, and trigger guard before adding finer details and shading.
It’s kinda like sketching out a rough blueprint first. Once you’ve got those shapes down, the rest becomes way easier to manage and look more realistic.
Is It Hard to Draw a Gun?
Yes, drawing a gun can be hard at first because of its detailed shapes and proportions. But if you practice regularly and use references, you’ll get better and find it easier to create accurate, realistic drawings.
Keep at it, and don’t get discouraged. With time, those tricky details will start to feel more natural!
How Do You Draw a 5?
To draw a 5, start with a curved line at the top, then add a horizontal line in the middle.
Next, draw a diagonal line downward, and finish with a small vertical stroke connecting the top curve.
It’s pretty simple once you get the hang of it! Just take it step by step.
Conclusion
Now that you’ve mastered these steps, your gun drawing stands as bold as a hero’s trusty sidearm in a classic Western showdown. Like a skilled gunslinger ready for the final duel, you’ve combined precision and style to bring your creation to life.
Keep practicing, and soon your art will speak as loudly as a gunshot in the silent desert—sharp, confident, and impossible to ignore. Drawing a gun may seem tricky at first, but with these simple steps, you’ve made it look easy.
Remember, the key to drawing a gun is patience and attention to detail. So keep honing your skills, and your gun illustrations will only get better and better. Your artistic journey with drawing a gun is just getting started!