How to Draw Any Gun in 7 Easy Steps
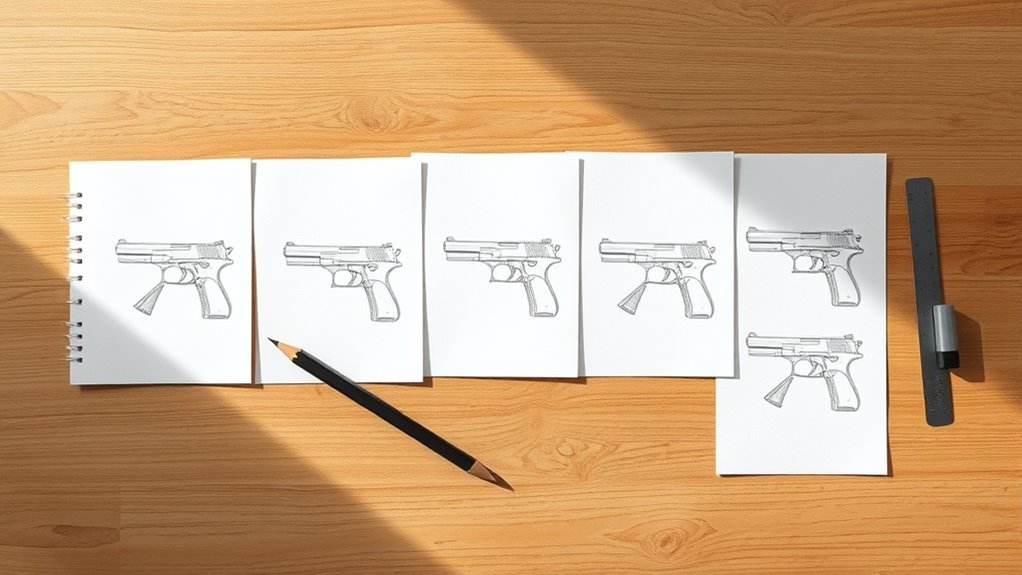
You’ll start by sketching the basic shape and proportions using simple lines and shapes for easy adjustments. This step is all about getting the general outline right before diving into details. It helps set a solid foundation for your drawing.
Next, add details like the slide, muzzle, and barrel to build structure. Then, draw the frame, grip, and magazine. These parts give your gun drawing more depth and realism.
After that, outline the trigger, trigger guard, and sights to bring everything together.
Refine your lines, add textures, and apply flat colors with shadows to define depth. This step really makes your drawing pop and look more lifelike.
Finally, finish by cleaning up lines and polishing details for a professional look.
Keep going, and you’ll master every step with precision. With practice, drawing any gun will become easier and more enjoyable!
Key Takeaways
- Start with a light, loose sketch using basic shapes to establish the gun’s overall proportions and silhouette. This helps you get the general form down without worrying about details just yet.
- Add structural details like the slide, barrel, muzzle, and frame. Make sure everything lines up correctly and looks mechanically realistic.
- Draw key components such as the trigger, trigger guard, sights, grip, and magazine. Pay attention to how these parts fit together and their ergonomic features.
- Refine the drawing by tracing clean lines. Then, add textures, grooves, screws, and shading to give your gun depth and dimension.
- Finally, apply contrasting colors to make your drawing pop. Finish up by cleaning the lines, correcting any small details, and preparing your piece for a polished presentation.
Sketch Basic Gun Shape and Proportions
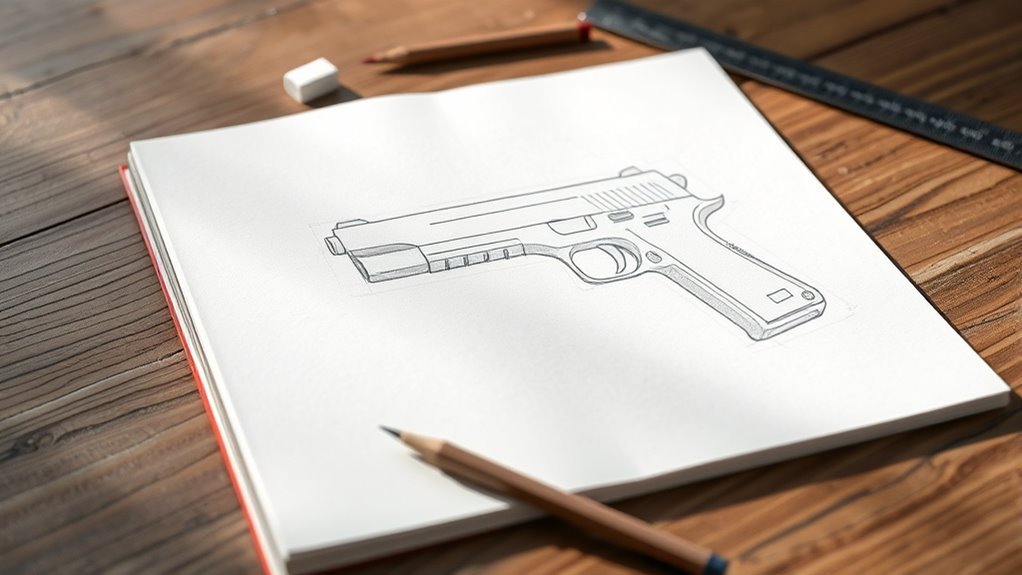
How do you begin capturing the essence of a gun in your drawing? Start by sketching the overall silhouette, focusing on the main components like the slide, frame, and barrel. Use simple lines and geometric shapes to establish the basic proportions, making sure the length and width of each part relate accurately to one another.
Keep your initial outline light and loose so you can adjust it easily as you refine your work. Pay close attention to the barrel’s length and the grip’s size, whether you’re aiming for realism or a stylized look.
Clearly defining these primary sections early on sets a strong foundation. This way, you can build up details and shading later with confidence and precision in your drawing.
Add Slide, Muzzle, and Barrel Details
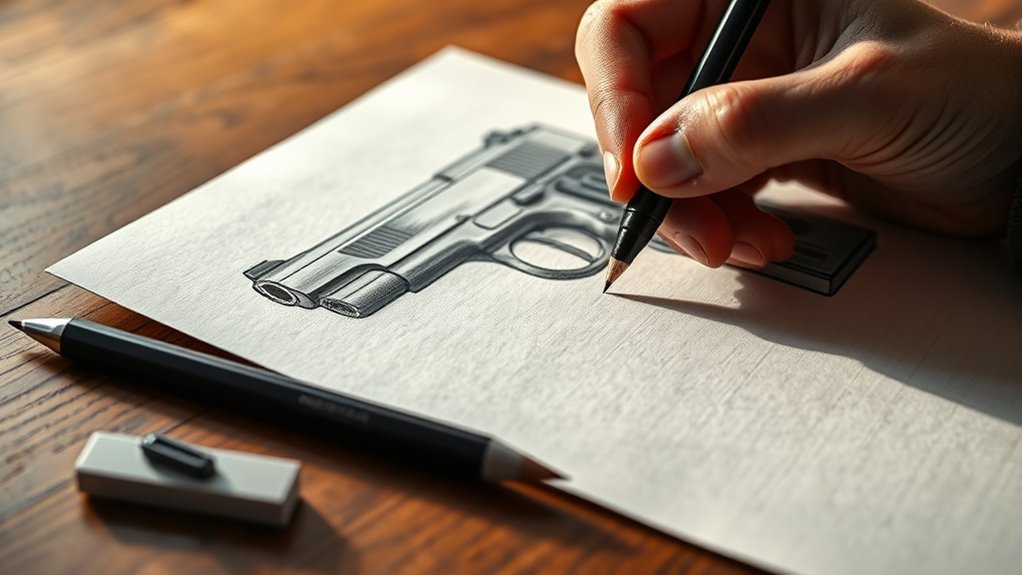
Once you’ve established the gun’s basic shape, add the slide on top of the frame, making sure it’s proportionate and includes serrated grip areas. These serrations should appear on both the rear and front ends of the slide to add realism and functional detail.
Next, outline the muzzle at the front of the slide, aligning it precisely with the slide’s edge. Inside the slide, sketch the barrel, ensuring it has a consistent diameter and is slightly visible through the muzzle opening.
Pay close attention to positioning so the barrel aligns correctly with the muzzle and slide. These details not only define the gun’s silhouette but also enhance its mechanical accuracy, making your drawing look authentic and well-constructed.
Draw Frame, Grip, and Magazine Components
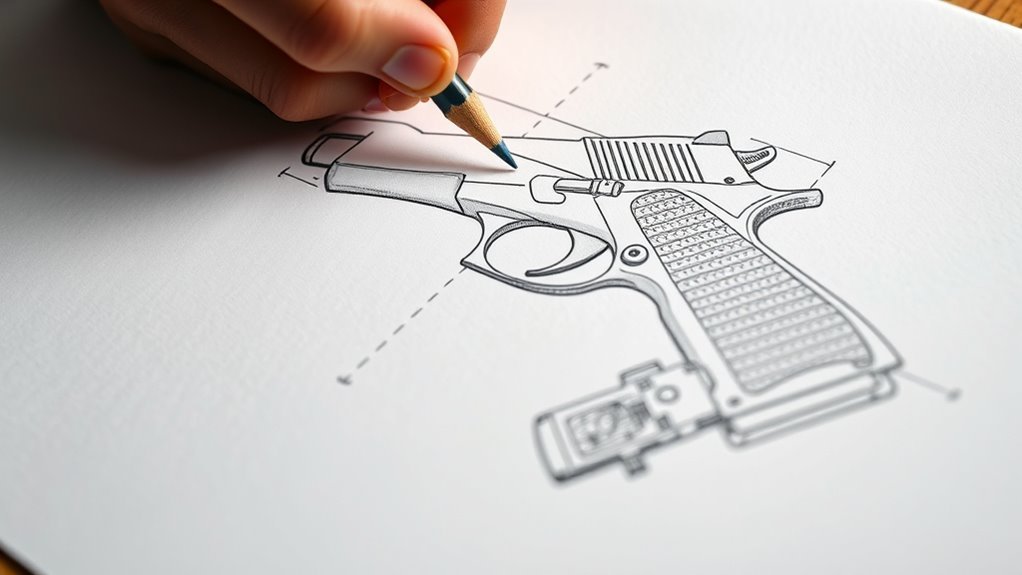
While maintaining proper proportions, start by outlining the frame with a rectangular shape that includes both the grip area and the slide. Focus on the grip by adding ergonomic contours, and suggest texture with lines or stippling.
Sketch the magazine extending downward from the grip, showing the base plate and subtle indentations. Don’t forget the magazine release button near the top side of the grip, marked with a small circular detail.
Include the magazine extending below the grip with base plate details and the circular magazine release button near the top.
To enhance realism, add slide serrations, takedown lever, and slide lock details.
- The frame unifies the gun’s structure, balancing grip and slide.
- Grip contours improve visual ergonomics and realism.
- Magazine details hint at functionality and mechanical depth.
- Small components like the magazine release emphasize precision and design.
Outline Trigger, Trigger Guard, and Sights
Now, focus on sketching the trigger as a curved or rectangular shape inside the trigger guard. The guard should smoothly connect to the gun’s frame, keeping everything cohesive.
Next, place the front and rear sights symmetrically on top of the slide. Make sure they align well for accurate aiming.
Also, keep their size proportional to the gun to maintain a realistic look. It really helps the whole sketch come together nicely.
Trigger And Guard Shape
As you outline the trigger, make sure to shape it as a rounded or curved form that fits neatly within the trigger guard. Keep the proportions accurate to the gun’s size.
Draw the trigger guard as a smooth semi-oval or rounded rectangle. It should wrap around the trigger and connect cleanly to the frame. This balance between trigger and guard is essential for a realistic look.
While outlining, add a small trigger pin or button above the trigger for detail. Also, sketch the sights on top of the slide. The front sight should slope forward, and the rear sight should show a slight notch.
- Ensure the trigger fits comfortably inside the guard without overcrowding.
- Keep the guard’s shape consistent with the gun’s overall design.
- Add subtle details like the trigger pin for authenticity.
- Align sights neatly along the slide for a cohesive outline.
Sights Placement Detail
Where exactly should you place the sights to guarantee quick, accurate aiming? Proper sights placement means aligning the front and rear sights so they’re level and centered with your target.
The front sight usually slopes at the front end to help you quickly line up your shot. The rear sight features a slight slope on both ends, enhancing your sight picture and target acquisition.
Position the sights on the slide where they’re clearly visible and easy to access. This allows for swift aiming when drawing or firing.
Consistent alignment of these sights is vital for precision and effective shooting. It really makes all the difference when you need to be quick and accurate.
Refine Lines and Add Drawing Details
Now it’s time to sharpen your lines by tracing over your sketch with a fine pen or darker pencil to make the main shapes stand out. Focus on adding fine details like grooves, screws, and textured surfaces to bring your drawing to life.
Finally, clean up any rough sketch marks to keep your gun crisp and clear. This step really helps your drawing pop and look polished. Just take your time and enjoy the process!
Enhancing Line Clarity
How do you make your gun drawing stand out with crisp, clear lines? Start by using a fine-tipped pen or digital brush to carefully trace your sketch. Focus on line weight: apply thicker lines to the gun’s outer contours and thinner lines for internal parts.
This contrast adds depth and sharpness. After inking, erase any rough sketch marks to keep the outline clean. Incorporate subtle variations and hatching to suggest shadows and textures without overcomplicating the image.
- Use varying line weight to create dimension
- Trace carefully with precise tools for clean edges
- Erase sketch lines to avoid visual clutter
- Add simple hatching to imply texture and shadow
Mastering these steps will enhance your drawing’s clarity and make your gun illustration visually striking. Give it a try—you’ll see the difference!
Incorporating Fine Details
Why settle for a basic outline when you can bring your gun drawing to life with fine details? Use a fine-tipped pen or precision tools to carefully trace over your initial sketch, emphasizing clean, sharp lines.
Try varying line weight to distinguish parts of the gun—thicker lines highlight major components, while thinner ones outline smaller features like screws or grip texture. Adding intricate details such as subtle surface imperfections and texture on the grip really boosts realism.
Don’t forget to incorporate fine shading and cross-hatching to create shadows and highlights that define surface contours. Keep refining your drawing by erasing unnecessary construction lines, making sure your work looks polished and detailed.
Mastering these fine details transforms your drawing from simple to striking. It’s what really captures the gun’s true character.
Apply Flat Colors and Shadows to Define Form
Although your line work sets the foundation, applying flat colors and shadows will bring your gun drawing to life by clearly defining its form. Start by filling in each part of the gun with flat colors to maintain a clean and stylized look.
Flat colors and shadows breathe life into your gun drawing, defining its form with clarity and style.
Use a consistent color palette to separate components like the slide, grip, and magazine. Then, add simple, uniform shadows where natural darkness occurs to create depth without complicating the design.
Keep your shading minimal and bold to emphasize the gun’s shape effectively. It really helps the drawing pop without overdoing it.
- Use flat colors to differentiate key parts clearly
- Apply shadows sparingly to suggest volume
- Stick to solid, contrasting shades for clarity
- Avoid gradients to preserve a graphic style
Clean Up Lines and Add Final Touches
Once you’ve applied colors and shadows, focus on refining your lines to give the gun a crisp, professional look. Carefully thicken the main outlines to create clean, bold lines that clearly define the shape.
Erase any unnecessary sketch lines or construction marks to keep everything looking polished. Use a fine-tipped pen or digital brush to trace over your final lines, making sure they’re smooth and consistent throughout.
Add small details like screws, texture lines, or subtle highlights to boost realism and visual interest. Finally, take a good look over the entire drawing for any rough edges or inconsistencies.
Make any adjustments you need. This clean-up process is key to getting a sharp, finished illustration that really stands out.
Frequently Asked Questions
How to Draw 7 Step by Step?
You start by sketching basic shapes for proportions, add the slide and barrel, then frame.
Next, include details like serrations, trigger, and sights.
Finally, shade for depth. Practice each step until you feel confident and precise.
It’s all about taking your time and getting comfortable with each part. Keep at it, and you’ll see your drawing improve!
How to Draw a Glock 19 Step by Step?
Start by sketching the Glock 19’s slide as a rectangle. Then, add the rounded trigger guard and textured grip.
Next, include the slide serrations, sights, and magazine release. These details really start to bring your drawing together.
Finally, finish up with the barrel details and some shading. This will bring your drawing to life and give it depth.
Is It Hard to Draw a Gun?
Is it hard to draw a gun? Only if you’re trying to design a secret weapon for a spy movie!
But really, you’ll find it easier by breaking it down into simple shapes and practicing regularly. Just take it one step at a time, and you’ll get the hang of it before you know it.
What Are Basic Shapes for Gun Drawings?
You’ll use rectangles for the slide and frame, cylinders for the barrel, and curves for the grip. Rounded or angular ovals form the trigger guard, while a smaller rectangle represents the magazine extending from the grip.
It’s pretty straightforward once you get the hang of it. Just think of breaking the gun down into these simple shapes first, and then you can add the details later. Makes drawing way less intimidating!
Conclusion
Now that you’ve mastered these seven simple steps, drawing any gun becomes as easy as pulling the trigger. With practice, your sketches will jump off the page, full of life and detail.
Remember, every great artist started with just a single line—so keep refining your skills. Soon, your drawings will speak louder than words.
Ready to create your own masterpiece? The power to draw any gun with confidence and precision is literally in your hands! Keep practicing, and watch your artwork improve every day. Drawing guns can be fun and rewarding once you know the basics. So grab your pencil and start sketching!