How to Draw a Gun in 5 Simple Steps
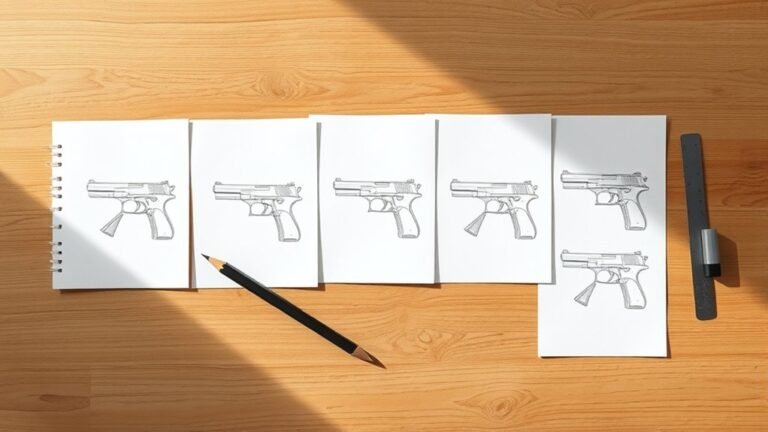
To draw a gun in five simple steps, start by sketching basic shapes like two rectangles for the grip and slide. Connect them with angled lines that outline the profile of the gun. These simple shapes help you get the overall form right before adding details.
Next, add features such as the trigger, sights, and barrel to bring your drawing to life. Don’t worry about perfection yet—just focus on placing these key elements where they belong.
Once everything looks good, clean up your lines and ink confidently to sharpen the drawing.
Then, apply flat colors with simple shading to give your gun some dimension.
Finally, finish up by adding shadows and highlights for depth and realism. Keep practicing, and you’ll discover techniques that really make your drawing pop!
Key Takeaways
- Sketch basic shapes like rectangles for the grip and slide, and add an oval for the trigger guard to outline the gun’s profile. This gives you a simple framework to start with.
- Add details such as the trigger, sights, barrel opening, and slide serrations to enhance realism. These little touches really bring the drawing to life.
- Clean up the drawing by erasing construction lines and inking with varied line weight for depth. It makes your sketch look polished and professional.
- Apply flat colors with simple shading to define parts and emphasize the gun’s shape. This step helps the different elements stand out.
- Finish with shadows and highlights to create realistic depth and highlight metallic reflections. It’s what makes your drawing pop and feel three-dimensional.
Sketch Basic Shapes to Outline the Gun
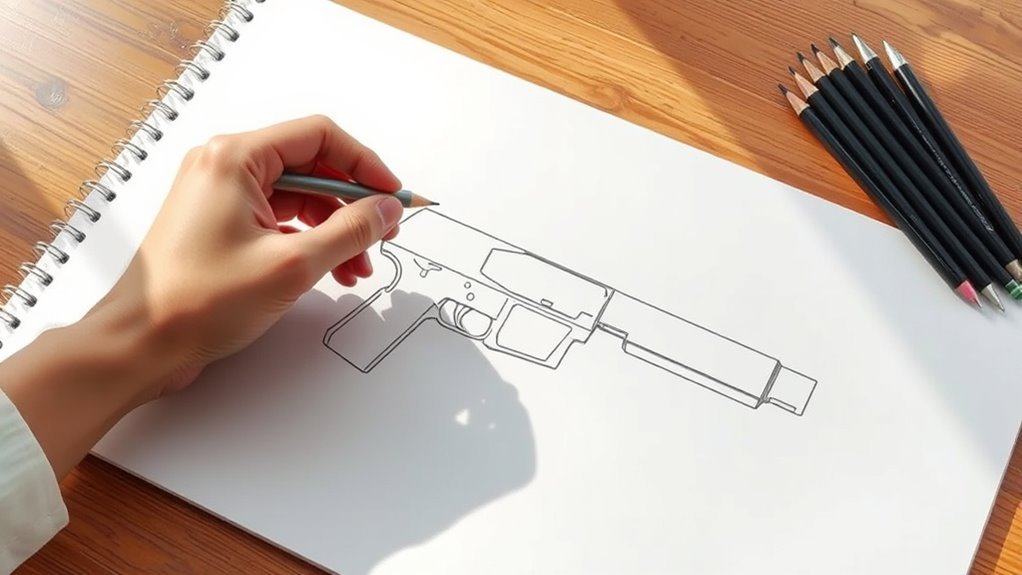
Before diving into details, start by sketching two rectangles—one for the grip and one for the slide. Position them so the slide rectangle sits above the grip, then connect them with a slightly angled line to outline the firearm’s overall profile.
Inside the lower rectangle, draw an oval to mark where the trigger guard will be. This helps you visualize the space around the trigger for accuracy later.
Next, divide the top rectangle horizontally to guide where you’ll place the slide components and sights. Finally, add a perpendicular line in the lower rectangle to indicate the barrel’s position.
These basic shapes and guides provide a strong foundation, letting you build your drawing step by step without getting lost in complex details early on.
Add Gun Details: Trigger, Sights, and Barrel
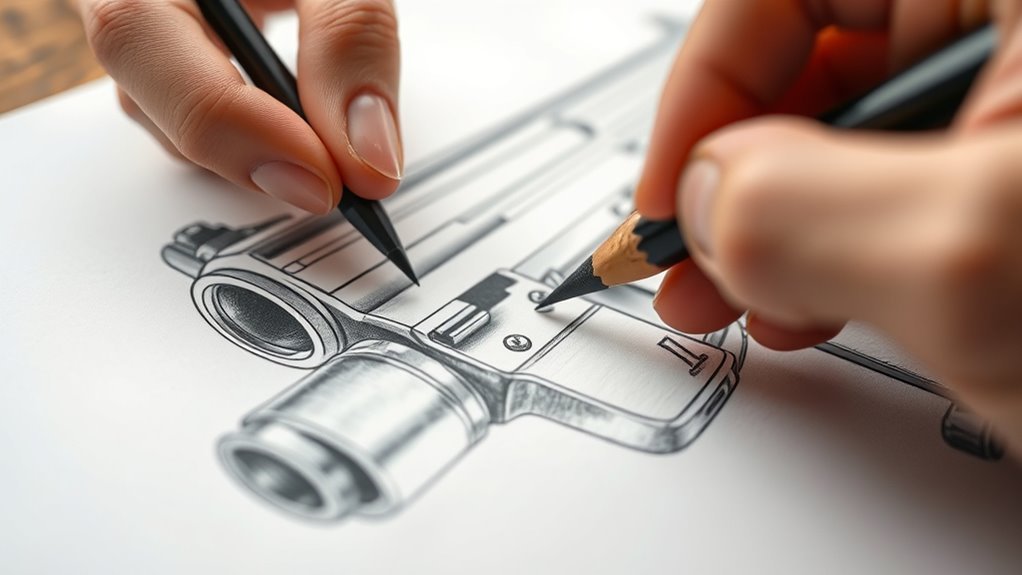
With the basic shapes sketched, you can now focus on adding the key details that bring your gun drawing to life. Start by drawing the trigger as a small, curved triangle or oval inside the trigger guard, representing the firing mechanism.
Next, add the sights: place the front sight as a small rectangle or sloped shape at the slide’s top front, and the rear sight as a small rectangle or notch near the back of the slide. Make sure they’re aligned with each other for proper aiming.
Finally, sketch the barrel opening at the slide’s front edge as a small oval or circle. Adding serrations or textured lines on the slide will really enhance the grip’s realism and make your drawing pop.
| Element | How to Draw |
|---|---|
| Trigger | Small curved triangle or oval |
| Front Sight | Small rectangle or sloped shape |
| Rear Sight | Small rectangle or notch |
| Barrel | Small oval or circle at slide front |
Clean Up and Ink Your Gun Drawing
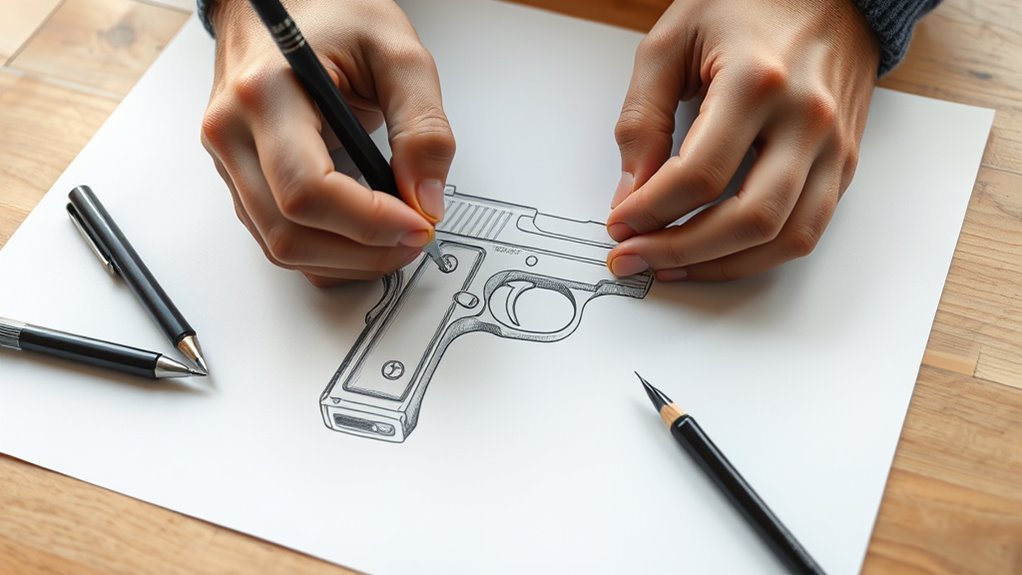
Once you’ve finalized your sketch, erase any leftover construction lines to make your drawing cleaner and easier to ink. Carefully remove all stray pencil marks, so your final outline stands out clearly.
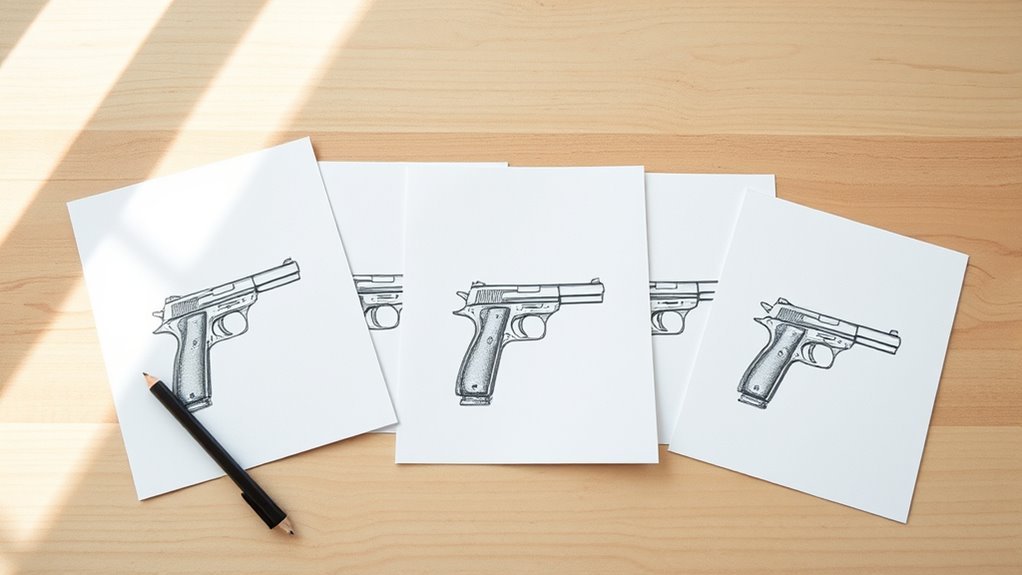
For inking, use a fine-tipped pen or digital brush to trace over your refined lines confidently. Vary your line weight to highlight the main contours and give your gun drawing depth and dimension. Don’t feel the need to over-ink; leaving some lighter or sketchy lines can add a dynamic, stylized touch.
Once you finish inking, let the ink dry completely before erasing any remaining pencil marks underneath to avoid smudging. This careful cleanup and inking process will give your gun drawing a polished, professional look ready for the next steps.
Add Flat Colors and Simple Gun Shading
Although adding color might seem straightforward, applying flat, solid tones to your gun drawing helps emphasize its shape and structure effectively. Start by choosing distinct flat colors for each part, like grey for the metal sections and black for the grip.
Using flat colors keeps the design clean and graphic, enhancing clarity alongside your bold outlines. For simple shading, add a single, slightly darker shade to areas that naturally fall in shadow—under the slide or inside the trigger guard works well.
Keep shading uniform without blending or gradients to maintain a cartoon-like appearance. This approach highlights the gun’s form while preserving a stylized, easy-to-read look.
Add Shadows and Highlights to Finish the Gun
As you refine your gun drawing, adding shadows and highlights will bring depth and realism to your illustration. Focus on consistent shading to enhance the three-dimensional look, keeping the light source direction in mind.
Here’s how to add shadows and highlights effectively:
- Apply darker shading to areas like the serrations, muzzle, and beneath the gun to create natural shadows and emphasize volume.
- Use highlights on the edges of metallic parts to simulate light reflection, giving your gun a polished, realistic finish.
- Emphasize shadows in indentations and around the trigger and grip, layering shading gradually to facilitate smooth transitions.
Frequently Asked Questions
How to Draw a Glock 19 Step by Step?
Start by sketching the Glock 19’s rectangular shape, then add slide details like serrations and the barrel.
Next, draw the trigger, guard, and magazine well.
Don’t forget to add the sights on top.
Finally, shade your drawing to give it depth and dimension.
It’s pretty straightforward once you break it down step by step!
What Are Basic Shapes for Gun Drawings?
You’ll start with rectangles, cylinders, and ovals—the building blocks. They shape the frame, barrel, and grip.
Master these, and you’ll reveal the foundation to sketch a gun’s form with ease and precision. It’s easier than you might think once you get the hang of it!
Is It Hard to Draw a Gun?
It can be hard to draw a gun at first, but you’ll get better with practice. Focus on basic shapes and simple details, and don’t worry about perfection.
Keep trying, and your skills will improve quickly. You’ll see progress before you know it!
How Do You Draw a 5?
To draw a 5, you start by crafting a smooth, sweeping curve like a rollercoaster’s first thrilling drop. Then snap down diagonally.
Finally, lock it with a bold horizontal line—making your number pop with perfect clarity. Easy, right?
Conclusion
Now that you’ve shaped your gun drawing step by step, remember—it’s like crafting a story with every line and shadow. Don’t rush; let your hand dance confidently, turning simple shapes into a powerful image.
Each highlight and shadow adds life, transforming your sketch from a mere outline into a vivid creation. Keep practicing, and soon your drawings will speak louder than words.
With every stroke, you capture the essence of precision and creativity. Drawing a gun in 5 simple steps becomes more than just an exercise—it’s a way to sharpen your skills and express your artistic vision. So, keep at it, and watch your art improve with each attempt!