
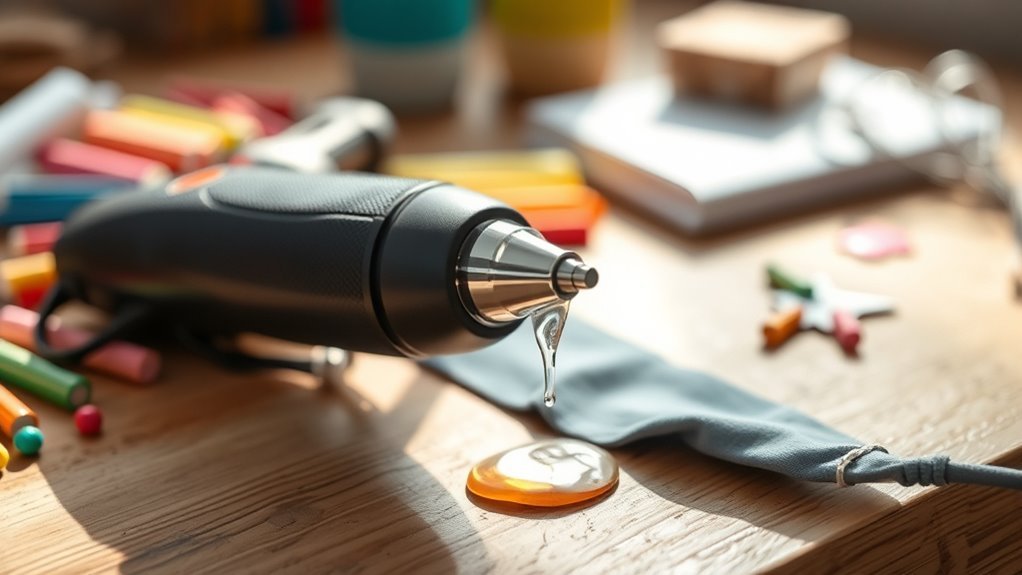
How Do You Use a Hot Glue Gun in 10 Easy Steps?
Plug your hot glue gun into a grounded outlet and let it warm up for about 10 minutes until the tip is hot. This step is crucial because a properly heated glue gun ensures smooth, even glue flow for strong bonds.
Load a properly sized glue stick by pushing it into the back until it hits the heater. Then, press the trigger lightly to feed glue and control the flow with short squeezes. This helps you avoid messy globs and keeps your project neat.
Apply glue to one surface, then press the pieces together firmly while the glue is still hot. Add more glue sticks as needed to keep your gun ready for continuous use.
Finally, unplug the glue gun and let it cool completely before storing it safely. Follow these basics, and you’ll quickly gain smooth, precise bonding skills that make crafting or repairs a breeze!
Key Takeaways
- Plug in the glue gun and warm it for about 10 minutes until the tip is hot and glue melts.
- Load the correct size glue stick into the back of the cool or unplugged gun, pushing it firmly against the heater.
- Press the trigger gently with short squeezes to feed glue incrementally and control flow.
- Hold the gun tip 1/4 to 1/2 inch from the surface and move steadily to apply an even bead of glue.
- After use, unplug the gun, let it cool upright for 10–15 minutes, and avoid touching the hot nozzle or glue.
Plug In the Hot Glue Gun and Let It Warm
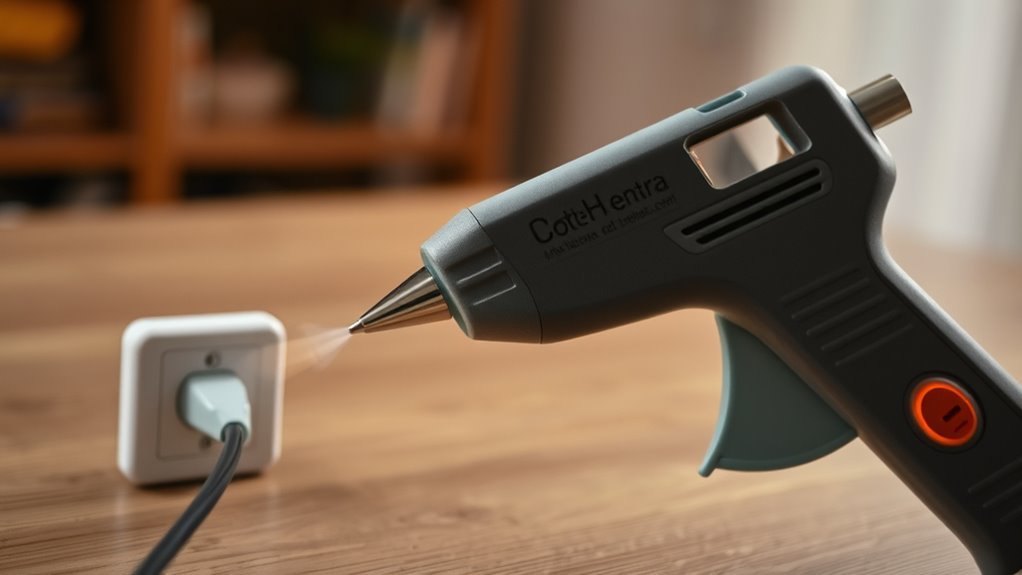
Always plug your hot glue gun into a grounded outlet and let it warm for about 8 to 10 minutes. When you plug the hot glue gun into a grounded outlet, position it on its built-in stand or a heat-resistant surface to keep the hot tip away from flammable materials.
Let it heat until the tip area is visibly hot and the glue inside starts melting. You can leave the glue stick loaded or ready to insert, so it’s in place when the gun is ready to use.
After a few minutes, gently press the trigger to check if a small bead of molten glue comes out. Just be careful during this warm-up period since the nozzle and melted glue can cause burns.
Load a Glue Stick Into Your Hot Glue Gun
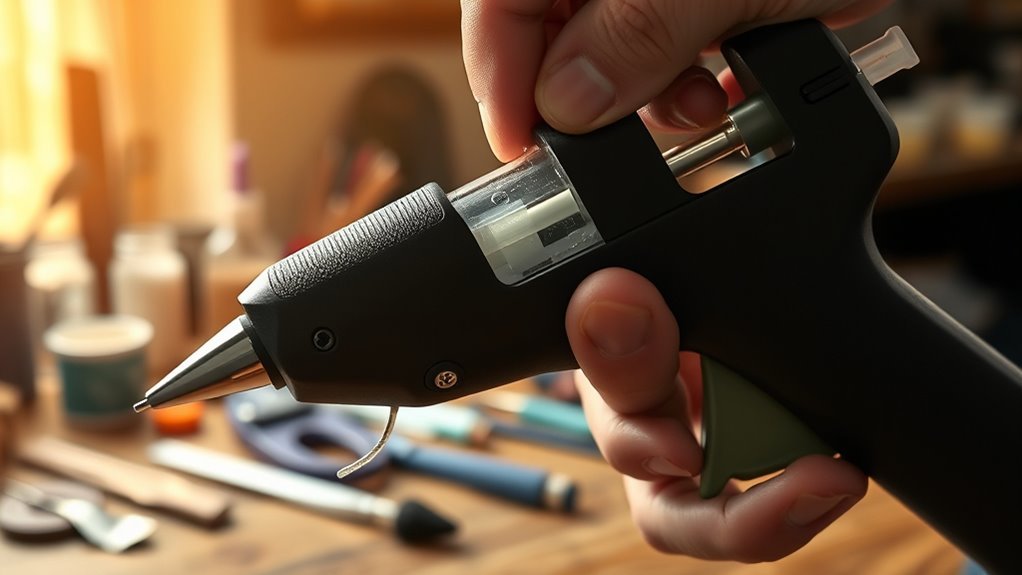
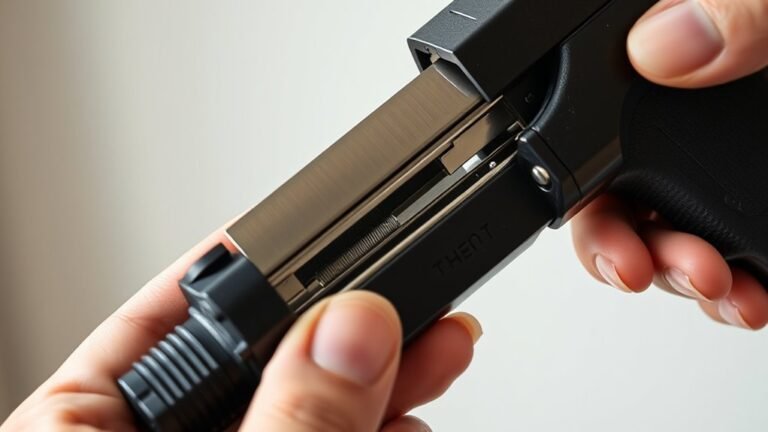
Insert a glue stick into the hole at the back of your hot glue gun until it meets the existing stick or the feed mechanism. When you’re going to put in a new stick, make certain it’s the right size for your gun and that the gun is unplugged or cool to avoid burns.
If it’s your first time loading the glue stick, feed it in a bit further and squeeze the trigger a few times to start advancing the stick into the melt chamber. Remember, you need to add glue sticks before the current one runs out to keep your work smooth.
Here’s a quick checklist:
- Insert the glue stick fully until it stops
- Verify it’s properly seated for smooth feeding
- Add another stick when the visible length gets low
Feed the Glue Stick Until It Hits the Heater
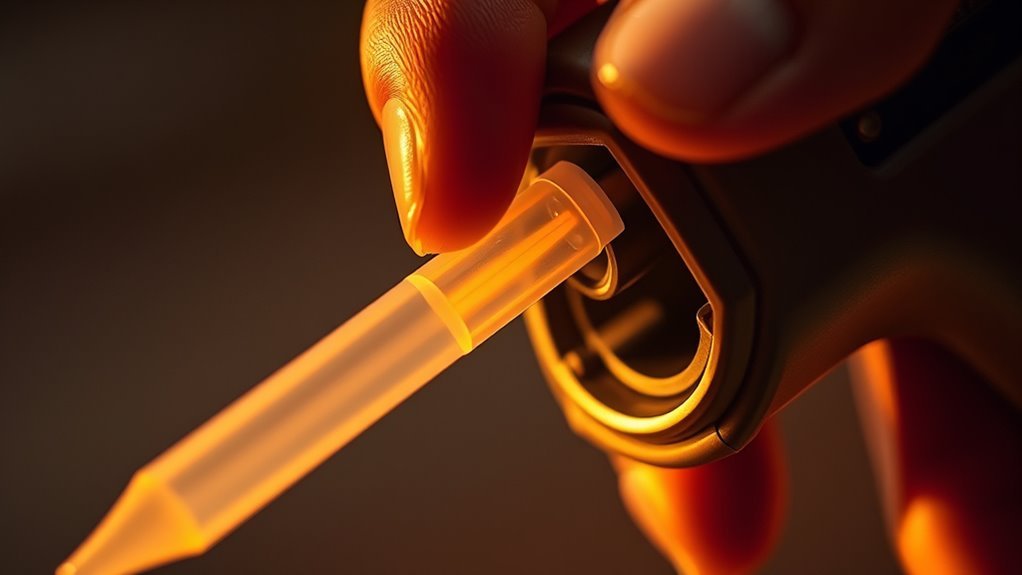
Push the glue stick firmly into the back of your hot glue gun until you feel it meet the heater or internal stop. When you insert the glue stick, make sure to feed the stick gently but firmly, without forcing it past resistance.
If this is your first time loading the gun, you might need to feed the stick a little further so the trigger can grip and advance it toward the heater tip. The glue gun should be warmed up—plug it in for about 10 minutes—so the heater tip melts the glue stick as it feeds.
Once the stick is properly seated against the heater tip, it’s ready for the trigger to push it into the heated chamber, starting the melting process for smooth glue flow.
Press the Trigger Lightly to Feed the Glue Stick
Press the trigger gently to feed the glue stick incrementally into the heated chamber. Using light, controlled squeezes helps maintain a smooth trigger operation and prevents excess glue from oozing out.
This careful approach guarantees a steady, manageable flow of glue for your project. It’s all about keeping things smooth and under control as you work.
Light Trigger Pressure
Control the flow of glue by squeezing the trigger lightly and steadily. This lets the feed rod advance the glue stick incrementally without flooding your project with excess molten glue.
To master light trigger pressure, follow these steps:
- Press the trigger lightly to engage the feed rod without forcing too much glue out at once.
- Use short, gentle squeezes to deposit thin, controlled beads of glue instead of large globs.
- Release the trigger fully between squeezes to reset the drive mechanism and avoid continuous overfeed.
If the trigger feels stiff at first, don’t worry. Keep pressing lightly until the glue stick moves smoothly.
Avoid hard presses unless you really need a large amount quickly. They tend to push out more glue than you actually need.
This technique guarantees precision and less waste in your hot glue projects. Give it a try and watch your work improve!
Incremental Glue Feeding
Mastering light trigger pressure naturally leads to understanding how to feed the glue stick incrementally. Insert the glue stick into the back loading hole until it touches the internal pusher. Then, use gentle trigger presses to feed the stick forward bit by bit.
This incremental feeding lets the heated chamber melt and extrude glue in controlled amounts, avoiding excess blobs. If your gun is new or you’ve just loaded a fresh glue stick, press the trigger a few times to seat it properly.
When the glue stick runs low, keep using gentle presses while adding a fresh glue stick so the new one feeds smoothly without jamming. Avoid full, hard trigger pulls, as they push the stick too far and disrupt the fine, consistent glue flow you get with light, measured squeezes.
Smooth Trigger Operation
You’ll often find that applying light, steady pressure on the trigger lets the glue stick advance smoothly and consistently. To master smooth trigger operation, press the trigger lightly and use gentle squeezes to prevent sudden glue surges.
Here’s a simple approach:
- Use short, controlled strokes, or feathering, to control glue flow and bead thickness precisely.
- Release fully between presses to reset the internal mechanism, avoiding unintended continuous extrusion.
- If the trigger feels stiff initially, feed the glue stick further until it contacts the plunger, enabling smooth trigger movement.
Avoid pressing the trigger hard, as firm pressure can push out too much glue and reduce accuracy. By feathering and releasing fully between presses, you maintain control and achieve clean, precise glue application every time.
Control Glue Flow by Feathering the Trigger for Precision
To get precise glue flow, feather the trigger with light, short presses instead of holding it down. This lets you control the glue stick’s movement and create thin, steady lines.
Keep a gentle rhythm to maintain continuous glue control for detailed work. It really helps to stay consistent for the best results.
Light Trigger Presses
Getting a steady bead of glue means using short, light trigger presses that push the glue stick just a few millimeters forward. Apply gentle fingertip pressure to feather the trigger, which lets you control the glue flow precisely.
Here’s how to master light trigger presses:
- Squeeze the trigger lightly, advancing the stick minimally to avoid excess glue.
- Release immediately after each press to stop the flow and prevent drips.
- Keep a steady rhythm of light presses and brief pauses for consistent glue lines.
This technique helps prevent blobs and jams, especially when you’re nearing the end of a glue stick. Avoid full presses—they push out way too much glue.
Continuous Glue Control
Mastering continuous glue control often means feathering the trigger with short, gentle presses to maintain a steady, thin bead of glue. Instead of fully squeezing the trigger and risking a large glop, use repeated quick squeezes and releases to keep things going smoothly.
This lets you lay down just the right amount—a little bit at a time—so you can join delicate pieces without mess. If you press too hard, the stick advances more, dispensing too much glue.
Practice the rhythm of squeeze–release on scrap material to find your ideal flow. For precise work, tap the trigger briefly and pull away quickly to stop the glue, avoiding unwanted stringing.
This technique gives you precise control when putting things together.
Release the Trigger Between Presses to Keep Glue Flow
You should always release the trigger after each squeeze to let the internal feed reset and prevent unwanted glue flow. This simple step keeps your glue line clean and controlled.
Always release the trigger after squeezing to reset the feed and keep your glue line neat and precise.
When you rhythmically press and release, you’ll avoid messy drips and overheating at the nozzle. Here’s how to do it right:
- Squeeze gently for a small bead or lightly tap for thin glue lines.
- Release the trigger fully to let the glue stick reset inside.
- Repeat this motion to maintain a steady, predictable glue flow.
Apply a Bead of Glue to One Surface Carefully
Squeeze the trigger lightly while holding the gun tip about 1/4 to 1/2 inch from the surface to feather a steady bead of molten glue. Move the gun slowly and steadily, about 1–2 inches per second, to lay an even line instead of blobs.
Apply glue only where it’s needed—trace a continuous bead along the edge or make small spots for precise areas. If you’re working on tiny surfaces, tap the trigger briefly to place small dots or short lines rather than a long bead.
As you near the end, ease off the trigger slightly to avoid a gloppy drop. And remember, don’t touch the hot glue right away; let it cool and set completely before handling to guarantee a clean, strong bond.
Press the Surfaces Together While Glue Is Hot
Press the two surfaces together immediately after applying glue to make sure they bond while the adhesive is still molten. You want to act fast—within a few seconds—so the glue sticks properly.
Once pressed, apply firm, even pressure for about 10–30 seconds until the bond sets and the parts stop shifting. For small pieces, hold them with your fingers; for larger ones, use clamps or pegs to keep everything aligned as it cools.
Avoid sliding the surfaces once glued to prevent weak seams or stringing. Here’s a quick checklist:
- Press surfaces firmly right after gluing.
- Hold steady pressure for 10–30 seconds.
- Use clamps for bigger items to maintain alignment.
Let the glue cool fully before stressing the joint.
Add More Glue Sticks When Running Low
When your glue stick is nearly used up, slide a new one into the back until it touches the old stick. Make sure your gun is hot before squeezing the trigger to feed the new stick smoothly.
Gently push and pull the trigger to advance the glue without forcing it past the catch. This way, everything flows nicely and you avoid any jams. Just take it slow and steady!
Inserting New Glue Stick
Insert a new glue stick into the rear loading hole while the gun is unplugged or off. Push it until it touches the existing stick.
If it’s your first time loading, push the stick a bit further manually so the trigger can engage later. When the gun is hot and the stick is nearly spent, just drop the new stick in until it seats against the old one.
Here’s what to do next:
- Make certain the stick is properly seated so the trigger can push both sticks forward.
- Plug in and heat the gun if it isn’t already warm.
- Squeeze the trigger lightly to advance the glue stick in small increments.
This way, the glue will melt continuously without slipping or jamming. Easy, right?
Feeding Glue Stick Properly
Keep your glue gun feeding smoothly by adding a new glue stick as soon as the current one gets low. Insert the new stick into the hole at the back until it contacts the remaining glue.
Sometimes, you’ll need to push it in a little farther at first to engage the feed mechanism. Before expecting the new stick to feed and melt properly, plug in the gun and warm it up for about 10 minutes.
If the trigger doesn’t advance the stick right away, gently push it forward by hand until the trigger can catch and push it incrementally. Always add a new stick when only a short length remains to avoid dry-firing.
Make sure the new stick is fully seated and straight in the feed tube. This helps guarantee smooth, jam-free feeding every time.
Ensuring Smooth Trigger Advance
Maintain smooth trigger action by adding a new glue stick as soon as the current one runs low. This prevents the trigger from grinding or slipping and keeps your work uninterrupted.
To do this effectively:
- Insert the new stick into the gun’s back hole until it contacts the remaining glue. Push it further if it’s your first time loading.
- Gently feed the stick while pressing the trigger a few times to seat the glue and guarantee smooth advancement.
- When only a short piece remains, preload the next stick partially so the trigger can continue pushing without stopping.
Never force a jammed stick—always unplug and let the gun cool before clearing it. This protects your tool and maintains consistent trigger performance.
Wait for the Glue to Cool and Unplug the Gun
Once you’ve finished your project, release the trigger and set the glue gun upright on its stand to let the tip and any molten glue cool for at least 10 to 15 minutes. This gives the nozzle and glue time to reach a safe temperature before you handle or store the gun.
After finishing, release the trigger and place the glue gun upright to cool safely for 10–15 minutes.
Go ahead and unplug the glue gun right away to stop it from heating any further. But keep in mind, it doesn’t cool down instantly.
Keep the gun on a heat-resistant surface and away from anything flammable. Also, avoid touching the metal nozzle or any fresh glue until it’s fully solidified.
Usually, you’ll want to wait about 10 to 30 minutes until the nozzle feels cool and the glue inside isn’t runny anymore. Only then should you insert a new glue stick or pack the gun away.
Make sure it’s completely cool to prevent burns or any damage. Safety first!
Frequently Asked Questions
How to Use a Hot Glue Gun Step by Step?
You plug in the glue gun and wait for it to heat up. Once it’s warm, insert a glue stick into the back.
Then, gently squeeze the trigger to apply the glue. Press the surfaces you want to stick together and hold them until the glue sets.
Just be careful not to touch the hot tip or the glue itself. It can burn you if you’re not careful!
What Are Some Tips and Tricks for Using a Glue Gun?
You’ll want to use short trigger presses for control. Work quickly to bond before the glue cools.
Also, keep your fingers away from the nozzle to avoid burns. It’s a good idea to rest the gun on a stand when you’re not using it.
And don’t forget to preload sticks! That way, you won’t have any interruptions while you’re working.
Do You Leave the Glue Stick in a Glue Gun?
Yes, you should leave the glue stick inserted while working so the trigger feeds glue continuously.
If you finish but plan to resume soon, keep it in while hot. But once it’s cooled, remove it to prevent jams.
How to Properly Use Hot Glue?
Did you know hot glue guns can get as hot as 380°F? It’s pretty hot, so you gotta be careful when using one.
First, plug it in and pop in the glue stick. Once it’s heated, apply the molten glue carefully. Press the parts together right away so they stick well.
Oh, and a quick tip—avoid touching the tip of the gun to keep from getting burned. Safety first!
Conclusion
Now that you’ve mastered using your hot glue gun, you’re ready to tackle any project with confidence. Just like a knight wielding their trusty sword, your glue gun is a modern tool for crafting victories.
Remember, patience is key—let the glue cool before moving on, and always unplug it when you’re done. This simple step keeps you safe and ensures your glue sets perfectly.
With these steps, your creative ideas will stick around, literally and figuratively. Whether you’re making DIY crafts, fixing household items, or creating art, your hot glue gun helps make every project a success.
So keep practicing, have fun, and let your creativity flow. Using a hot glue gun is all about precision, patience, and a little bit of glue magic!


3 Comments