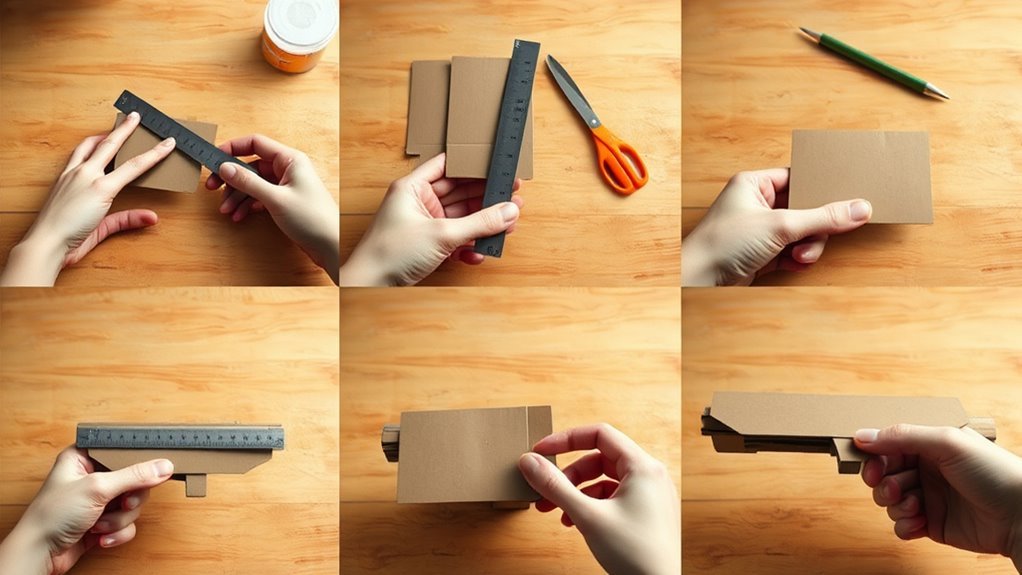
How to Make a Cardboard Gun in 5 Simple Steps
Start by gathering sturdy cardboard, scissors, glue, and tape, then measure and mark your gun’s shape. Using these basic materials is essential for making a strong and realistic cardboard gun that you can be proud of.
Carefully cut out the barrel, handle, and trigger pieces using a sharp utility knife. Take your time with this step to make sure the pieces fit together well.
Next, glue the parts firmly together, holding them in place until secure. This will help your cardboard gun hold its shape and last longer.
Reinforce weak points with extra layers and tape for durability. This step is key if you want a cardboard gun that can handle some playtime.
Finally, add details with paint or markers to personalize your creation. Keep going to discover helpful tips for a stronger, more realistic cardboard gun.
Key Takeaways
- Gather sturdy cardboard, scissors, utility knife, glue, tape, ruler, and work in a safe, well-ventilated area.
- Trace and carefully cut out the gun’s barrel, handle, and trigger shapes from cardboard using a template.
- Assemble parts using strong glue, pressing firmly and ensuring proper alignment for stability.
- Reinforce the gun by layering cardboard, adding tape or extra strips at stress points, and using internal supports.
- Personalize by painting, adding decorative tape, extra details, and applying stickers or designs for realism.
It’s pretty straightforward once you get started. Just take your time with each step, and you’ll have a cool cardboard gun in no time!
Gather Cardboard and Tools for Your Cardboard Gun
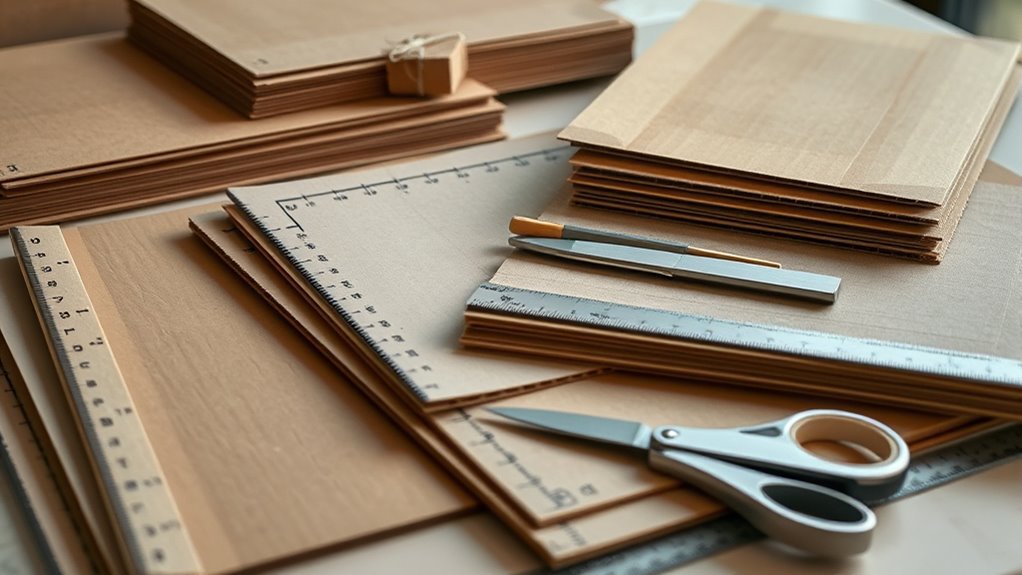
Before you start building your cardboard gun, gather large, sturdy sheets of cardboard from old boxes or packaging materials. You’ll also need essential tools like scissors, a utility knife, glue, and tape to cut and assemble the parts.
Make sure to measure and mark the dimensions for key sections such as the barrel, handle, and trigger area before you begin cutting. Using a ruler or straight edge will help guarantee your markings are precise and your edges clean.
Measure and mark key sections carefully with a ruler to ensure precise cuts and clean edges.
This way, the pieces will fit together better. Always handle cutting tools carefully to avoid accidents, and work in a well-ventilated area to stay safe while crafting.
Once you have everything ready, you’ll be set to start shaping your cardboard gun. It’s going to be fun!
Cut Out the Cardboard Gun Shape Carefully
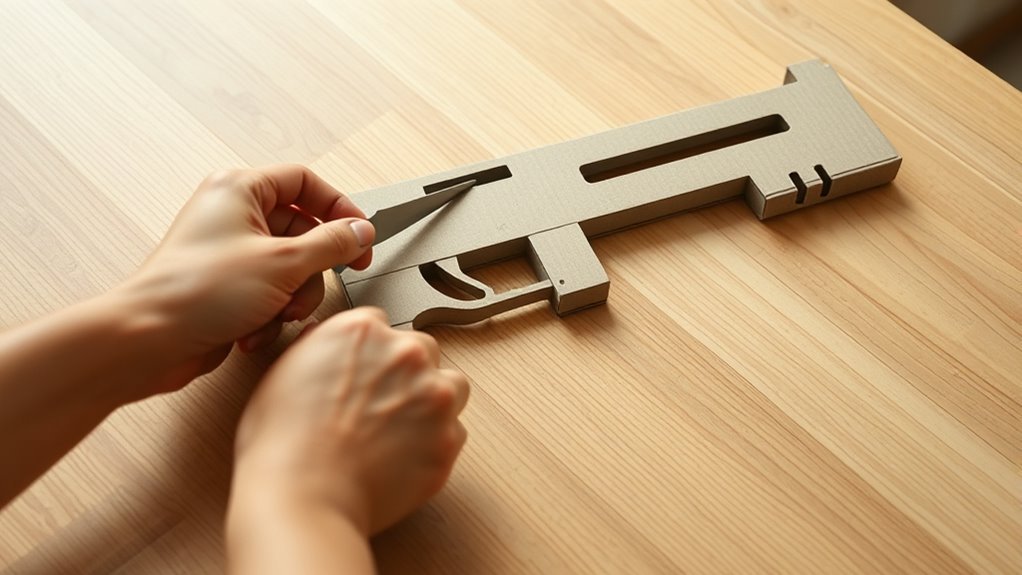
Once you’ve traced the gun’s outline onto the cardboard using a pencil and template, carefully cut along the lines with a sharp utility knife or scissors to guarantee clean edges. Work slowly to follow every curve and detail, preserving the shape’s accuracy.
Don’t rush—taking your time prevents mistakes and keeps the structure intact. If your gun has multiple parts, like a barrel and handle, make separate cuts for each section.
Always use a stable surface to avoid slips, and handle your cutting tools with care to stay safe. Precise cutting ensures the pieces fit together well later, so focus on clean, smooth edges.
This step sets the foundation for a sturdy, realistic cardboard gun. So, be patient and careful—it really makes a difference!
Assemble the Cardboard Gun Pieces With Strong Adhesive
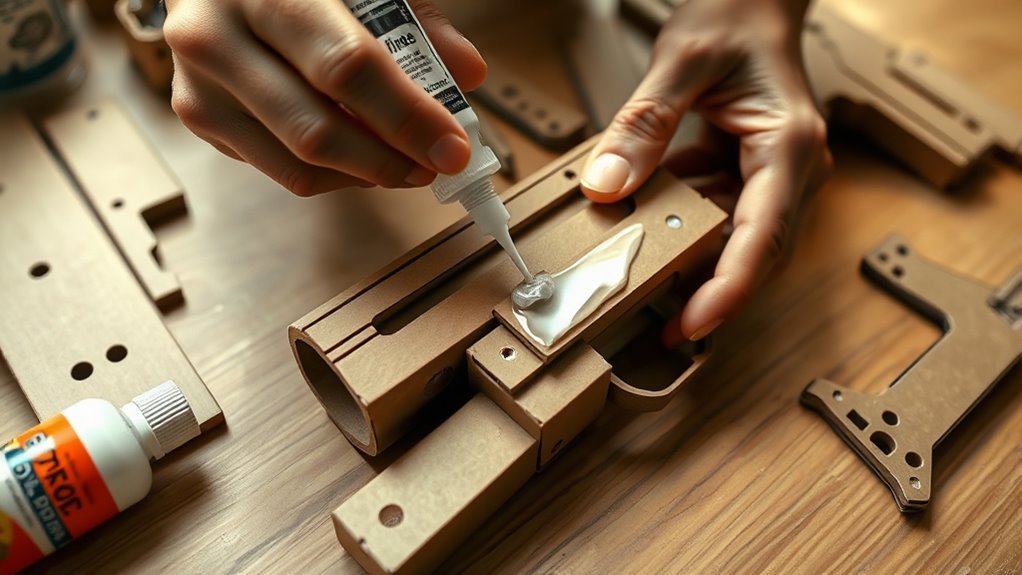
Although cutting the pieces accurately is essential, you’ll want to focus on assembling them securely using a strong adhesive like hot glue or craft glue. Apply the glue evenly along the edges of the cardboard pieces to create a solid bond without causing warping or mess.
Press the parts firmly together for at least 30 seconds to let the adhesive set properly. To guarantee the pieces stay put, use clamps or heavy books while the glue dries completely.
Before the glue fully hardens, double-check the alignment of all parts to maintain the correct shape of your cardboard gun. Taking these careful steps will help you assemble your project with precision and durability.
Reinforce Your Cardboard Gun for Strength and Durability
After securely assembling your cardboard gun pieces, you’ll want to reinforce the structure to boost its strength and durability. Start by gluing multiple layers of cardboard together to create a solid base.
Focus on stress points like the barrel and handle by adding extra strips of cardboard or tape to prevent breaking. Don’t forget to strengthen joints and seams with a thick coat of glue to keep everything firmly attached.
For added rigidity, insert internal supports such as cardboard tubes or stakes inside the gun. Finally, wrap the entire gun with duct tape or packing tape to protect it from wear and tear, increasing its resilience.
Here’s how to reinforce effectively:
- Layer glued cardboard for a sturdy frame
- Strengthen stress points with extra cardboard or tape
- Add internal supports for improved rigidity
Add Details and Personalize Your Cardboard Gun
When you want your cardboard gun to stand out, adding details and personal touches makes all the difference. Use markers, paint, or decorative tape to add color and patterns, giving your gun a unique look.
Attach extra cardboard pieces like scopes or handles to boost its realism and style. Don’t hesitate to write your name or create cool designs directly on the gun with markers—it makes it truly yours.
Add scopes or handles and personalize with your name or designs to make your cardboard gun uniquely yours.
Try experimenting with textures by adding fabric or foil for a distinctive finish. You can also use stickers or decals to give your cardboard gun an extra flair.
These simple additions turn a basic project into a personalized masterpiece you’ll be proud to show off. Go ahead, get creative and make it one-of-a-kind!
Frequently Asked Questions
What Is the Simplest Gun Ever Made?
The simplest gun ever made is a basic blowgun. You’ll use compressed air to shoot small darts or projectiles.
It’s easy to build, requires minimal materials, and relies on your breath’s force to launch ammo. Pretty neat, right?
How to Make a Weapon With Cardboard?
You can craft a weapon with cardboard by cutting and folding pieces to form the shape. Secure them with glue or tape to hold everything together.
Adding simple mechanisms like triggers can make it more interesting. It’s a good idea to reinforce layers for extra strength.
Don’t forget to decorate your creation! Just make sure to keep it safe by smoothing out any sharp edges.
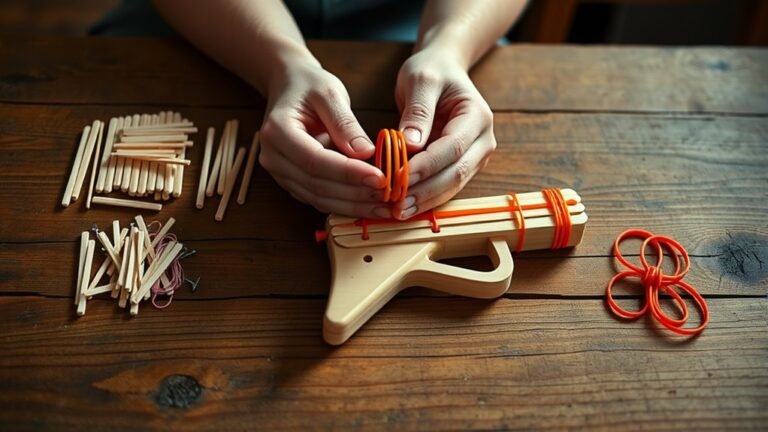
How to Make a Cardboard Gun With a Rubber Band?
You cut a cardboard body and trigger, attach the trigger to pivot, then loop a rubber band around the front.
Load a small projectile, pull back the band, and release to shoot your cardboard gun.
It’s pretty simple once you get the hang of it! Just make sure everything’s lined up so it shoots straight.
How to Make a Paper Gun for Kids Without Glue?
You can fold a rectangular paper in half for the gun’s body. Then, cut a small slit for the barrel.
Next, fold a corner inward for the handle. You can also create a paper tab as a trigger—all without using any glue. Easy, right?
Conclusion
Now that you’ve gathered your materials, cut your shapes, assembled your pieces, and reinforced your creation, it’s time to add those final touches. Personalize your cardboard gun with colors, designs, and details that make it uniquely yours.
Remember, making your cardboard gun is all about creativity, patience, and fun. So, gather your tools, shape your vision, build your masterpiece, and proudly show off the result of your hard work!
Creating a cardboard gun in 5 simple steps lets you explore your artistic side while practicing patience and precision. Each step, from cutting to assembling and decorating, adds to the satisfaction of building something with your own hands.
Enjoy the process, experiment with designs, and most importantly, have fun bringing your cardboard gun to life!