How to Make a Spud Gun in 7 Easy Steps
To make a spud gun, start by gathering and cleaning the right PVC pipes and fittings. Choosing the correct materials is key to building a strong and safe spud gun.
Mark and cut your PVC tubes to size, then sand edges smoothly.
Next, assemble and glue the sections carefully for airtight joints. This step ensures your spud gun will work efficiently without any leaks.
Install an adapter and secure the cap with epoxy and glue.
Don’t forget to add safety features like a pressure release valve and a secure handle. These parts are important for safe operation.
Finally, test your spud gun outdoors with proper precautions to guarantee safety and function.
Keep going, and you’ll find detailed tips to perfect each step. Building your own spud gun is fun and rewarding when you follow these simple steps carefully.
Key Takeaways
- Collect and clean PVC pipes and fittings. Then, accurately measure and cut pipe sections according to your design specifications.
- Assemble PVC parts using PVC glue. Make sure the joints are tight and airtight, and everything is properly aligned for structural integrity.
- Drill holes in the end cap for the adapter. Securely attach it with epoxy clay, and seal it with PVC glue to keep it airtight.
- Add safety features like a pressure release valve and a high-temp sealant. You can also include a safety switch or a remote ignition system for extra safety.
- Test the spud gun outdoors while wearing protective gear. Start with small shots, check the seals and stability, and confirm that all your safety measures are working properly.
Gather and Clean Your PVC Materials
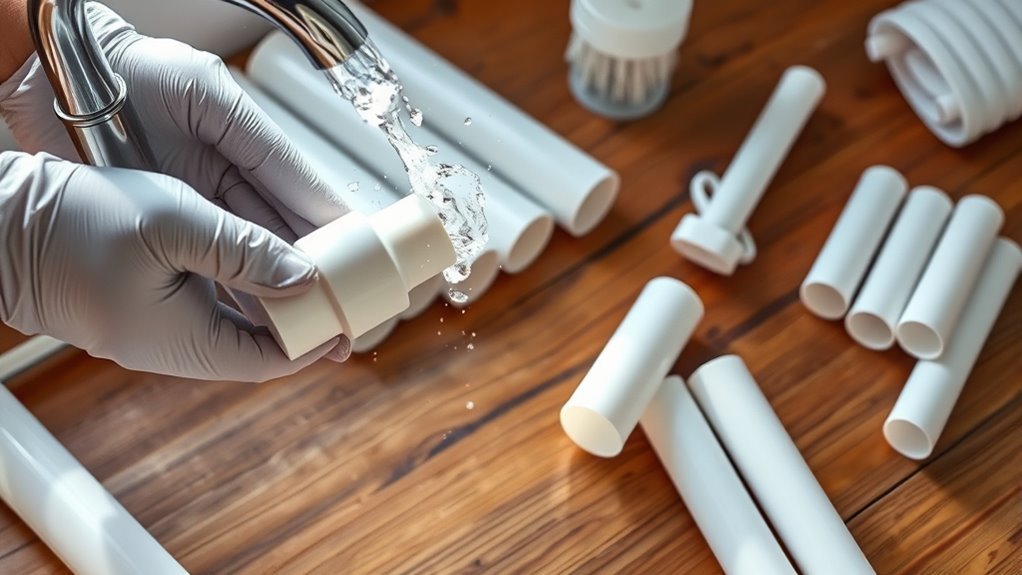
Before you begin assembling your spud gun, make sure you gather all the necessary PVC pipes and fittings from a hardware store like Home Depot. Choose the exact diameters and lengths specified in your plan.
Gather all required PVC pipes and fittings with exact sizes before starting your spud gun assembly.
Once you have your materials, thoroughly clean each PVC piece with soap and water or a cleaning solution to remove dirt, grease, and debris. This step is important to ensure maximum adhesion.
Take time to inspect every component to confirm it matches your project’s specifications. When you’re ready to assemble, start by gluing the clean, dry fittings and pipes together according to your design.
Proper cleaning is essential because it helps the glue bond securely, making your spud gun both safe and sturdy. Keep everything organized to streamline the next steps.
Mark and Cut PVC Tubes to Size
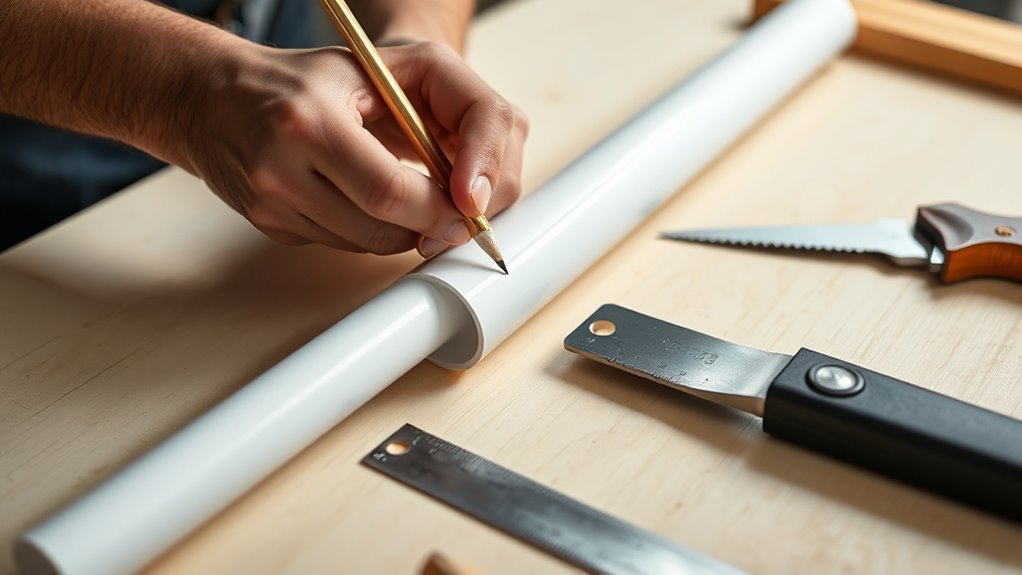
To start, use a marker to clearly indicate the 7-inch and 10-inch sections on the 4-inch PVC tube and the 25-inch section on the 2-inch PVC tube. Double-check your measurements before cutting to avoid mistakes.
Next, take a handsaw and carefully cut along each marked line, aiming for straight, clean cuts. Accurate cuts ensure your spud gun will assemble properly.
Once cut, sand the edges thoroughly to remove any roughness that could cause injury or prevent a snug fit. Mark the cap where the 3/4-inch adapter will attach, but hold off on drilling until the next step.
Taking your time now sets a solid foundation for the assembly, making the rest of the build easier and safer.
Smooth and Drill the PVC Components
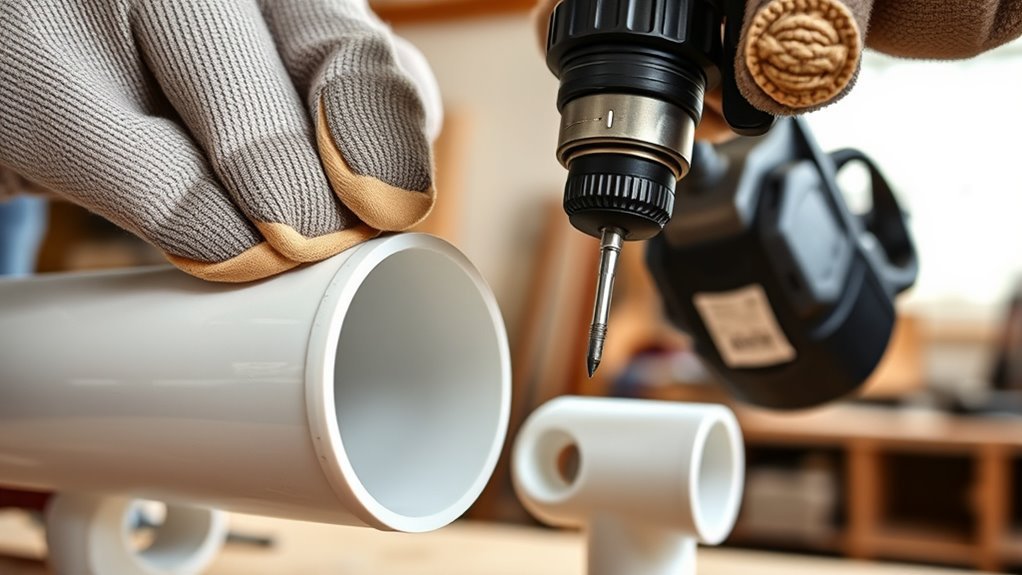
Although you’ve already sanded the edges, you’ll want to go over all the PVC pieces again with fine-grit sandpaper to guarantee every cut is smooth and safe. Focus on eliminating any rough or sharp spots that could cause injury or interfere with assembly.
Re-sand all PVC edges with fine-grit paper to ensure every cut is smooth and safe.
After sanding, wipe each component with a clean cloth to remove dust and debris. This helps ensure a clean surface for the next steps.
Next, mark the exact spots on the PVC cap where holes need to be drilled. Make sure to align them carefully with the adapter placement to avoid any mistakes.
Use an appropriate drill bit to create small, clean holes at these marks. Take your time here so the holes come out just right.
Finally, file the drilled edges to round them off. Give everything a thorough inspection to catch any splinters or burrs, making sure the finish is smooth and safe.
Assemble and Glue the PVC Sections
Now that your PVC pieces are ready, it’s time to apply the glue and start assembling. Make certain to coat the inside of each joint evenly before pressing the sections together firmly.
Take your time sealing every connection to ensure a strong, airtight bond for your spud gun. This step really makes a difference, so don’t rush it!
Preparing PVC Sections
When you fit the marked PVC sections together, make sure each joint is properly aligned before applying PVC glue to create a secure, airtight bond. Start by joining the 7-inch and 10-inch PVC pieces onto the 4-inch tube, ensuring a snug fit.
Attach the reduction fitting that connects from 4-inch to 2-inch pipe, aligning it carefully to maintain an airtight seal. Next, connect the 4-inch coupler to the 10-inch tube, applying glue on both inner and outer surfaces for a tight connection.
Finally, insert the 2-inch PVC pipe fully into the reduction fitting, verifying it’s seated correctly. After assembling all parts, seal every joint thoroughly and give the glue ample time to cure before moving on to testing your spud gun.
Applying PVC Glue
Since proper bonding is essential for your spud gun’s performance, you’ll want to apply PVC glue evenly to both the inside of the fittings and the outside of the pipe sections. This guarantees a secure and airtight connection.
When you’re ready, follow these steps:
- Coat the inside of each fitting and the corresponding outside of the pipe section with an even layer of glue.
- Align the parts carefully and press them together firmly. Hold for at least 30 seconds to let the glue set.
- Immediately wipe away any excess glue with a cloth to keep your assembly clean and smooth.
Joining and Sealing
Although assembling your spud gun requires careful attention, applying PVC cement evenly to all mating surfaces guarantees a strong, airtight bond. Start by coating the 4-inch PVC tube and coupler thoroughly. Then, insert the tube firmly into the coupler, holding it steady until the glue sets to avoid misalignment.
Next, glue the reduction fitting connecting the 4-inch to 2-inch PVC. Make sure it’s fully seated and properly aligned.
After assembling all sections, seal every joint and connection with extra PVC glue or epoxy clay. This helps prevent leaks and keeps everything airtight.
Finally, let the glued joints cure for at least one hour before handling or testing your spud gun. Doing this assures your assembly is secure and ready for safe use.
Install Adapter and Secure Cap
Start by drilling holes in the cap to fit the 3/4-inch adapter, then file them smooth for a clean fit. Use epoxy clay to firmly attach the adapter inside the cap, and apply PVC glue to seal it airtight.
Make sure everything is aligned properly and let it cure before moving on. This way, you’ll have a secure and tight connection that won’t leak.
Adapter Placement Techniques
How do you guarantee your spud gun’s adapter fits securely and won’t leak air? Proper placement is key. Start by drilling small holes into the cap exactly where your 3/4-inch adapter will go. These holes help the adapter lock in firmly.
Next, follow these steps:
- Align the adapter flush with the cap’s surface before attaching it.
- Use epoxy clay to fill the holes and bond the adapter tightly to the cap.
- Let the epoxy cure completely, usually for several hours, ensuring a strong, airtight seal.
Once dry, double-check the adapter’s attachment. It should feel solid with no wiggle or gaps. This careful placement prevents air leaks and keeps your spud gun working efficiently every time.
Securing Cap With Epoxy
Where should you apply epoxy clay to guarantee your spud gun’s adapter stays airtight and secure? Apply it around the base of the 3/4-inch adapter before pressing it firmly into the drilled hole on the cap. Hold the adapter steady until the epoxy starts to set, making sure it doesn’t move.
Next, smooth out any excess epoxy clay around the connection to create a tight seal and prevent air leaks during firing. Let the epoxy cure fully—usually for at least one hour—before you handle or test the cap assembly.
Finally, double-check that the adapter is securely fixed and that the cap is sealed properly. This step is really important to keep your spud gun’s pressure system working right as you keep building.
Ensuring Proper Seal
Although you’ve already applied epoxy clay to attach the adapter, you need to guarantee the seal is airtight by carefully installing the adapter into the cap and securing it properly. This step is vital to prevent air leaks and maintain pressure integrity in your spud gun.
Follow these steps to ensure a proper seal:
- Drill small, precise holes in the cap for the adapter, then smooth and file any rough edges to avoid gaps.
- Fully seat and glue the adapter into the cap, making sure it’s firmly bonded before attaching to the PVC assembly.
- Inspect the connection closely for cracks or gaps, and apply extra sealant if needed to guarantee an airtight fit.
Taking these precautions will help your spud gun perform safely and effectively. Just make sure everything feels solid before you move on!
Add Safety Features and Final Seals
Before you finish assembling your spud gun, make sure you add essential safety features and apply final seals to keep it secure and reliable. Start by installing a pressure release valve or a small vent hole to prevent dangerous pressure buildup.
Add safety features like a pressure release valve before finishing your spud gun assembly.
Use high-temperature, weather-resistant sealant on all joints and seams to guarantee airtight sealing. Attach a safety switch or remote ignition system to control firing and reduce accidental launches.
Add a sturdy, non-slip handle or grip to improve your control and prevent slips during use. Finally, clearly label the spud gun with safety warnings and operating instructions.
These steps help make your spud gun safer and more dependable every time you use it. It’s worth taking the extra time to get these details right!
Test Your Spud Gun Safely and Effectively
When you’re ready to test your spud gun, make sure you wear safety goggles and gloves to protect yourself from any debris or misfires. Testing should be done in an open, outdoor space where there are no people, animals, or fragile objects nearby.
Before firing, double-check that all joints are glued securely and the assembly is stable. Follow these steps for a safe and effective test:
- Use a consistent amount of pressure and a proper ignition source to maintain controlled firing.
- Begin with a small, controlled test shot to verify the gun’s functionality and safety.
- Observe the shot carefully and adjust if needed before full use.
Frequently Asked Questions
How to Make Potato Cannons Create?
You create potato cannons by assembling a sealed chamber and barrel, using PVC pipes. You add an ignition system or valve, seal everything tightly, then load a potato.
After that, you ignite or release pressure to launch it safely and effectively. It’s a simple but fun project once you get the hang of it!
How Does a Spud Gun Work?
A spud gun works by you igniting fuel or compressing air in a chamber, creating pressure that rapidly pushes the potato through the barrel. This pressure propels it forward with force based on Newton’s third law of motion.
Basically, when the fuel burns or the air is released, it builds up a lot of force quickly. That force is what sends the potato flying out of the barrel. It’s kind of like a mini rocket launching the potato forward!
What Is a Potato Bazooka?
A potato bazooka is a homemade device you use to launch potatoes by compressing air or igniting gas.
You’ll find it has a barrel, a chamber, and a firing mechanism for fun shooting activities.
It’s pretty simple to understand once you see how it works.
People often build them for fun, especially when they want to test how far they can shoot a potato!
Is a Spud Gun a Firearm?
A spud gun isn’t usually considered a firearm because it doesn’t use gunpowder or a traditional firing mechanism. However, laws vary, so you should check your local regulations before building or using one to stay safe and legal.
It’s always better to be sure, right? Just a quick look at your area’s rules can save you from any trouble.
Conclusion
Now that you’ve built your spud gun, you’re part of a community that’s enjoyed this fun DIY project for decades. Did you know spud guns can launch potatoes over 300 feet? It’s pretty amazing what a simple homemade device can do!
Just remember to always prioritize safety and follow local laws. Safety is key when using your spud gun, so never aim it at people or animals.
With your new spud gun, you’re ready to have some exciting, responsible fun. Enjoy testing your creation and impressing friends with your handiwork! Building and using a spud gun can be a great way to learn about physics while having a blast. So get out there and have fun, but always play smart!