
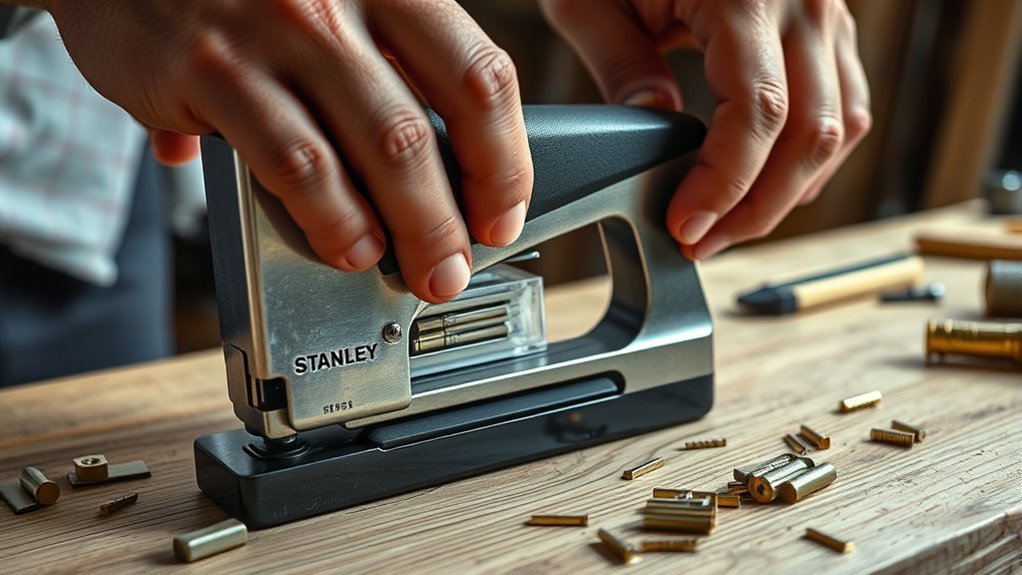
How to Load a Stanley Staple Gun in 7 Easy Steps
To load your Stanley staple gun safely, start by disconnecting it from power or removing the batteries. This step is super important to avoid any accidental firing.
Next, locate the magazine latch and open the compartment fully. Make sure to clear out any old staples or jams before moving on.
Now, take your new staples and insert them with the legs facing down. Align them properly in the magazine so everything fits just right.
Once the staples are in place, close the magazine firmly until you hear a click. This ensures the compartment is securely locked.
Before you dive into your project, test the staple gun on some scrap material. This helps verify that it’s working smoothly and ready for action.
Follow these easy steps, and you’ll also pick up some handy tips to keep your Stanley staple gun running flawlessly every time.
Key Takeaways
- Ensure the staple gun is turned off or unplugged. Also, make sure you’re using the correct staples designed for the Stanley TR250.
- Next, locate and press the magazine release latch. This will open the staple magazine fully.
- Before loading new staples, check for any debris or jammed staples inside the magazine. Remove them if you find any.
- Now, insert the staples with the crown flat and the pointed ends facing downward. Make sure they are aligned properly along the magazine guide.
- Finally, close the magazine gently until it clicks. Then, test the stapler on some scrap material to confirm it’s loaded and working correctly.
Start Safely: Disconnect Your Staple Gun First
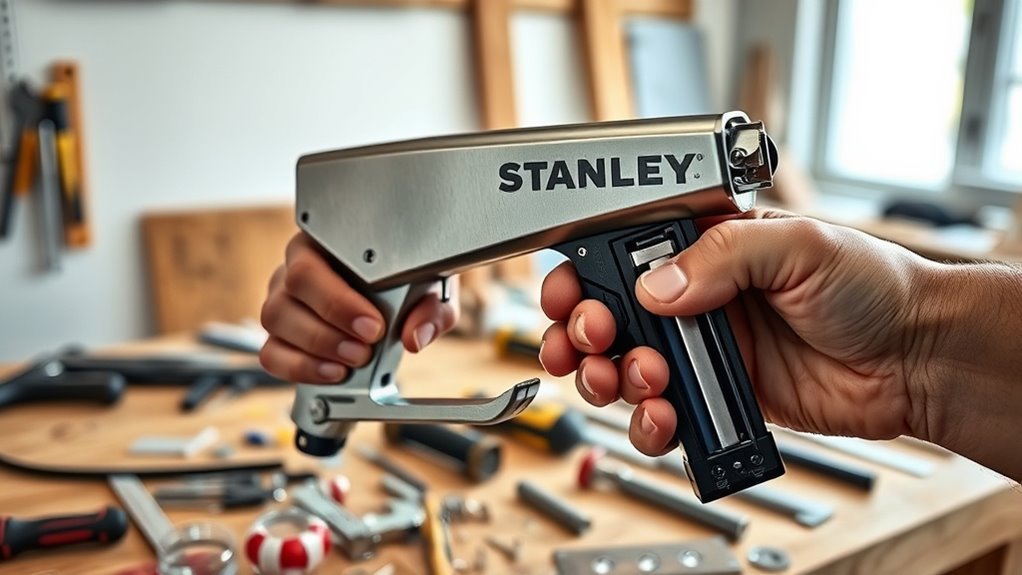
Before you begin loading your Stanley staple gun, always disconnect it from any power source or remove the battery to prevent accidental firing. If you’re using a manual staple gun, make sure it’s resting on a stable surface and not in the firing position while you load staples.
For pneumatic staplers, disconnect the air compressor hose before opening the loading chamber. Double-check that the tool is completely disconnected to avoid any unexpected activation.
Always follow the manufacturer’s instructions specific to your Stanley model for safely disconnecting the power or air supply. Taking these precautions helps you avoid accidents and guarantees a smooth, safe loading process every time.
Safety comes first before handling or accessing the staple gun’s loading area. Better safe than sorry, right?
Find and Open the Magazine Correctly
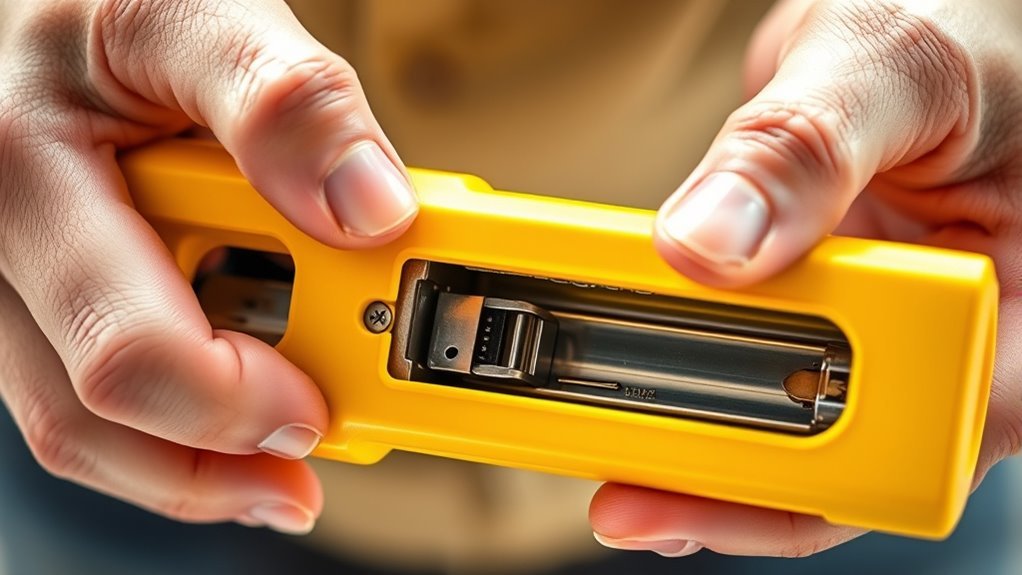
First, locate the magazine release latch on your Stanley staple gun. It’s usually near the front or side.
Press or slide the latch to release the magazine compartment safely. Then, open the magazine fully to prepare for loading staples.
Locate The Magazine
Where exactly is the magazine on your Stanley staple gun? Typically, you’ll find it near the handle or the front end. Look for a release latch or button—it’s designed to open the magazine compartment quickly.
Press or slide this release to unlock the magazine. Once open, carefully pull out the empty magazine or load chamber from the stapler body.
When you’re ready to reload, make sure the magazine is oriented correctly, with staples aligned in the proper direction to avoid jams. After placing the staples, close the magazine securely. Listen for a click that confirms it’s locked in place.
Knowing exactly where the magazine is and how to open it properly is essential before moving on to safely unlocking and loading your stapler.
Unlock Magazine Safely
After locating the magazine and identifying the release latch, you’ll want to open it safely to access the staple chamber. Look for the latch near the handle or front of the staple gun.
Press or slide it carefully to unlock the magazine compartment, making sure it disengages fully. Once unlocked, gently pull the magazine open to reveal the staple channel.
Check that your staples are oriented correctly, usually with the flat side down and the pointed ends facing forward. Insert a strip of compatible staples, aligning them properly with the magazine guides.
After loading, close the magazine firmly until it locks back in place. This ensures your Stanley staple gun is ready for smooth, effective stapling without jams or misfires.
Clear Old Staples and Check for Jams
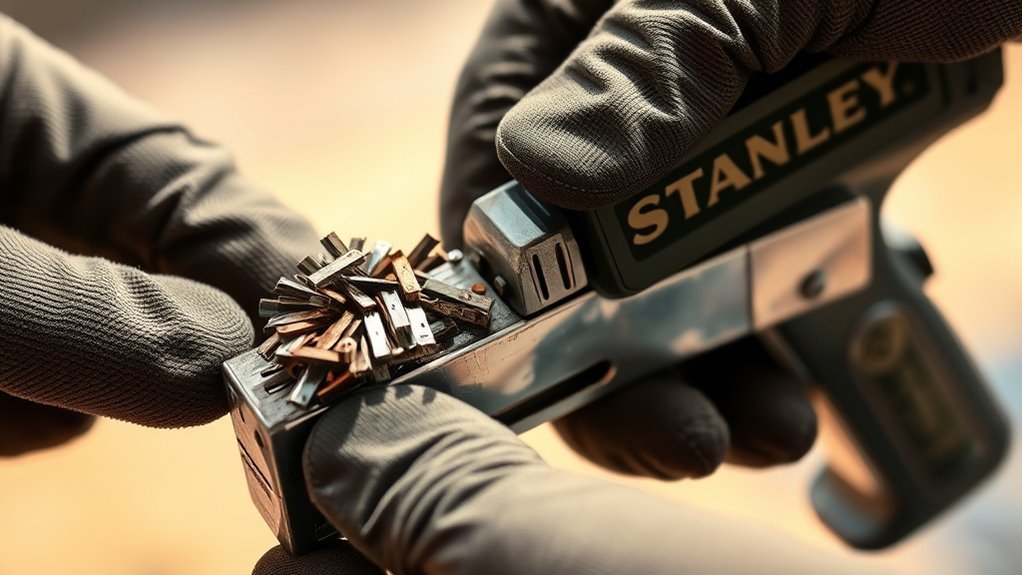
Before loading new staples, make sure you remove any old ones stuck in the magazine by hand or with pliers. Check the staple channel carefully for jams, and gently clear any misfired staples or debris you find.
Keeping the spring mechanism clean and unobstructed helps prevent future blockages. It also keeps your staple gun working smoothly. So, take a little time to keep things clear before you start stapling!
Removing Old Staples
How do you clear old staples and check for jams in your Stanley staple gun? First, make sure the stapler is unloaded and unplugged if it’s electric.
Gently pry out old staples with a flathead screwdriver or staple remover to avoid damaging the internal parts. Then, open the magazine or loading chamber to look for any jammed staples.
If you find stubborn staples, use pliers to remove them. Take a good look at the staple track for debris or bent staples.
Give it a thorough cleaning before you reload. This helps prevent future jams and keeps your staple gun working smoothly.
| Step | Tool Needed | Purpose |
|---|---|---|
| Unload Stapler | None | Safety first |
| Pry Out Staples | Flathead Screwdriver | Remove old staples gently |
| Open Magazine | None | Access jammed staples |
| Remove Jams | Pliers | Clear stuck staples |
| Inspect & Clean | Cloth, Brush | Prevent future jams |
Identifying Common Jams
When you notice your Stanley staple gun isn’t firing properly, start by removing the staple magazine to inspect for jams. Look closely for staples that are stuck, bent, broken, or overlapping—these are common causes of jams.
Check the staple channel for any debris or leftover staples that might block proper loading. Use pliers or a similar tool to carefully clear any visible staples causing the jam, making sure you don’t damage the tool.
After clearing, reassemble the magazine and test the staple gun to confirm staples feed smoothly without sticking or misfiring. Regularly inspecting and clearing jams as soon as they appear helps keep your Stanley staple gun working efficiently.
That way, you can get your projects done without any unnecessary interruptions.
Preventing Future Blockages
To keep your Stanley staple gun running smoothly, you should regularly clear out any old staples and debris from the staple chamber. Use a small tool or the gun’s loading mechanism to gently remove stuck staples or obstructions.
Always check the loading path for misaligned staples or debris that might cause blockages before loading new staples. Make sure the staples you use are compatible with your model and properly seated to avoid jams.
Periodically inspect the internal components for wear or damage, as these can contribute to frequent blockages. By staying proactive and maintaining your staple gun, you’ll reduce downtime and extend its lifespan.
This way, it’ll work efficiently every time you need it. Simple steps like these really make a difference!
Load New Staples With Legs Facing Down
Why does the orientation of the staples matter? Loading staples with the legs facing down guarantees smooth firing and prevents jams.
To start, open the staple compartment by releasing the latch or pressing the release mechanism. Then, insert the staples legs down, aligning them carefully with the guide tracks inside the chamber.
Confirm they sit properly to avoid misfires. Here’s a quick checklist for this step:
| Step | Action |
|---|---|
| 1 | Release staple compartment latch |
| 2 | Open compartment fully |
| 3 | Insert staples legs facing down |
| 4 | Align staples with guide tracks |
| 5 | Ensure staples are seated flat |
Following these steps helps keep your staple gun ready and jam-free. Just take your time with each part, and you’ll be good to go!
Close the Magazine Securely Until It Clicks
After placing the staples legs down and aligning them properly, the next step is to close the magazine securely. Make sure the magazine is aligned correctly with the staple gun to avoid jams or misfires.
Push the magazine fully into the gun until you hear or feel a distinct click. This click means the magazine lock mechanism has engaged, holding the staples firmly in place.
Don’t just assume it’s closed—gently tug on the magazine to confirm it won’t slide open. If it moves, push again until it locks securely.
Always double-check that the magazine has clicked shut before you start stapling. This helps prevent accidental staple discharge and guarantees your tool functions smoothly and safely every time.
Test Your Staple Gun on Scrap Material
How well does your staple gun perform before you start on your main project? Testing it on scrap material lets you verify proper staple depth and function.
Use material similar to your project to get an accurate feel. Before testing, double-check that staples are loaded correctly and the gun is in good shape.
Observe how evenly and securely staples are driven. If needed, adjust the tension or settings based on your test results.
This step helps avoid mistakes on your final workpiece.
| What to Check | Why It Matters |
|---|---|
| Proper staple depth | Ensures secure fastening |
| Even staple placement | Prevents material damage |
| Smooth gun operation | Confirms reliable performance |
Fix Common Loading Problems With Your TR250
If your TR250 staple gun isn’t loading smoothly, it’s often due to magazine issues or incorrect staple placement. First, make sure the staple magazine is fully open and free of debris.
If your TR250 staple gun struggles to load, check that the magazine is open and clear of debris.
Clean it to prevent jams and misfeeds. Next, use only the correct size and type of staples designed for your TR250.
When loading, insert staples with the crown flat and pointed ends facing downward, aligning them along the magazine guide. Check carefully for any obstructions that might block staple movement.
After loading, close the magazine gently to avoid damaging the mechanism. Finally, test the stapler on scrap material to ensure it’s working properly.
Following these steps will help you fix common loading problems and keep your TR250 running smoothly.
Frequently Asked Questions
How Do I Load My Stanley Staple Gun?
You open the magazine by releasing the latch, then insert the staple strip with the pointed ends facing out. Make sure you push them in completely.
After that, close the magazine securely. It’s a good idea to test it on some scrap material to make sure it’s loaded correctly.
How to Reload an Easy Shot Staple Gun?
To reload an Easy Shot staple gun, open the magazine first. Then, drop in a strip of staples aligned with the rails.
Next, close it securely.
Don’t forget to test it on scrap—you want to make sure it’s firing on all cylinders!
How to Load a Staple Gun Properly?
You’ll open the magazine, insert staples with the crown down and legs aligned, then securely close it until it clicks.
Always make certain the gun’s safe, then test on scrap material to confirm it’s loaded properly.
This way, you avoid any surprises when you start your project. It’s a quick step that makes a big difference!
Why Won’t My Stanley Staple Gun Staple?
Your Stanley staple gun won’t staple because it’s acting like it’s guarding Fort Knox! Check for jams, make sure the safety’s off, and verify staple size.
Also, confirm the spring’s working. Fix these, and it’ll fire again!
Conclusion
Now that you’ve loaded your Stanley staple gun, feel the satisfying click as the magazine snaps shut, ready to spring into action. Picture the smooth glide of staples driving home with ease, each one securing your project like a heartbeat.
With a quick test on scrap material, you’re set—no jams, no fuss. You’ve got the power to tackle any task, confident and in control. Your trusty TR250 is primed for the job ahead.
Loading your Stanley staple gun correctly means you’re always prepared for any stapling project. Whether it’s upholstery, crafting, or simple repairs, your staple gun delivers reliable performance every time. So go ahead, get started, and enjoy the ease and efficiency that comes with a well-loaded Stanley staple gun.




6 Comments