How to Load Arrow T50 Staple Gun in 10 Easy Steps
To load your Arrow T50 staple gun safely and efficiently, start by pointing it away from yourself and others. This simple step helps prevent accidents while handling the tool.
Next, press the square release piece near the handle, then lift the latch to open the chamber.
Pull out the spring-loaded rod and remove any old staples that might be inside. It’s important to clear out the old staples to avoid jams.
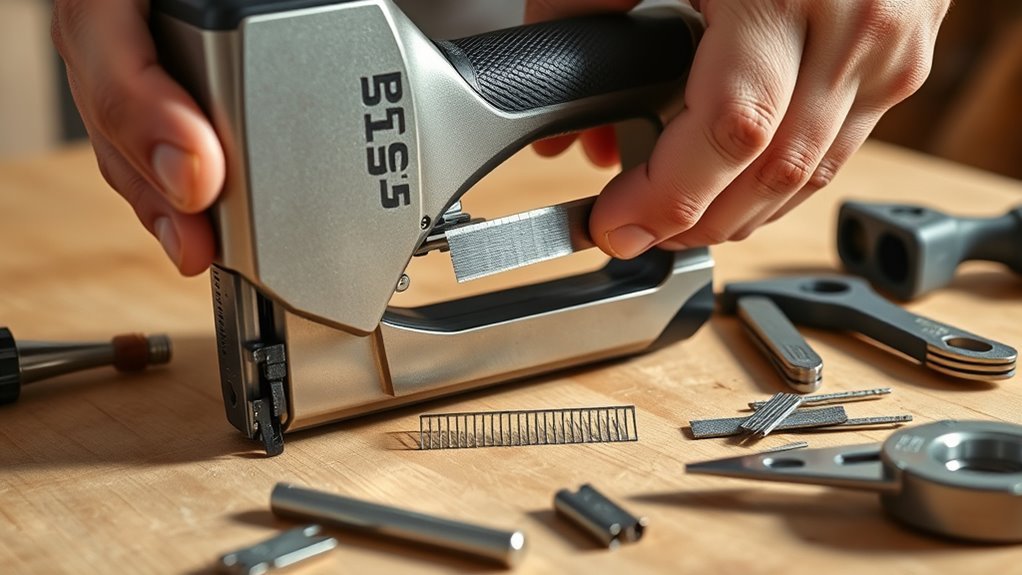
Now, place new staples with the pointed ends facing down, making sure they align properly with the guides.
After that, reinsert the rod until you hear a click, which means it’s secured in place.
Close the chamber gently until it’s nearly shut, then reset the latch securely.
Following these steps keeps your Arrow T50 staple gun safe and ready for use. There’s more to learn for smooth operation, but this will get you started!
Key Takeaways
- Press the square piece near the handle to unlock and lift the latch to open the staple chamber.
- Pull the spring-loaded rod straight out and remove old staples and debris.
- Place new staples in the slot with pointed ends facing downward and legs aligned with guide rails.
- Reinsert the spring-loaded rod until it clicks to secure the staples in place.
- Close the chamber carefully, apply steady pressure until nearly shut, then pull the latch up to lock securely.
Point the Staple Gun Away From Your Body and Others
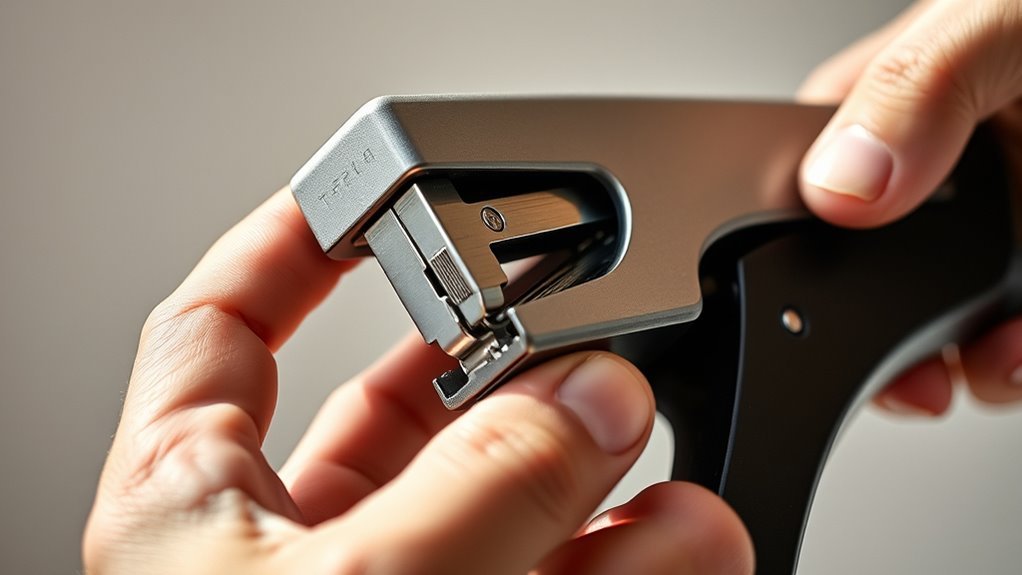
Before you load your Arrow T50 staple gun, always point it away from yourself and others to guarantee safety. You need to make sure the staple gun’s tip is directed toward a safe, open space. This reduces the risk of accidental injury if the staple gun discharges unexpectedly.
When handling the tool, keep it in a controlled position with the nose pointed downward or away from anyone nearby. Make sure you maintain full awareness of the staple gun’s orientation throughout the process. This safe handling habit helps prevent accidents and keeps you and those around you protected.
Never aim the staple gun toward your body or others, even when you think it’s unloaded. Safety starts with where you point the staple gun before and during loading. So, always be mindful and stay safe!
Press the Square Piece to Unlock the Staple Chamber
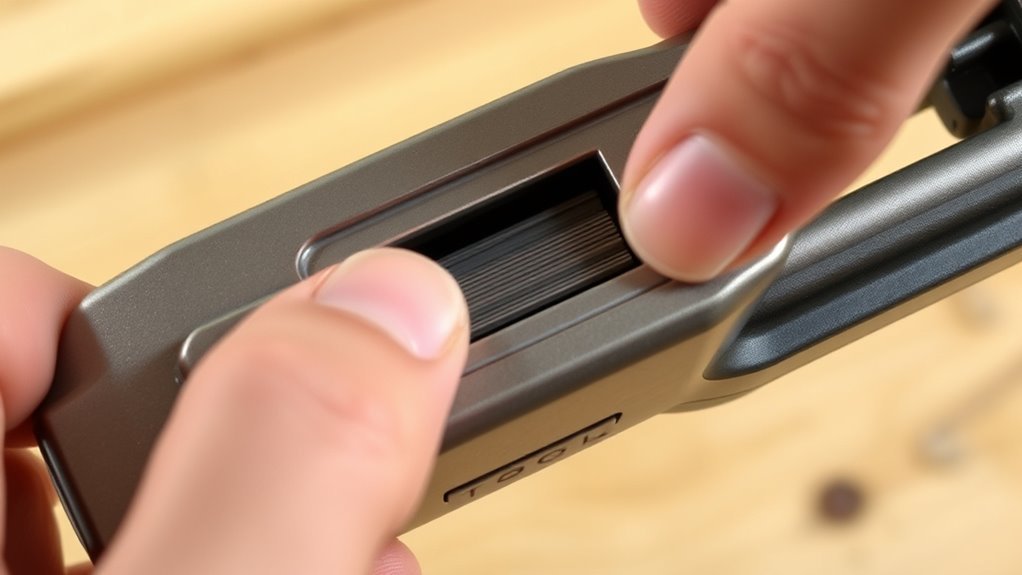
When you’re ready to load staples, press the square piece located near the handle or side panel firmly to open the staple chamber. This square piece acts as a locking mechanism, so you need to push it down until you feel a click or a slight movement indicating it’s unlocked.
Make sure the lock is fully disengaged before proceeding; otherwise, the chamber won’t open properly. If you encounter resistance, don’t force it, as this could damage the mechanism.
Pressing this piece correctly is crucial to safely accessing the staple chamber for loading. Once unlocked, you’ll be set to move on to the next step without risking harm to the tool or yourself.
Lift the Latch to Open the Staple Chamber
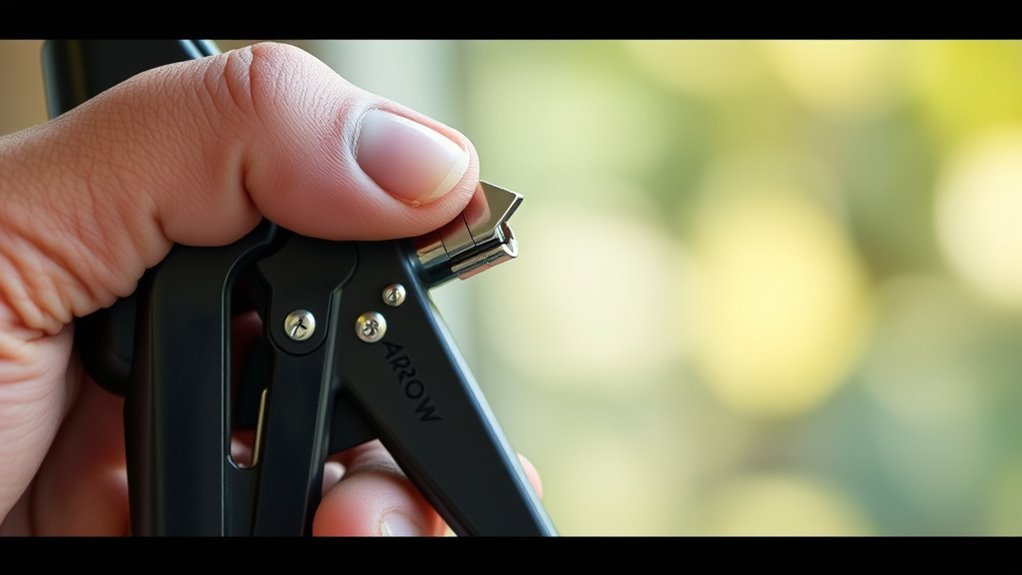
Although you’ve already released the staple chamber, you still need to lift the latch to open it fully. Locate the latch at the top or side of the Arrow T50 staple gun.
After releasing the staple chamber, lift the latch at the top or side to open it fully.
Lift it upward or outward to disengage the locking mechanism completely. Make certain the latch is fully lifted before you try to open the chamber cover.
Once raised, gently pull the cover open to access the staples inside.
Keep these points in mind:
- Find the latch on the top or side of the staple gun.
- Lift the latch fully to release the chamber.
- Pull the chamber cover open gently.
- Confirm the latch stays securely in the open position.
This guarantees safe and easy access to the staple chamber for loading.
Pull Out the Spring-Loaded Rod to Remove Old Staples
After lifting the latch and opening the staple chamber, you’ll need to pull the spring-loaded rod straight out to remove any old staples. Grip the rod firmly and pull it all the way out of the chamber, making sure it’s completely free.
Handle the rod carefully to avoid any sudden releases or injuries, since the spring mechanism can be under tension. Once the rod is fully removed, you can easily access and remove any old staples left inside.
Keep the rod in a safe place while you work so you don’t lose or damage it. Make sure the rod is fully out before you move on to inserting new staples. This way, the chamber is ready for the next step in loading your Arrow T50 staple gun.
Clear Old Staples From the Staple Gun Chamber
How do you guarantee your staple gun works smoothly? Start by clearing all old staples from the chamber. After pulling the spring-loaded rod out completely, carefully check inside.
Remove every old staple; leaving any behind can cause jams or misfires. Use your fingers or a tool to clear any stuck staples or debris from the slot. Make sure the chamber is entirely empty before moving on.
Keep these tips in mind:
- Pull the spring-loaded rod out fully for access.
- Remove all old staples completely.
- Clear jammed staples or debris gently.
- Confirm the chamber is empty before proceeding.
Handling these steps carefully ensures your Arrow T50 staple gun stays in perfect working order.
Load New Staples Into the Staple Gun Slot
Once you’ve cleared out all old staples from the chamber, it’s time to load new Arrow T50 staples. Place the staples into the slot with the pointed ends facing downward and legs parallel to the guide rails. Make sure they sit properly in the designated area so they can fall into the correct position.
The staples should be flush against the bottom of the slot to avoid any issues when firing. After positioning the staples, carefully slide the spring-loaded rod back into place to secure them. This step locks the staples firmly inside the chamber.
Taking the time to seat the staples correctly ensures smooth operation and helps prevent jams during use. Now your staple gun is ready for the next step.
Align Staples With Guides to Prevent Jams
Make certain the staples are properly placed with the crown flat and legs aligned to the guides. Carefully slide them in without bending or forcing to keep everything smooth.
This alignment prevents jams and ensures your staple gun works reliably every time. Just take it slow and steady to avoid any hassle.
Proper Staple Placement
Why do jams occur so frequently when using a staple gun? Most jams happen because staples aren’t properly aligned with the guides.
To keep your Arrow T50 staple gun working smoothly, make sure you place the staples correctly before loading. Here’s what you need to focus on:
- Align staples so their legs are perpendicular to the guide rails.
- Fully seat each staple within the guides for smooth operation.
- Avoid overloading staples beyond the gun’s capacity to prevent misalignment.
- Regularly inspect the alignment between staples and guides before use.
Taking a little extra time to do this can save you a lot of frustration later on. Trust me, your stapler will thank you!
Guide Alignment Techniques
Proper staple placement sets the stage, but aligning the staples precisely with the guide rails is what truly prevents jams. Before inserting, make sure the staples line up with the guide rails and slide them gently into the slot without bending.
Check that they sit flush and evenly spread to maintain smooth operation. Use the guide marks or grooves on your Arrow T50 staple gun to verify perfect alignment. Always double-check that staples are securely seated before closing the chamber.
| Step | Action | Tip |
|---|---|---|
| 1 | Align staples with guide rails | Use grooves as visual cues |
| 2 | Slide staples gently | Avoid bending staples |
| 3 | Confirm staples sit flush | Check even distribution |
| 4 | Double-check alignment | Reposition if misaligned |
| 5 | Close chamber securely | Ensure staples don’t shift |
Preventing Staple Jams
Although it might seem straightforward, aligning staples accurately with the guides is crucial to prevent jams in your Arrow T50 staple gun. Misaligned staples cause misfeeds, leading to frustrating interruptions.
To keep your staple gun running smoothly, follow these tips:
- Always use the correct size and type of staples recommended for the T50.
- Make certain staples are seated flat and straight within the guides before closing the chamber.
- Avoid overloading the staple chamber to prevent staples from shifting out of place.
- Regularly inspect and clear any debris or old staples from the guides to maintain smooth feeding.
Reinsert and Secure the Spring-Loaded Rod
Before closing the staple chamber, align the spring-loaded rod carefully with the guides inside and push it firmly until you hear a click. Make sure it fits securely into place.
Double-check that the guides are properly seated in their slots to avoid any misalignment. Once inserted, check that the rod is flush with the chamber’s edge.
A fully inserted rod prevents misfiring and guarantees smooth operation. After reinsertion, gently move the spring-loaded mechanism to confirm it moves smoothly without sticking.
Don’t rush this step—securing the rod properly is vital for the staple gun’s performance. If the rod feels loose or doesn’t click in firmly, remove and realign it before proceeding.
This careful reinsertion sets you up for safe and efficient stapling.
Close the Staple Chamber, Pushing Until Almost Shut
Now, carefully align the staple chamber with the guide rails before closing it. Apply steady pressure to push the chamber until it’s almost shut, but don’t force it.
Keep your fingers clear to avoid pinching as you close the door. Just take it slow and easy, and you’ll be all set.
Align Chamber Properly
How do you guarantee the staple chamber aligns correctly when closing it? First, gently push the chamber closed until it’s almost shut. This ensures the guides on both the chamber and body engage properly.
Avoid forcing it if you meet resistance; that usually means there’s an obstruction or a misaligned staple. Also, double-check the latch isn’t stuck or engaged before closing.
Proper alignment locks the staples securely, making your staple gun safe and ready to use.
Remember to:
- Push the chamber gently until nearly closed
- Ensure chamber and body guides fully engage
- Avoid forcing if resistance occurs; inspect for blockages
- Confirm latch is free and not engaged before closing
Apply Steady Pressure
When you close the staple chamber, apply steady, even pressure to push it until it’s nearly shut. Make certain the chamber is properly aligned before closing to prevent misfiring or damage.
Avoid forcing the chamber shut too hard, as excessive force can harm the internal parts. Instead, use consistent pressure so it closes smoothly and safely.
As you push, feel for the latch engaging securely—this confirms the chamber is locked in place. Taking your time here helps ensure the staple gun operates correctly and extends its lifespan.
Avoid Pinching Fingers
Why should you be extra careful as you close the staple chamber? Because the moving parts can easily pinch your fingers if you’re not paying attention.
When closing the staple chamber, gently push it until it’s almost shut, keeping your fingers clear of any gaps or moving components. Use controlled, even pressure to avoid sudden snaps that could catch your skin.
To avoid pinching fingers, remember to:
- Keep your hands and fingers away from the closing gap
- Apply steady, gentle pressure when pushing the chamber
Also, confirm the chamber is nearly shut before letting go. And always double-check that no fingers are near moving parts before closing.
Following these tips keeps your hands safe while loading the Arrow T50 staple gun.
Reset the Latch to Securely Lock the Chamber
Once you’ve closed the staple chamber, pull the latch upward to disengage the locking mechanism and reset it. Make sure the latch moves smoothly and fully lifts into place.
After closing the staple chamber, lift the latch upward to smoothly reset and secure the locking mechanism.
You should hear a click or feel the latch snap securely, confirming it’s properly locked. Don’t rush this step—double-check that the latch is firmly in the locked position before handling the staple gun.
Properly resetting the latch is essential as it prevents the chamber from accidentally opening during use. This ensures your safety and the tool’s reliable operation.
Taking a moment to verify the latch lock helps you avoid mishaps and keeps the staple gun ready for efficient, safe performance every time you use it.
Frequently Asked Questions
How Do I Load Staples Into My Arrow T50 Staple Gun?
You push in the square piece to open the chamber, lift the latch, and remove old staples.
Then, place new staples aligned in the slot, reinsert the rod, push it securely, and close the chamber tightly.
My Arrow T50 Staple Gun Isn’t Working. How Can I Fix It?
First, firmly free any frustratingly faulty staples stuck inside. Then, fully open the magazine, flush out old staples, and firmly fit new ones.
Finally, feel for smooth firing by gently pressing the trigger to test. Give it a little try and see if it’s working better now!
Why Can’t I Load My Staple Gun?
You can’t load your staple gun because the safety latch might be engaged, staples could be misaligned, the chamber jammed, or it needs cleaning.
Make sure everything’s disengaged, aligned, and the gun’s properly maintained before loading.
It’s usually a quick fix once you check those things!
How to Put Staples in a Heavy Duty Stapler Arrow Stapler?
You open the staple chamber by pulling back the handle. Then, remove any old staples before you add new ones.
Next, insert new Arrow T50 staples, making sure they’re aligned with the guides. Close the chamber securely until it clicks.
That’s it! Your heavy-duty stapler is now ready to use.
Conclusion
So, now that you’ve mastered the art of loading your Arrow T50 staple gun without turning it into a mini fireworks show, you’re basically a pro. Who knew something so simple could feel like disarming a bomb?
Just remember, keeping those staples lined up means fewer jams—and less time pretending you’re a stapler ninja. With these steps, you’re ready to staple safely, swiftly, and without any unexpected surprises.
Loading the Arrow T50 staple gun correctly is key to smooth operation. Follow the instructions carefully, and you’ll avoid jams and frustration every time. Now, go ahead and tackle your projects confidently, knowing your staple gun is ready to perform like a champ! Easy, right?