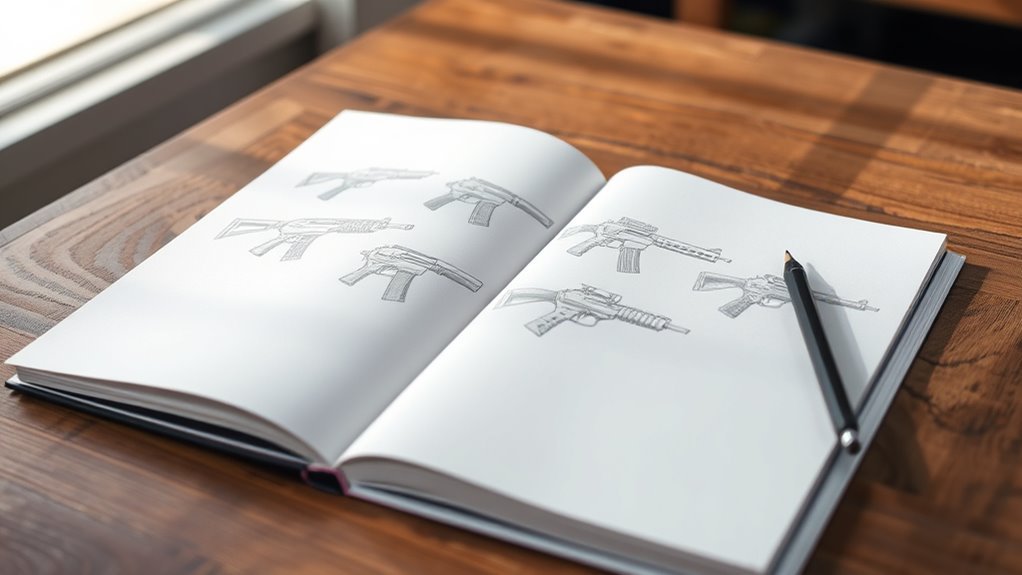
How to Draw a Gun Easy in 7 Simple Steps
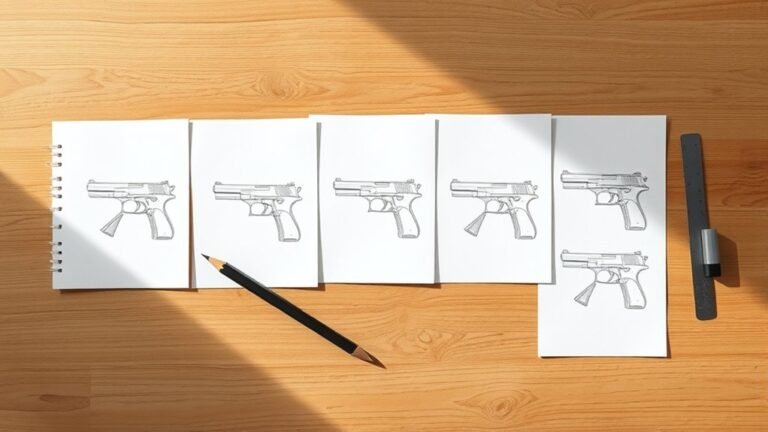
To draw a gun easily in 7 simple steps, start by getting to know its main parts like the slide, barrel, grip, and trigger. These are the building blocks of your drawing, so understanding them helps a lot.
Begin by sketching basic shapes—a large rectangle for the body and a smaller one for the grip—to create a solid outline.
Next, add details like serrations, sights, and the trigger guard to bring your gun sketch to life. Don’t worry about perfection yet; just focus on placing these parts correctly.
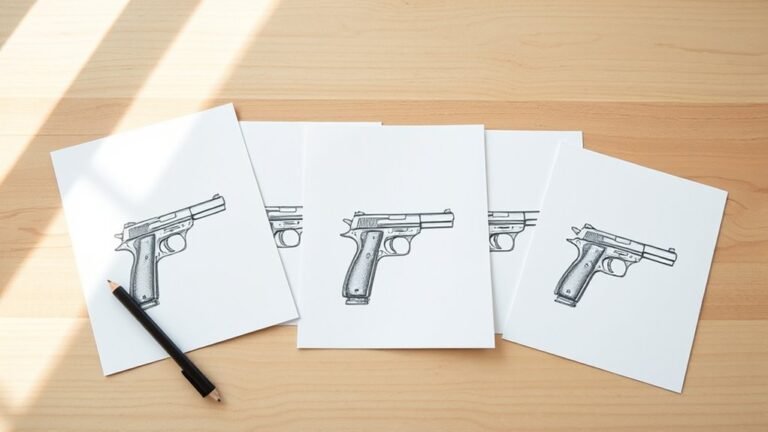
After that, finish up by refining features such as the hammer and magazine with clean lines and shading. This part really adds depth and realism to your drawing.
Keep practicing, and you’ll soon have a gun sketch that looks detailed and professional!
Key Takeaways
- Start by sketching two rectangles forming an L-shape to outline the gun’s body and grip.
- Divide the top rectangle to mark the slide and barrel sections, adding an oval for the chamber.
- Add slide details like serrations, sights, and the barrel’s muzzle shape for realism.
- Draw the grip with a curved shape, include the trigger guard, trigger, and magazine base.
- Finish with rear and front sights, hammer details, and refine lines with shading for depth.
It’s really simple once you break it down step by step. Just take your time with each part, and you’ll have a great drawing in no time!
Prepare and Understand Gun Anatomy for Drawing
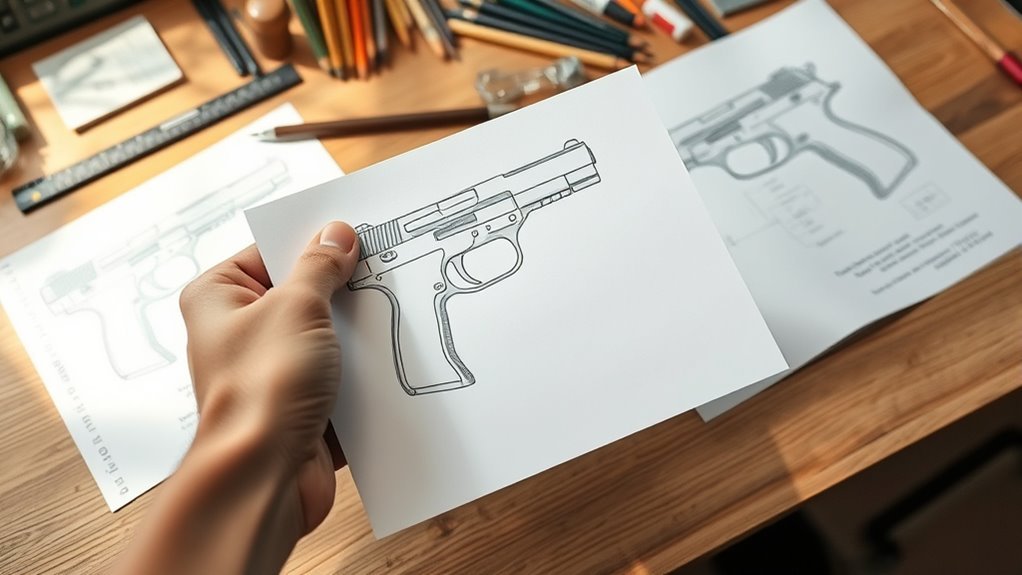
Before you start drawing, familiarize yourself with the main parts of a gun—like the slide, barrel, grip, trigger, and sights—so you can accurately capture its structure. Understanding gun anatomy helps you grasp how these components fit together and relate in size and position.
Study detailed diagrams or photographs to see proportions clearly and notice unique features like serrations, takedown levers, or magazine releases. Recognizing differences in gun anatomy across models allows you to create drawings that are either realistic or stylized, depending on your goal.
Sketch the Basic Shapes and Outline of the Gun
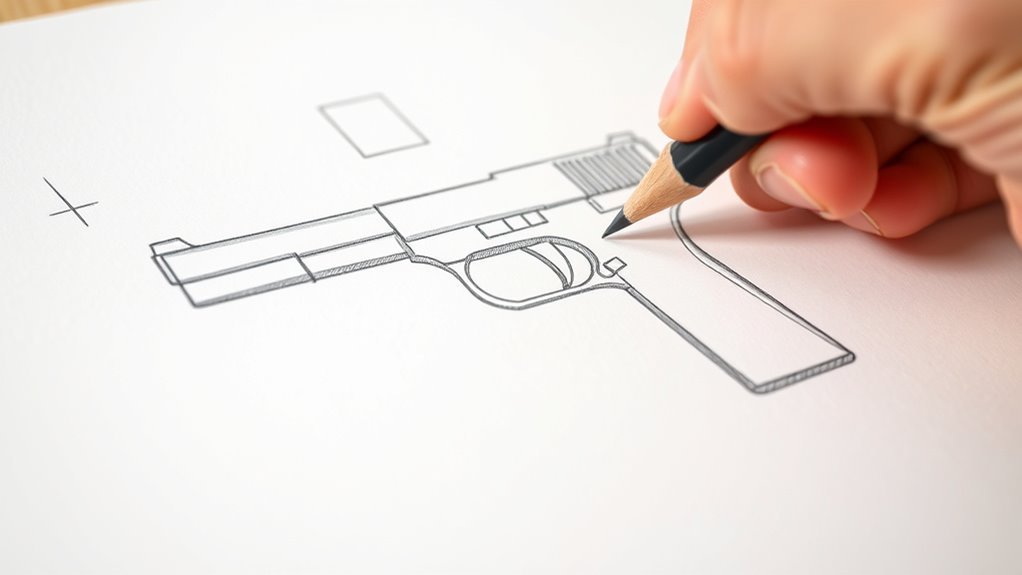
How do you begin capturing the shape of a gun on paper? Start by sketching two rectangles: a larger one for the main body and a smaller one for the grip, arranging them to form an L-shape. This simple setup establishes the gun’s basic proportions.
Next, connect these rectangles with angled lines to create the gun’s overall outline, making sure the shapes flow naturally. Inside the top rectangle, sketch an oval at the inner corner to indicate the chamber or magazine well.
Divide this top rectangle horizontally to separate the slide and barrel sections clearly. Finally, add a perpendicular line in the lower half of the top rectangle to mark where the trigger and trigger guard will go. This basic sketch sets the foundation for your detailed drawing.
Add the Gun’s Slide, Barrel, and Frame Details
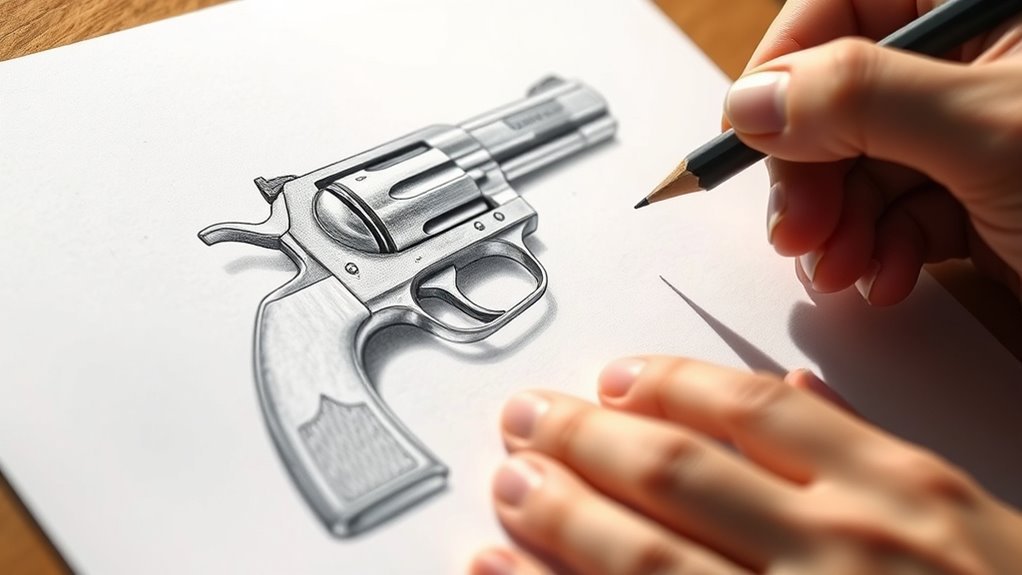
Once you’ve established the basic outline, start by sketching the slide on top of the frame, making sure it’s properly aligned and proportionate. Add serrated lines near the rear sight to give the slide its textured look.
Next, outline the barrel at the front sight, including the muzzle’s shape to make it look realistic. Now, it’s time to make the frame details stand out—carefully define the trigger guard without shading it yet, as that will come later.
Don’t forget to include small parts like the slide lock and safety mechanisms; these last parts add authenticity to your gun drawing. Following this step-by-step guide to drawing ensures your artwork gains depth and precision.
Adding these details is vital for drawing a gun that truly stands out. Just take your time with each part, and you’ll see your drawing come to life.
Draw the Gun’s Grip, Trigger Guard, Trigger, and Magazine
As you move on to the grip, make sure to sketch it with a slight curve to fit naturally in the hand and keep proportions consistent with the rest of the gun. Next, draw the trigger guard as a rounded or oval shape beneath the slide, connecting smoothly to the grip.
Inside this guard, add the trigger as a small, curved triangle or hook shape, positioned centrally for accuracy. Then, sketch the magazine extending downward from the grip, showing a visible base plate and slight detailing to make it clear.
Don’t forget the magazine release button on the grip’s side—a small circle or rectangle near the magazine well. By focusing here, you set a strong foundation before you add the sight details in the next step.
Add and Refine the Gun’s Sights and Hammer Details
Now, focus on sketching the front and rear sights by placing a small triangle or post at the front and a notch at the back of the slide.
Next, shape the hammer with a flat or curved top, attaching it with a small pivot point. Make sure to refine these details with clean lines and shading to give them depth and dimension.
Take your time with this part—it really helps bring the gun to life and adds a nice touch of realism. Just keep your strokes clean, and don’t be afraid to add some subtle shading to make those features pop.
Drawing Front And Rear Sights
When you draw the gun’s sights, start by sketching the front sight as a small, sloped rectangle near the front of the slide. Make sure it’s aligned with the barrel to guide your aiming.
Next, add the rear sight as a horizontal trapezoid or rectangular shape positioned at the back of the slide. It should have slight slopes on both ends to help with proper alignment.
Make sure the front sight is centered within the rear sight’s notch to achieve accurate aiming. This little detail really makes a difference.
To enhance realism, include fine sight grooves or serrations on the hammer, which you’ve already placed at the back of the slide. These details bring clarity and depth to your drawing, making the gun’s aiming components visually distinct and authentic.
Shaping The Hammer Detail
After placing the front and rear sights, focus on shaping the hammer at the back of the slide. Draw the hammer with a flat top and a curved end to give it a stylized yet realistic look.
Refine the sights by adding small, precise lines or triangles, making sure they align perfectly with the slide. Add details like serrations or textured patterns on the hammer to create visual interest and depth.
Keep the hammer’s size and position proportional to the slide and grip for accurate anatomy. Use light shading or highlights to emphasize the metallic texture, making your drawing pop.
- Flat top with a curved end for a sleek hammer shape
- Small triangles or lines on sights for sharp precision
- Serrated hammer surface adding depth and realism
Color and Shade the Gun for Depth and Dimension
How do you bring your gun drawing to life with depth and dimension? Start by applying flat, consistent colors to different parts, using metallic greys and blacks for a stylized look.
Then, shade gradually from light to dark, focusing on key areas like the slide, grip, and trigger guard to suggest depth. Add shadows along edges and indentations to enhance the three-dimensional feel and emphasize textured surfaces.
Shade from light to dark on key parts, adding shadows to boost depth and texture.
Use simple gradient shading or flat color blocks to separate reflective metal parts from matte surfaces like the grip. Pay close attention to details like the serrations, trigger, and magazine, shading them to create contrast and visual interest.
This approach will give your gun drawing a realistic depth without overwhelming complexity. It’s all about layering your colors and shadows thoughtfully to make the piece pop.
Apply Final Shadows and Highlights to the Gun Drawing
Although your gun drawing already shows depth from earlier shading, applying final shadows and highlights will elevate its realism and polish. Focus on adding shadows to areas like the underside of the slide and inside the trigger guard where light naturally fades.
Use highlights sparingly on reflective parts such as the metal barrel and slide to suggest shine. Darken creases and indentations, like serrations on the slide and the trigger’s inner curve, to boost depth.
Smoothly blend shading around edges for seamless light-to-shadow *gradation*. Emphasize key features with brighter highlights and deeper shadows to give your drawing a polished, three-dimensional look.
Think about deep shadows under the slide and in the trigger guard. Also, add bright highlights reflecting off the metal barrel and darkened serrations and trigger curves to add texture.
Frequently Asked Questions
How to Draw a Gun Fast?
You can draw a gun fast by practicing quick, simplified shapes and focusing on essential parts. Use repetitive drills to build muscle memory.
Limit details at first, and time yourself to improve speed without losing correct proportions. It really helps to keep things simple when you’re starting out. Just focus on the big shapes and get those down fast.
How to Draw 7 Step by Step?
Don’t worry if it feels complex; just break it down. You’ll start with basic shapes, add details step-by-step, then refine outlines.
After that, erase extras and shade your drawing. Following these seven steps keeps it manageable and builds your skill gradually. You got this!
What Are Some Easy Steps to Draw a Gun for Kids?
You can start by drawing a rectangle for the gun’s body and a smaller one on top.
Add a circle for the muzzle, a curved line for the trigger, and simple shapes for details.
Keep it simple and fun! It’s all about making it easy and enjoyable.
What Are Basic Shapes for Gun Drawings?
You’ll use rectangles and cylinders as basic shapes for gun drawings. Fun fact: 80% of artists start with simple forms!
These shapes help you build the grip, barrel, and slide before adding finer details confidently. It’s a great way to keep things straightforward as you work.
Conclusion
Now that you’ve followed these steps, your gun drawing should stand out like a sharp silhouette at dusk. By breaking the process down and focusing on each part, you’ve made something complex feel manageable.
Remember, practice will make your lines cleaner and your shading richer. Keep refining your technique, and soon your drawings will have the depth and realism that grab attention every time.
Keep at it—you’re doing great! Drawing a gun easy in 7 simple steps isn’t just about the final image; it’s about building your confidence and skills along the way. So, keep practicing, and watch your art improve with every sketch.