
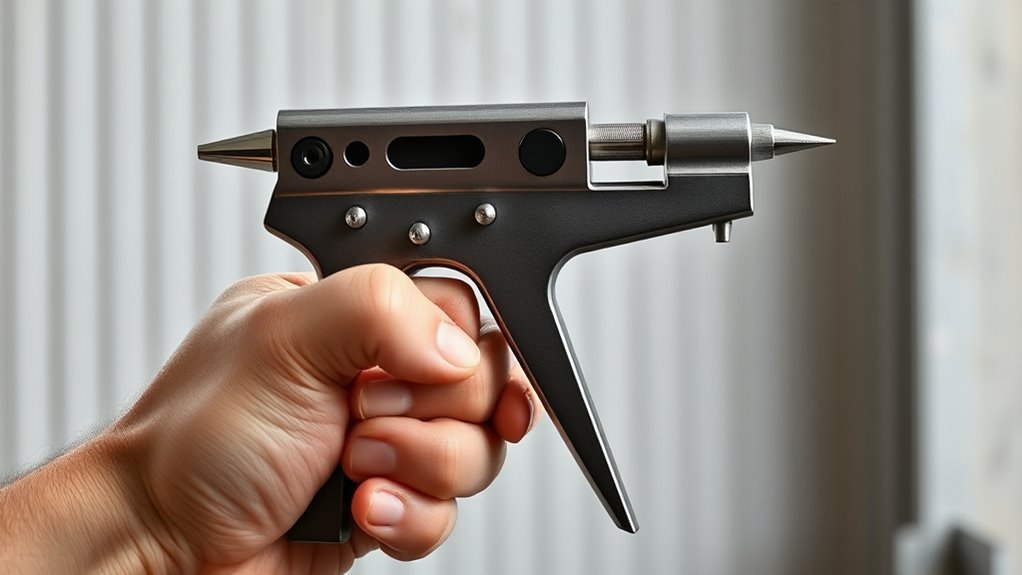
How to Use a Pop Rivet Gun in 3 Easy Steps
To use a pop rivet gun in 3 easy steps, start by preparing your materials. This means picking the right rivet size and drilling a clean hole.
Then, securely clamp the pieces together so they don’t move during riveting.
Next, fit the rivet through the hole and hold the gun square to the surface. Squeeze the trigger steadily until the mandrel snaps off. This part is key for a strong, lasting hold.
Finally, inspect the rivet to make sure it’s tight with no gaps. Clean up any debris around the work area. Keep going to uncover tips for perfect riveting every time!
Key Takeaways
- Select the correct rivet size matching material thickness and use a drill bit equal to the rivet diameter to make clean holes.
- Insert the mandrel through the hole, ensuring the rivet head sits flush against the gun’s nosepiece.
- Hold the rivet gun square to the workpiece and squeeze the trigger steadily to draw the mandrel and set the rivet.
- Continue squeezing until the mandrel snaps, indicating the rivet is securely fastened.
- Inspect the rivet for a tight fit with no gaps, and remove any debris or spent mandrels after setting.
Prepare Materials and Set Up Your Rivet Gun
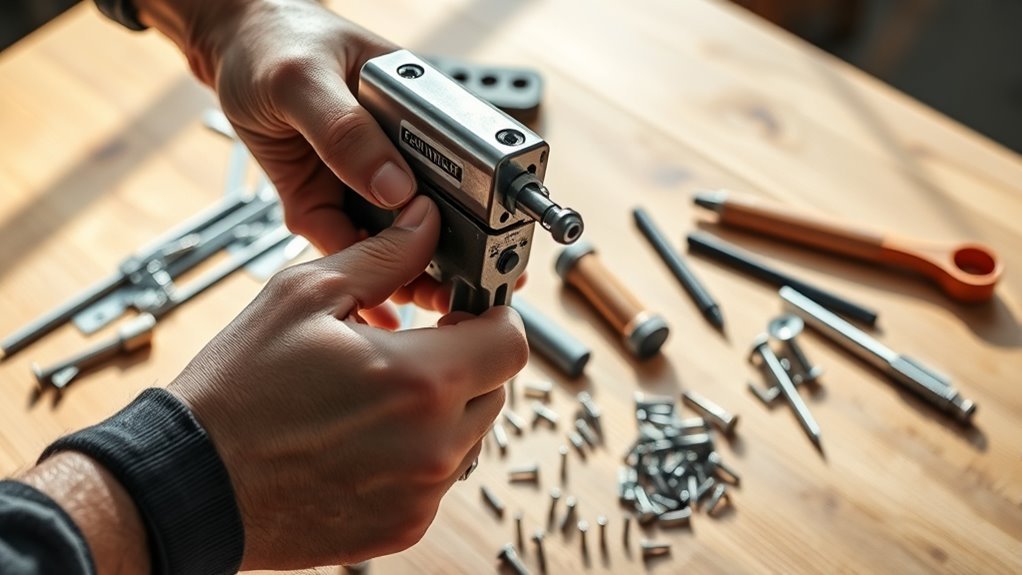
Before you begin, select a rivet diameter and length that match the combined thickness of your materials. Make sure the rivet length covers both sheets snugly.
Choose a drill bit equal to the rivet body diameter, clamp your materials securely, and drill a clean hole. Don’t forget to remove all metal shavings and burrs to guarantee a proper fit and seal.
Always wear eye protection during drilling and riveting to keep your eyes safe from flying debris.
Next, pick the correct nosepiece for your pop rivet gun that matches the rivet diameter. Screw it in firmly, and check that the internal spring is seated properly.
If you’re using an air or cordless tool, connect the air hose, charge the battery, and verify settings. For manual guns, make sure the handles move freely before loading the rivet.
Insert Rivets and Apply Steady Pressure
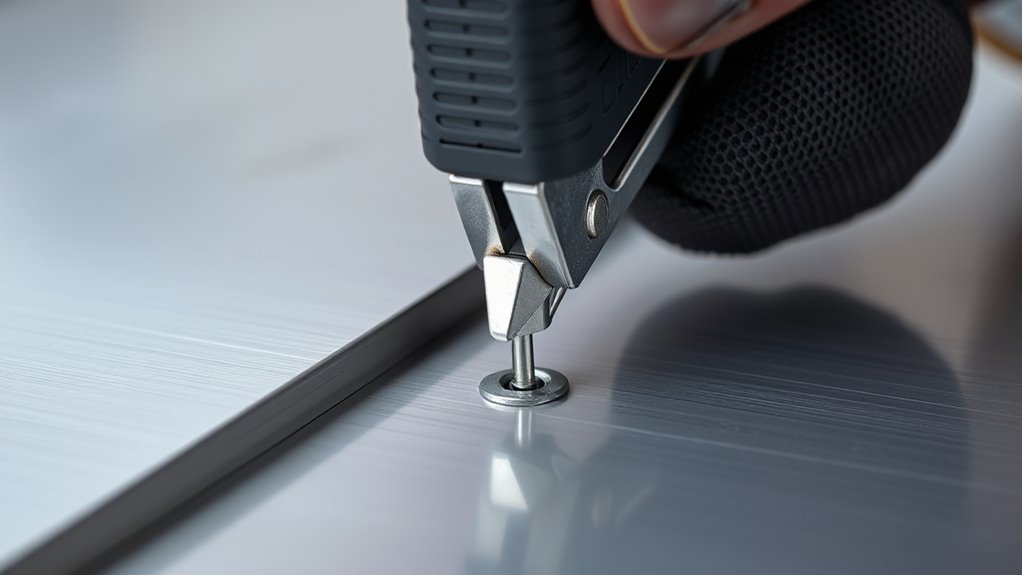
Insert the rivet by fitting the correct nosepiece for its diameter, then push the mandrel through the pre-drilled hole until the rivet head sits flush against the gun’s face. Make sure the rivet body length matches the total thickness of the materials so it will properly grip when compressed.
Hold the rivet gun square to the workpiece and apply steady, even pressure on the trigger (or squeeze continuously if using a hand tool). This draws the mandrel uniformly, compressing the sleeve without damaging your materials.
Keep squeezing until you hear or feel the mandrel snap—this “pop” means the rivet has set and the mandrel has broken at its designed point. Finally, release the trigger and remove the spent mandrel from the rivet gun to complete this step.
Inspect Rivet Installation and Clean Up
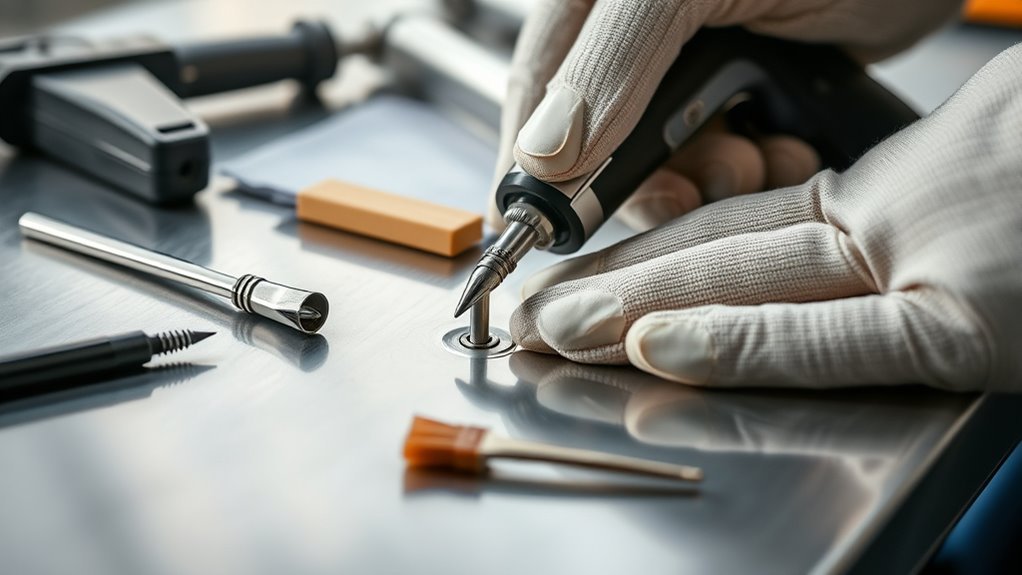
Once you hear the mandrel snap, it’s time to inspect the rivet installation closely. Make sure the mandrel has fully snapped off and the tail forms a tight, mushroomed blind head clamping the materials without gaps.
Hear the mandrel snap? Inspect the rivet to ensure a secure, gap-free, mushroomed blind head.
Check for any wiggle or visible space; if the joint moves, the rivet might be undersized or improperly set. Remove and replace it with the correct size.
Safely dispose of snapped mandrels and metal shavings in a covered container while wearing gloves. Clean the rivet and surrounding surface from debris or oil using a brush or compressed air, and deburr holes if needed to prevent corrosion.
Make sure to record any recurring failures and adjust tool settings or rivet type accordingly. Or, if your gun seems faulty, don’t hesitate to consult a technician.
Frequently Asked Questions
How to Use a Pop Rivet Gun Properly?
You drill a matching hole, insert the rivet flush, then hold the gun square and squeeze steadily until the mandrel snaps.
Make sure to check the set is tight. Always wear eye protection, and don’t forget to maintain your tool for the best results.
What Is the Easiest Rivet Gun to Use?
The easiest rivet gun to use is a cordless (battery) model. You’ll enjoy trigger-driven operation without needing an air compressor.
This makes it perfect for moderate, portable work while reducing your effort and fatigue. Plus, it’s super convenient to carry around.
How to Use Rivets by Hand?
You know what they say: measure twice, cut once. To use rivets by hand, start by inserting the rivet through the materials you’re joining.
Next, fit the rivet into the gun. Squeeze the handles firmly until you hear it snap.
After that, make sure to check for a secure fit. It’s a simple process, but taking your time helps get it right!
Can I Set a Rivet Without a Setting Tool?
You can set small blind rivets without a setting tool using manual hand-squeeze riveters, but avoid using pliers or hammers. Improper methods risk weak joints and damage, so use proper tools for safety and strength.
Honestly, it’s best to stick with the right tools. Sure, you might be tempted to improvise, but that can lead to problems down the line. Keeping things safe and secure is worth the extra effort!
Conclusion
Now that you’ve danced through these three simple steps, your rivet gun is poised to sing. With steady hands and a keen eye, you’ll lock materials together like a maestro crafting harmony.
Remember, every rivet you set is a tiny victory, binding pieces with strength and precision. So, keep your tools sharp and your focus sharper—your projects will stand strong, sealed tight by your skillful touch.
Using a pop rivet gun is all about confidence and care. The more you practice, the easier it gets to join materials quickly and securely. Whether you’re working on metal, plastic, or other surfaces, mastering this tool means your repairs and builds will last longer and look professional.
So, keep your pop rivet gun ready, follow these simple steps, and watch as your projects come together flawlessly, sealed tight and built to last.





2 Comments