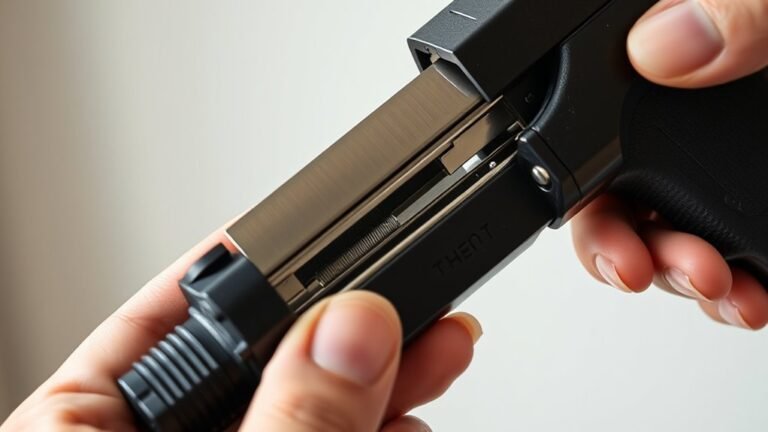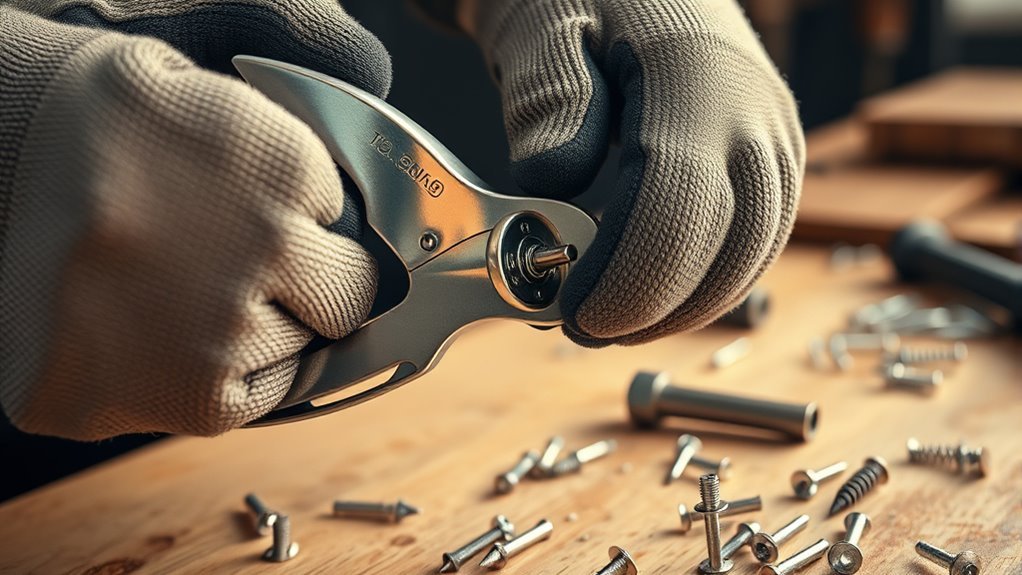
How to Use a Rivet Gun in 5 Simple Steps
First, clamp your materials tightly and mark where you’ll drill a hole matching your rivet size.
Next, pick the right rivet type and length for your project’s thickness and environment.
Drill through both layers with the correct bit size, keeping holes clean and aligned.
This step is super important to make sure everything fits perfectly.
Load the rivet into your gun’s proper nosepiece, insert it through the hole, then squeeze firmly until the mandrel snaps.
Finally, check the joint for a secure and flush fit.
Keep going to get tips on perfect rivet placement and troubleshooting.
Key Takeaways
– Clamp materials securely and drill a correctly sized, deburred hole aligned through both layers.
Make sure the hole is clean and smooth to get the best fit.
– Select a rivet matching hole size and material thickness, then attach the proper nosepiece to the rivet gun.
It’s important to use the right size so everything holds tight.
– Insert the rivet mandrel into the gun nosepiece, push rivet body through the hole until the head sits flush.
Take your time here to ensure the rivet is positioned just right.
– Hold the rivet gun perpendicular, grip firmly with both hands, and squeeze handles steadily until the mandrel snaps.
Keep a steady pressure so the rivet sets properly without slipping.
– Remove the snapped mandrel piece, then inspect the rivet for a secure, flush fit with no gaps or movement.
If everything looks solid, you’re good to go!
Align Materials and Prepare for Riveting
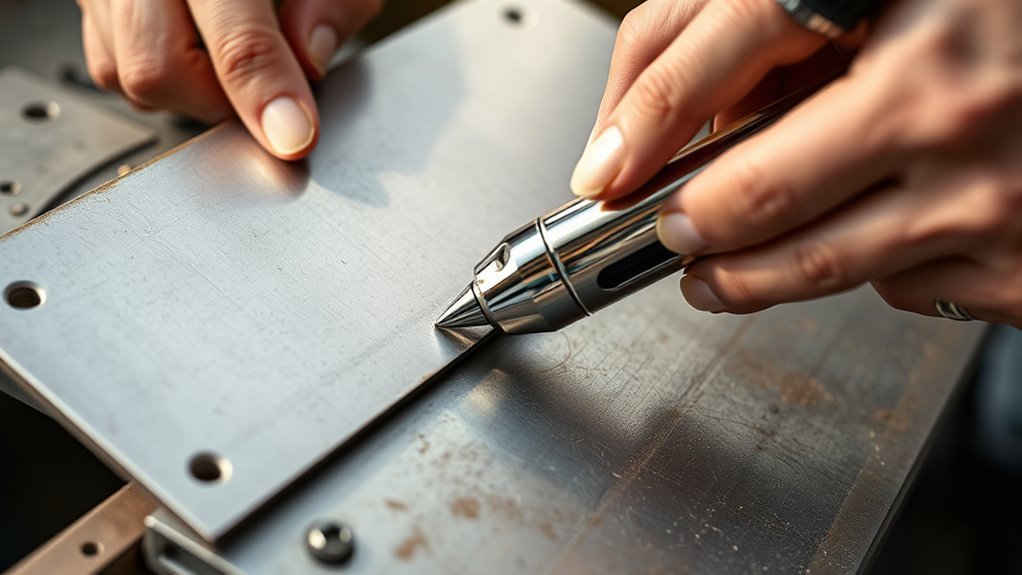
Before you start riveting, make sure both materials are clamped tightly and perfectly aligned. Once clamped together, mark where the rivet will go and drill a pilot hole using a drill bit that matches the rivet size—like a 5.0 mm drill bit for a 4.9 mm rivet.
After drilling, deburr the hole to remove any sharp edges or metal shavings. This helps the rivet head sit flush and prevents interference during installation.
Also, check that your rivet gun has the correct nosepiece installed to match the rivet stem diameter. This guarantees proper grip and allows the mandrel to break cleanly, forming a secure back-side bulge once you pull it.
Preparing carefully at this stage makes the riveting process smooth and reliable.
Choose the Right Rivet for Your Project
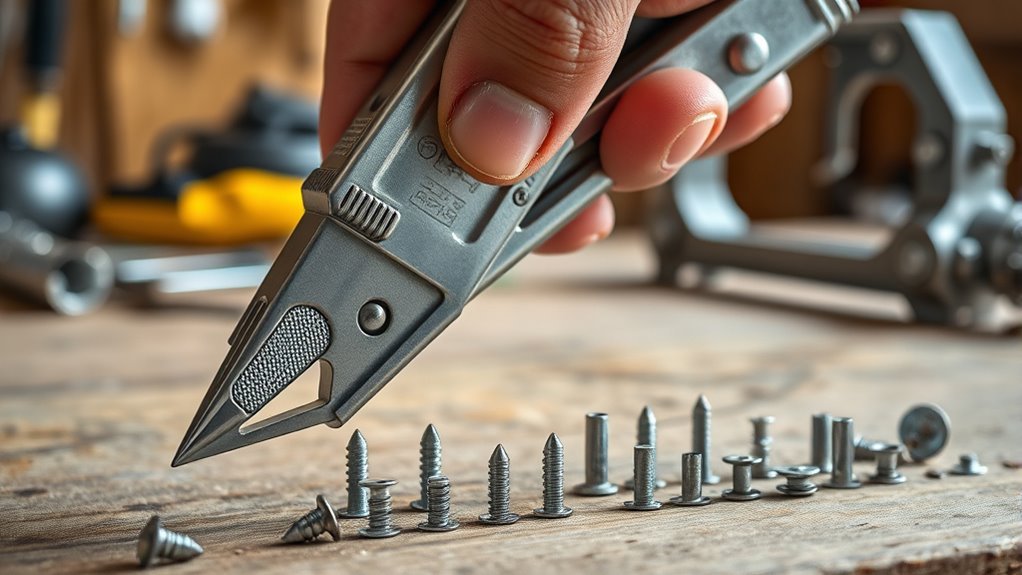
Selecting the right rivet for your project guarantees a strong, lasting bond between materials. Start by choosing blind rivets if you can only access one side, or solid rivets for two-sided access and maximum strength.
Choose blind rivets for one-sided access or solid rivets for two-sided strength and lasting bonds.
Match the rivet diameter to your drill bit size, ensuring it fits snugly in the hole. Measure the combined material thickness to select a rivet length that allows proper bulging.
Pick rivet material based on the environment—aluminum works for lightweight corrosion resistance, while stainless steel rivets excel in marine or harsh conditions.
For your rivet gun, use the correct nosepiece size to fit the rivet stem diameter, keeping common sizes like 3.2 mm and 4.8 mm ready. This careful selection guarantees durability and proper fastening every time.
Drill Correct-Size Holes for Rivets
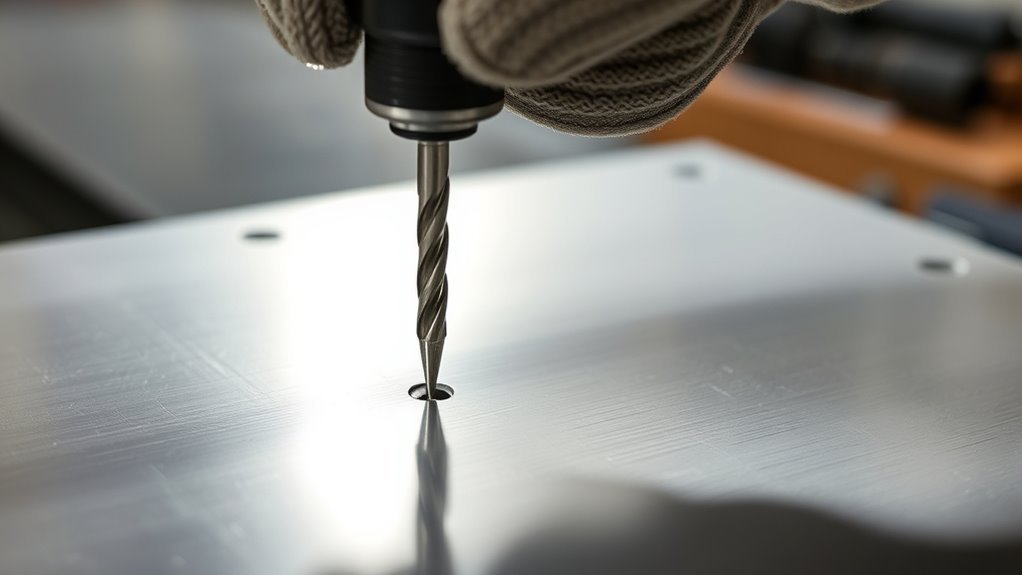
After choosing the right rivet for your project, you’ll need to drill holes that fit it perfectly. Start by selecting a drill bit diameter that matches the rivet’s body diameter to guarantee a snug fit—typically, a 5.0 mm bit for a 4.9 mm rivet.
Pre-align materials carefully and drill through both layers in one pass to match hole to rivet and avoid misalignment. Use a sharp carbide drill bit at moderate speed with steady pressure, backing out occasionally to clear chips.
If you can’t find an exact size, pick a slightly smaller bit for metal to maintain a tight fit. Finally, debur and clean each hole thoroughly so the rivet head sits flush and the shank expands properly on the blind side.
Load Rivet and Squeeze Rivet Gun Handles
Start by fitting the correct nosepiece onto your rivet gun, matching it precisely to your rivet’s diameter to guarantee a secure grip.
Next, follow these steps to load the rivet and squeeze the handles correctly:
- Insert the rivet mandrel into the pop rivet gun’s nosepiece, ensuring it’s tight and secure.
- Push the rivet body through the hole you drilled, aligning the materials so the rivet head sits flush.
- Grip the gun firmly with both hands, keeping it perpendicular to the workpiece. Then, squeeze the handles steadily.
- Keep squeezing until the mandrel snaps. This forms the blind side and locks the rivet in place.
It’s a simple process that lets you install rivets quickly and reliably with your pop rivet gun. Easy, right?
Snap Mandrel and Inspect the Riveted Joint
Once you squeeze the rivet gun handles fully, you’ll hear a distinct “pop” as the mandrel snaps at its break point, signaling the rivet is set. This snap confirms the pop rivet is properly installed.
A clear pop signals the mandrel has snapped, confirming the rivet is securely installed.
Next, remove the snapped mandrel remnant from the nosepiece or let it eject to avoid jamming, and dispose of it safely.
Now, inspect the riveted joint carefully. Check the shop head on the blind side for a smooth, even bulge that fully contacts the material without cracks or gaps.
Also, verify the factory head sits flush against the surface with no rocking, making sure the rivet length matches the material thickness.
If the joint feels loose or uneven, or if the mandrel didn’t snap cleanly, you might need to re-rivet for a secure hold.
Frequently Asked Questions
What Is the Purpose of a Rivet Gun?
The purpose of a rivet gun is to quickly and securely fasten materials together by pulling rivets. It creates strong, vibration-resistant joints even when you can only access one side of the workpiece.
It’s pretty handy when you need a reliable hold without the hassle of bolts or screws. Plus, it makes the job faster and easier!
How to Use an Arrow Rivet Gun?
You pick the right nosepiece and drill a matching hole. Then, insert the rivet.
Next, squeeze the handles until the mandrel snaps. After that, release and remove the spent mandrel.
Finally, check that the rivet is secure and fits flush. It’s that simple!
How to Select the Proper Rivet?
You select the proper rivet by matching its type, diameter, length, and material to your project’s needs. Consider access, material thickness, and environmental factors to make certain a secure, corrosion-resistant fit without damaging your workpieces.
It’s really about finding the right balance. Think about how you’ll get to the rivet, how thick the materials are, and what kind of environment it will be in. This way, you ensure everything holds up well and stays in good shape.
Is There Any Way to Tighten a Rivet?
You can’t tighten a rivet like screwing in a bolt; it’s as permanent as a tattoo.
Instead, replace it with a properly sized rivet or add another nearby to share the load and reduce movement.
That’s pretty much the best way to handle it because once a rivet is set, it’s there to stay.
Conclusion
Now that you know how to use a rivet gun in just five simple steps, you’re ready to tackle your project with confidence.
Did you know rivets are used in over 90% of aircraft construction? That shows just how reliable and strong these fasteners are.
By following these steps, you’ll create secure, lasting joints every time. Keep practicing, and soon using a rivet gun will feel second nature!
Mastering how to use a rivet gun means you can make durable, professional-quality repairs and builds. Whether you’re working on metal, plastic, or other materials, rivets provide strong, dependable fastening.
So grab your rivet gun, follow the simple steps, and watch your projects come together with ease and precision. With a bit of practice, using a rivet gun will be quick, efficient, and second nature!