How to Use a Grease Gun in 3 Simple Steps
First, load a new grease cartridge into your gun barrel. Make sure to remove the seal and ensure a tight fit so the grease won’t leak. This step is key for smooth operation.
Next, clear any trapped air by slightly loosening the coupler while pumping. Keep pumping until grease flows steadily without bubbles or interruptions. It might take a few tries, but don’t rush it.
Finally, securely tighten all couplings while maintaining pressure. Then, pump several times to check for smooth, consistent grease delivery. These simple steps will get your grease gun flowing smoothly and help you avoid common issues. Keep going to uncover detailed tips for perfect results!
Key Takeaways
- Load a new grease cartridge into the barrel and reinsert the follower rod to push grease forward.
- Loosen the coupler slightly and pump the handle until grease flows, releasing trapped air.
- Tighten the coupler while holding the handle compressed to maintain pressure and prevent air entry.
- Pump the grease gun until a steady, consistent flow of grease appears at the nozzle.
- Wipe excess grease and confirm continuous grease flow before use.
It’s pretty straightforward once you get the hang of it. Just take your time and make sure everything is sealed tight before pumping.
Get Your Grease Gun Cartridge Ready
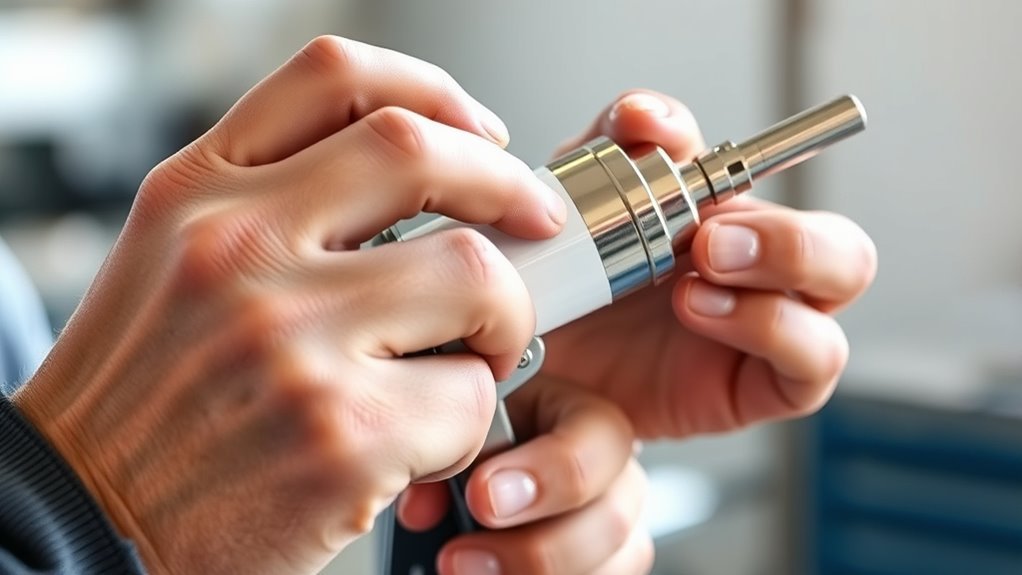
Before you start greasing, you’ll need to prepare your grease gun cartridge properly. First, remove the grease gun head and pull out the follower rod.
Slide a new grease cartridge into the barrel, making sure the open end faces the gun head. Peel or cut off the cartridge’s sealed cap, then make certain the cartridge lip sits flush against the barrel opening to create a tight seal.
Insert the grease cartridge with the open end forward, remove the sealed cap, and ensure a snug seal at the barrel opening.
Next, reinsert the follower rod and push it until it contacts the cartridge, minimizing trapped air. Reattach the gun head securely.
To release any trapped air when you first pump, crack the swivel or loosen the coupler two to three turns. Pump the handle repeatedly until grease flows, then hold the handle compressed while tightening the coupler to keep air out.
Fix Grease Gun Air Lock and Restore Flow
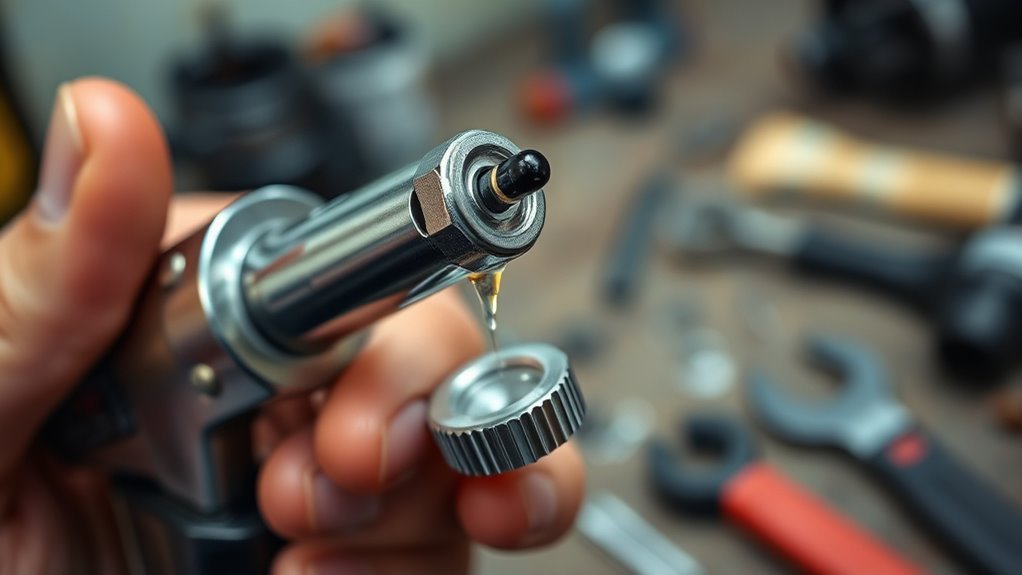
If you find no grease coming out after installing a new cartridge, trapped air is likely blocking the flow. To fix this, turn the tube coupling anticlockwise two to three turns to open a vent path for air to escape.
With the coupling loosened, pump the handle repeatedly until you see grease—not air—reaching the top of the tube and flowing toward the nozzle. Once grease appears, hold the handle fully compressed to stop air from re-entering while you tighten the tube coupling securely.
Keep the handle compressed as you tighten, then release it and pump a few more times to confirm continuous grease flow. This simple vent-and-pump routine clears the common air lock and restores your grease gun’s normal operation.
Tighten the Gun and Test Grease Delivery

Secure the grease tube coupling by tightening it clockwise until it’s finger-tight. Then, use a wrench to turn it an additional quarter to half turn.
Tighten the grease tube coupling clockwise finger-tight, then use a wrench for an extra quarter to half turn.
Hold the handle compressed while snugging the tube connection to maintain pressure and prevent air from entering. This helps ensure continuous grease flow.
Pump the handle 5–10 times and watch for a steady bead of grease from the nozzle or coupler without sputtering. If the flow is inconsistent, slightly loosen the coupling to release trapped air.
Pump until the flow is steady, then retighten the coupling and test again. Once you get a smooth, steady flow, wipe off any excess grease from the nozzle and fittings.
Finish with 1–2 final pumps under normal pressure to confirm the gun is ready for use.
Frequently Asked Questions
What Is the Purpose of a Grease Gun?
The purpose of a grease gun is to help you apply lubricant precisely to machinery parts, reducing friction and wear. It guarantees grease reaches tight spots, protecting bearings and joints.
This way, your equipment runs smoothly and lasts longer. It’s a handy tool for keeping everything working just right.
How Long Will Grease Last in a Grease Gun?
You’d swear grease lasts forever, but once in your grease gun, it usually stays fresh for 6–12 months.
Be sure to purge air seals and store it right to avoid nasty contamination or hardening.
How to Properly Install Grease in a Grease Gun?
You install grease by removing the head and inserting a new cartridge with the open end facing the head. Then, push the follower firmly into place.
Next, loosen the valve to release any trapped air. After that, pump the grease gun until grease flows smoothly.
Finally, make sure to seal the head tightly. This helps prevent any leaks and keeps the grease fresh.
Why Won’t My Grease Gun Fit on My Zerk?
Like trying to fit a square peg in a round hole, your grease gun won’t fit if couplers don’t match or the zerk’s dirty or damaged.
Check the threads, clean off any debris, and make sure you’re engaging the levers properly.
That way, it should snap on tight without any trouble.
Conclusion
Now that you’ve got the hang of using your grease gun, you’re ready to keep your machinery running like clockwork. Just remember, practice makes perfect—don’t let a little hiccup throw you off.
By prepping your cartridge, clearing any air locks, and tightening everything up, you’ll make certain of smooth grease flow every time. Keep these steps in your toolkit, and you’ll be well on your way to maintenance mastery.
Using a grease gun correctly is key to extending the life of your equipment. When you follow these simple steps, you ensure your machinery stays well-lubricated and performs at its best. So, keep practicing, stay consistent, and soon using your grease gun will feel like second nature. Maintenance made easy starts with mastering these basics!