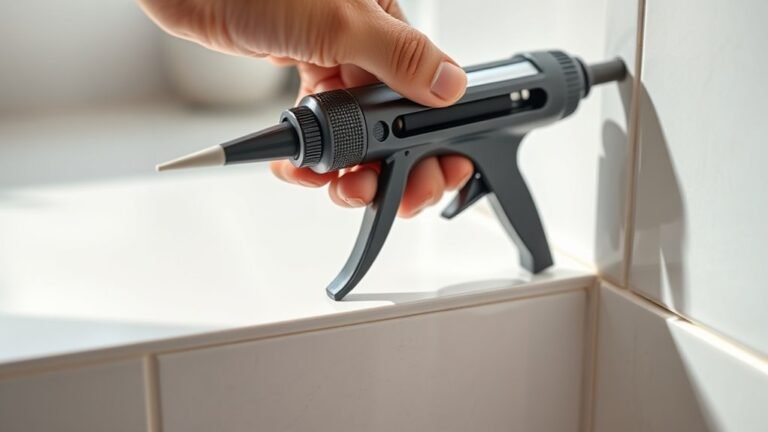
How to Use a Silicone Sealant Gun in 3 Easy Steps
First, pick the right caulk—use 100% silicone sealant for wet areas like bathrooms and kitchens. It’s waterproof and flexible, making it perfect for these spots. Clean the surface thoroughly by removing old caulk and drying it well. This ensures the new silicone sticks properly and lasts longer.
Next, load your caulk gun by pulling back the rod and inserting the tube. Cut the nozzle tip to match the size of the gap you’re filling. A smaller cut is better for precise application. Before you start, test the flow of silicone on a piece of cardboard to get a feel for how it comes out.
Finally, apply your silicone at a steady 45° angle. Move smoothly to create an even bead. Smooth it immediately with a tool or your finger for a neat finish. Remove any painter’s tape you used right away to get crisp, clean edges. Keep going to discover tips for a perfect, lasting seal!
Key Takeaways
- Remove old caulk and clean the joint thoroughly. Make sure the surface is dry before you apply new silicone.
- Cut the nozzle tip at a 45° angle to match the joint width. Then, pierce the inner seal of the tube.
- Load the tube into the caulk gun by pulling the rod back. Insert the tube, and push the rod forward until it contacts the tube base.
- Hold the gun at a 45° angle and squeeze the trigger smoothly. Apply an even bead that’s just a bit wider than the gap.
- Smooth the silicone right away with a wet finger or tool. After that, remove painter’s tape before the silicone starts to skin over.
Choose the Right Caulk and Prepare the Surface
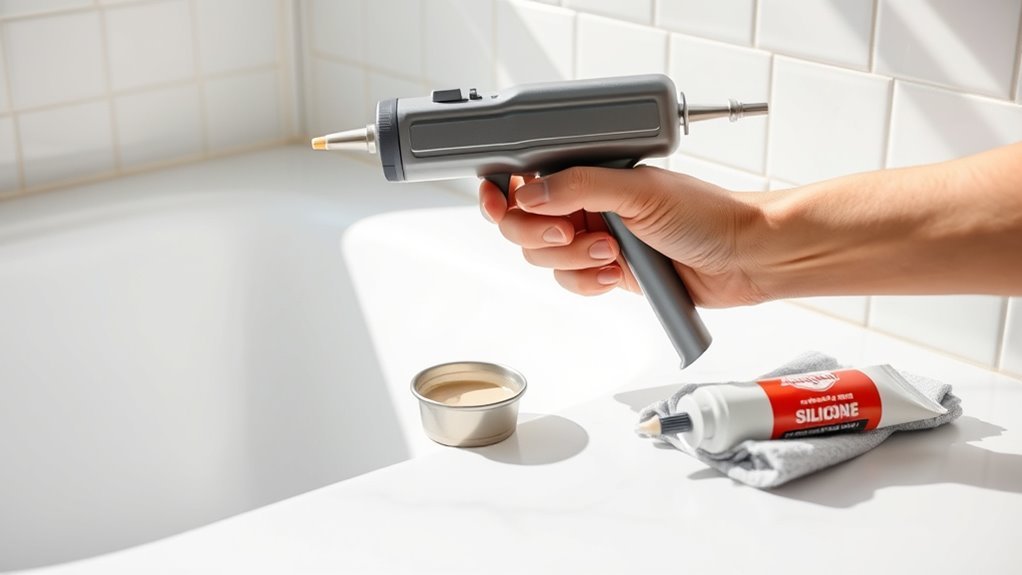
Start by selecting the right caulk for your project—use 100% silicone sealant for wet areas like showers and tubs. It stays flexible and waterproof. For dry trim and baseboards, choose acrylic-latex caulk.
Choose 100% silicone for wet areas and acrylic-latex caulk for dry trim to ensure lasting results.
Make sure you check the tube label for mold- and mildew-resistant properties, especially in humid spaces. This way, you pick the correct formula for the job.
Before applying, remove all old caulk, paint, mold, and rust with a putty knife or wire brush. Then, clean the joint thoroughly with vinegar or diluted bleach and let it dry completely. You don’t want to trap any moisture under the new caulk.
Wipe surfaces free of dust, soap scum, and grease using a rag or vacuum. To get clean lines, try using painter’s tape on both sides of the joint, exposing about 1/8″ for a precise bead.
Load and Test Your Caulk Gun
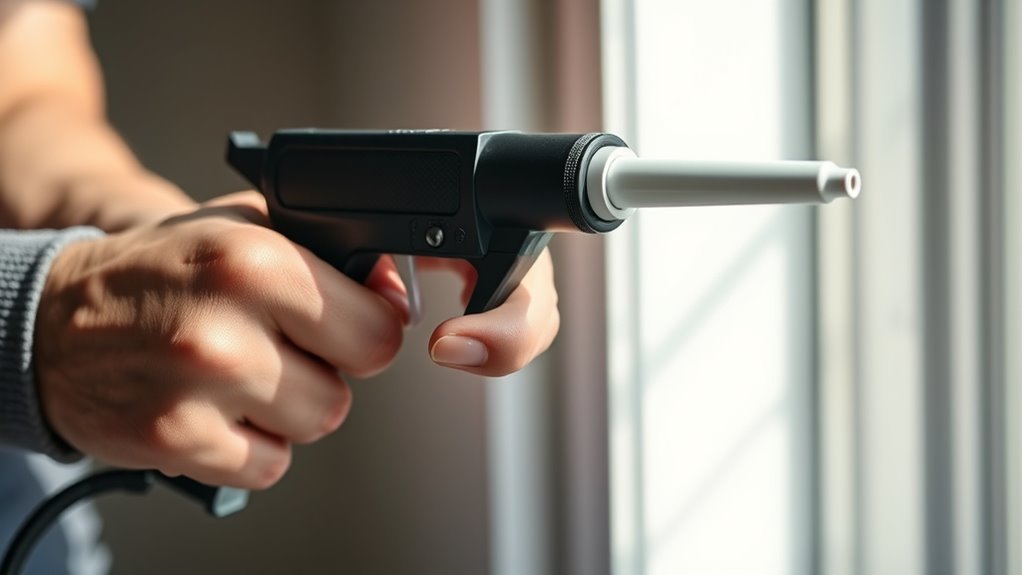
To load your silicone sealant gun, pull the metal rod all the way back by pressing the release lever. Then insert the tube so its flat back rests against the plunger and the nozzle points forward.
Cut the nozzle tip at a 45-degree angle, matching the joint width—smaller for tight gaps, larger for wider ones. Pierce the inner seal with a nail or the gun’s built-in poker.
Push the rod forward until it contacts the tube base. Then squeeze the trigger slowly to test the bead on cardboard.
For indoor projects around the house, this step is a need to know. It helps make certain you get a smooth, even flow without blobs or sputtering.
Wipe excess sealant and cap the nozzle to preserve leftover silicone for future use. Easy!
Apply and Finish Silicone Caulk Like a Pro

Although applying silicone caulk might seem straightforward, holding the gun at a steady 45° angle and moving it smoothly while squeezing the trigger guarantees a consistent bead that fully covers the gap.
Cut the nozzle at a 45° angle to about 1/8–3/16 inch, then puncture the inner seal. Aim for a bead slightly larger than the gap—about 1–2 mm wider.
Try to keep your motion steady and continuous on either side of the joint. Once applied, smooth the silicone immediately with a wet finger or finishing tool, using even pressure to create a concave, uniform joint.
It’s a little different from other sealants, so remove any tape before the silicone skins over (5–15 minutes) to leave crisp edges. Let it cure fully before exposure.
Frequently Asked Questions
Do I Need a Gun for Silicone Sealant?
You don’t always need a gun for silicone sealant, especially for small jobs or squeeze tubes.
But for larger cartridges or if you use it often, a caulk gun gives you better control. It helps you apply smoother beads and reduces hand fatigue.
Where Should You Not Use Silicone Caulk?
Think of silicone caulk as a water-repellent shield; don’t use it on fresh paint, porous brick, or surfaces needing paint later.
Avoid joints needing strong bonding or sanding—silicone won’t stick or play nice there.
How to Work a Caulk Gun?
You pull the rod back, insert the caulk tube, and push the rod forward to grip it.
Next, cut the nozzle tip and puncture the seal.
Then, squeeze the trigger steadily to apply the caulk.
When you’re done, release the pressure to control the flow. Easy, right?
Why Can’t I Squeeze My Caulk Gun?
Did you know 40% of caulk gun issues stem from rod jams? You can’t squeeze your caulk gun because the metal rod might be stuck, the nozzle blocked, or the gun’s mechanism slipping.
Check and fix these to restore smooth flow. It’s usually a quick fix once you know what’s going on.
Conclusion
Now that you’ve got the hang of using a silicone sealant gun, you’re ready to tackle those pesky gaps like a pro—no steam-powered gadgets needed! Just remember to pick the right caulk, load your gun carefully, and smooth it out with confidence.
With these simple steps, your projects will look sharp and stay sealed tight. Sealing gaps properly not only improves the look but also keeps out moisture and drafts, making your home more comfortable.
So go ahead, channel your inner handyman, and seal the deal like it’s 1899! Using a silicone sealant gun is easier than you think, and once you master it, you’ll find it’s a handy skill for all sorts of DIY projects. Happy sealing!