
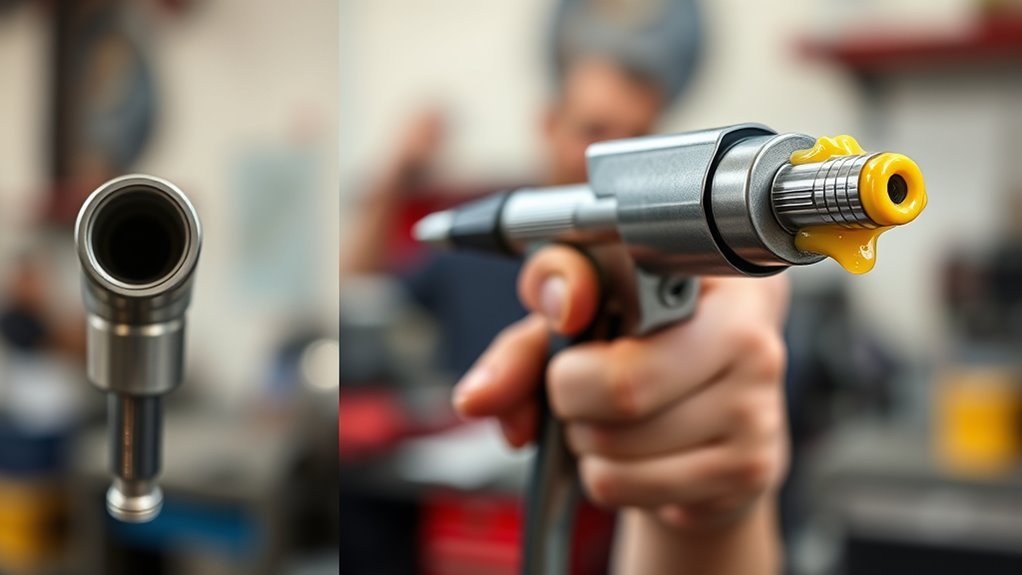
How to Prime a Grease Gun in 3 Easy Steps
To prime your grease gun in three easy steps, start by cleaning the gun head, hose, and check valves. This helps remove hardened grease and any debris that might clog the system. Keeping these parts clean is crucial for smooth operation and ensures your grease gun works efficiently.
Next, load fresh grease properly. Make sure the cartridge is seated securely and all components are reassembled tightly. This prevents leaks and keeps everything running smoothly without any mess.
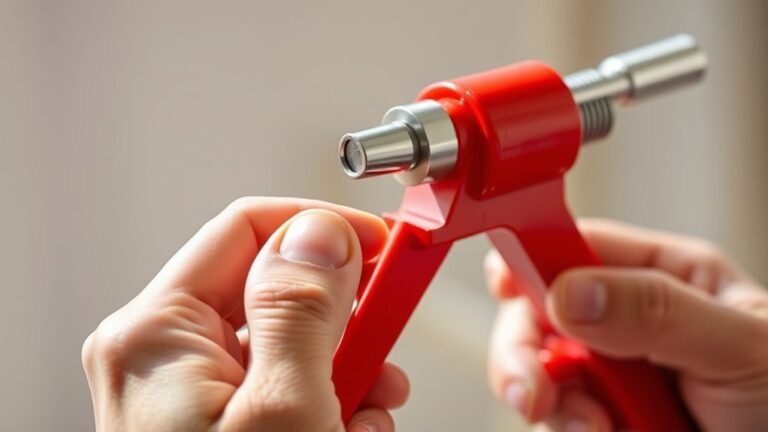
Finally, pump the handle without the coupler attached until fresh grease appears. Once you see that, reattach the hose and purge any air by pumping until the flow is smooth and air-free. Follow these simple steps, and you’ll be ready to use your grease gun confidently every time.
Key Takeaways
- Remove the coupler or hose from the grease gun before priming to prevent air locks.
- Operate the T-handle or lever until fresh grease appears at the head cavity.
- For cartridge-fed guns, cycle the handle 5–10 times without the coupler attached to purge air.
- Reattach the hose and pump until a continuous, air-free bead of grease flows smoothly.
- If resistance feels spongy, loosen the bleeder screw briefly to release trapped air, then retighten.
It might seem a bit tricky at first, but once you get the hang of it, priming your grease gun becomes second nature. Just take it step by step, and you’ll have it ready in no time!
Clean Grease Gun Head, Hose, and Check Valves to Remove Debris
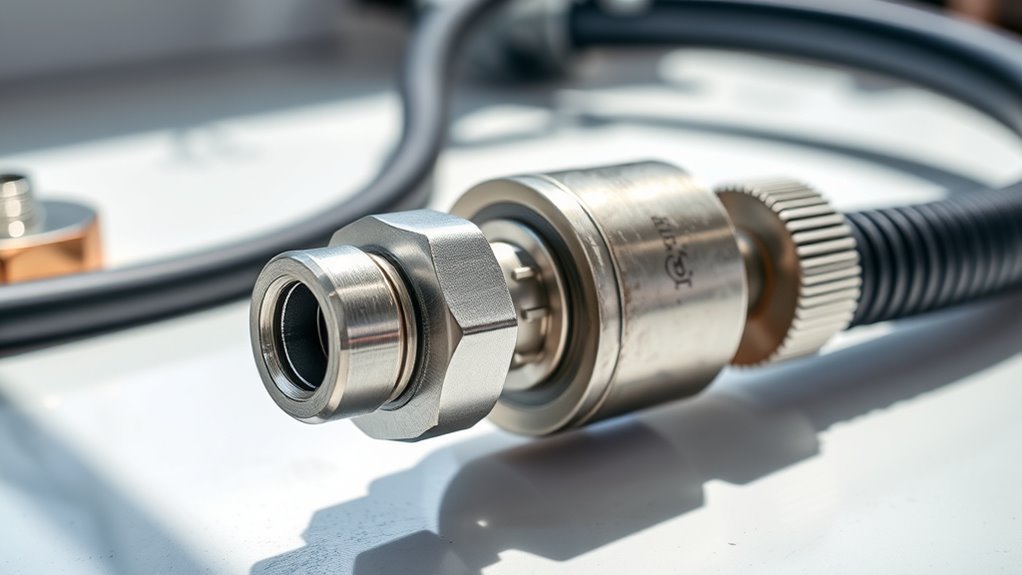
To clean the grease gun head, start by disassembling it—remove the whip hose or extension and the inlet/check assembly. Inspect these parts closely for hardened grease, dark debris, or oil separation residue.
Next, soak internal passages, the check valve, and the piston chamber in mineral spirits or transmission fluid. Use nylon bristle brushes to scrub away thickener buildup and settled additives thoroughly.
Check the outlet check ball and seat for any nicks or debris. Tap the ball lightly to reseat it, or replace any damaged components as needed.
Finally, flush the head cavity by filling it with cleaning fluid and cycling the piston until the expelled fluid runs clear. Once it’s clean and reassembled, make sure the grease gun is primed by purging air with the hose off before reattaching.
Load Fresh Grease and Reassemble the Grease Gun Properly
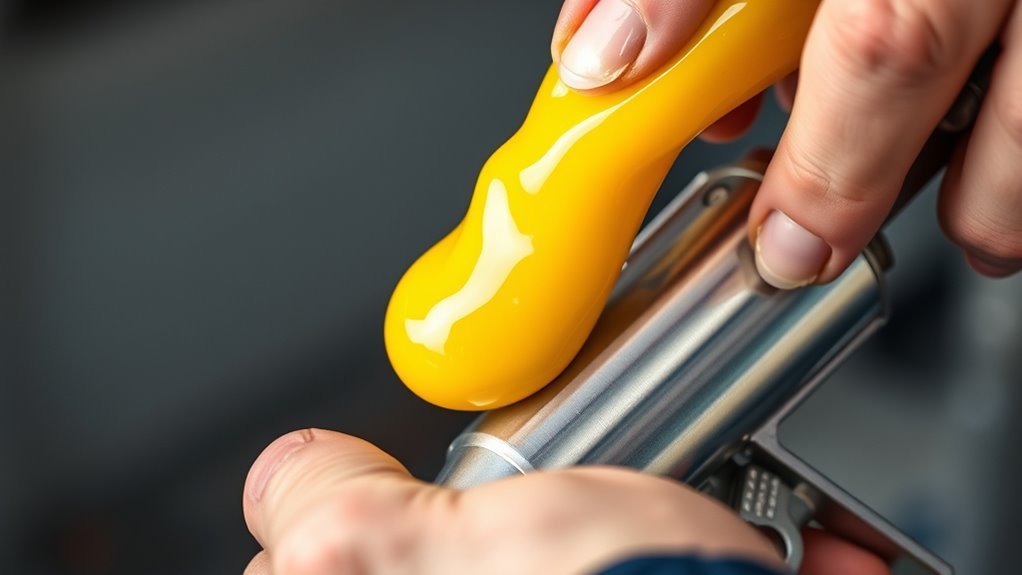
Although you’ve cleaned the gun thoroughly, don’t insert fresh grease without first removing any partially used cartridges or contaminated bulk grease. This helps avoid introducing debris.
Always remove old or contaminated grease before adding fresh to prevent debris and ensure clean application.
Wipe the gun’s cavity clean before loading a fresh grease cartridge or pumping in clean bulk grease. When inserting a grease cartridge, make sure the ends stay covered until installation.
Also, position the open end facing the gun’s head for proper flow. Reassemble the gun carefully by seating the cartridge tube securely.
Next, reinstall the follower or piston and spring. Then, thread the head or retainer ring tightly to prevent leaks between the cartridge lip and tube assembly.
Taking these steps guarantees your grease gun is cleanly loaded and ready for efficient lubrication without contamination or leakage.
Pump the Grease Gun to Prime and Purge Air for Smooth Flow

Once you’ve loaded and reassembled your grease gun properly, the next step is to pump it to prime and purge any trapped air. Start by removing the coupler or hose, then firmly push or pull the T-handle or operate the lever until fresh grease appears at the head cavity. This clears trapped air pockets.
For cartridge-fed guns, prime without the coupler attached to avoid air locks. Cycle 5–10 strokes using transmission fluid or penetrating oil if you’re cleaning in the field.
After reattaching the hose, pump until a continuous, air-free bead of grease flows—usually 10–20 strokes for hand pumps. If you feel spongy resistance, loosen the bleeder screw briefly to let air escape, then re-tighten. These steps guarantee smooth flow with your grease guns.
Frequently Asked Questions
How to Reload a Mini Grease Gun?
To reload a mini grease gun, pull back the plunger rod. Then, insert a fresh compatible grease cartridge.
Next, push the follower rod forward until it seats against the cartridge. This ensures a tight fit for proper grease flow and function. Easy, right?
What Is the Typical Psi Output of a Grease Gun?
You’ll find manual lever grease guns deliver 3,000 to 5,000 psi, while pistol or battery types offer 1,000 to 3,000 psi.
Air-powered guns typically operate between 1,000 and 4,000 psi, depending on design and pressure. So, it really depends on the type of grease gun you’re using.
How Do You Store a Grease Gun?
Don’t let your grease gun sweat the small stuff—store it empty or with sealed cartridges in a cool, dry place.
Keep caps tight, purge air, and avoid heat to keep grease fresh and ready for action.
It’s all about making sure your grease gun is ready when you need it. Just a little care goes a long way!
What Is a Grease Gun Used For?
You use a grease gun to apply lubricant precisely to bearings and fittings, reducing friction and wear.
It helps keep your machinery running smoothly by delivering grease under pressure to tight spots. This way, it extends equipment life efficiently.
Conclusion
Now that you know how to prime your grease gun in just three easy steps, isn’t it time to get your equipment running smoothly?
By cleaning the head and hose, loading fresh grease correctly, and pumping out any air, you’ll guarantee consistent grease flow and avoid frustrating clogs.
Taking these quick actions saves you time and effort in the long run.
So, why wait? Keep your grease gun ready and your machinery performing at its best!
Priming your grease gun properly ensures efficient lubrication, which is essential for maintaining your equipment’s longevity. Regularly following these simple steps helps prevent grease gun clogs and keeps the grease flowing smoothly. This means less downtime and more reliable performance from your tools. Remember, a well-maintained grease gun is key to hassle-free maintenance and peak machinery operation. Start priming your grease gun today and enjoy smoother, more consistent equipment function every time!


2 Comments