How to Draw a Glock in 10 Easy Steps
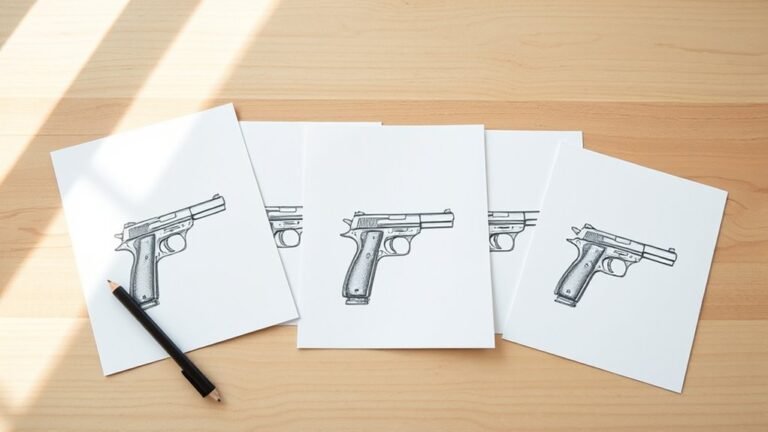
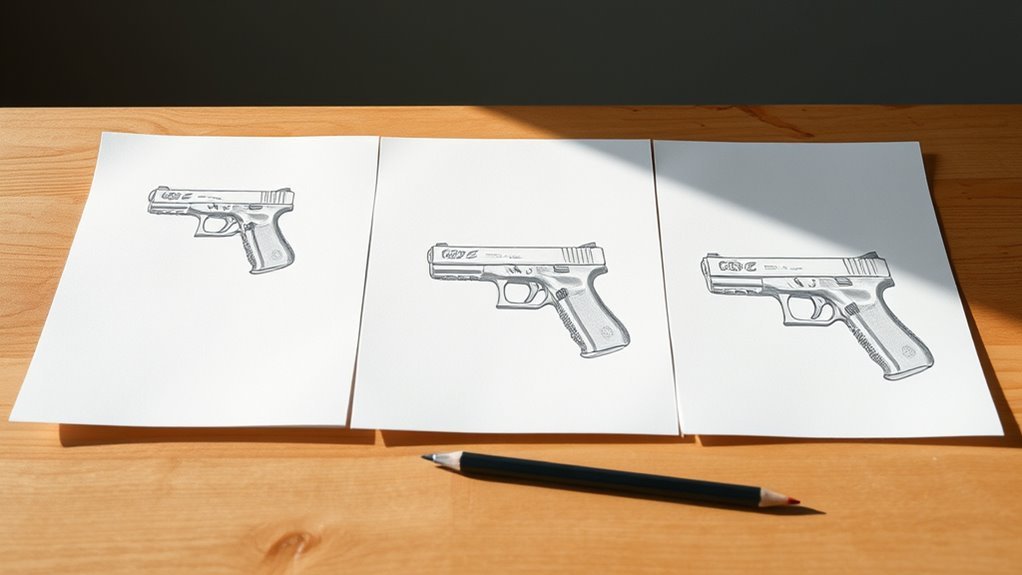
To draw a Glock in 10 easy steps, start by gathering clear reference images to capture its shape and details accurately. Having good references helps you understand the unique features of a Glock handgun, making your drawing more precise and realistic.
Begin by sketching basic shapes like rectangles and ovals to form the overall outline. These simple shapes act as the foundation for your Glock drawing and make it easier to build on the details later.
Next, add key features like the barrel, trigger guard, and grip textures. These elements give your sketch character and make it recognizable as a Glock.
After that, refine the silhouette and clean up your lines to make the drawing sharp and clear. Once you’re happy with the outline, ink your drawing to finalize the shapes.
Finally, finish by adding shading and colors to bring depth and realism to your Glock. Keep practicing, and you’ll soon master the art of capturing the Glock’s precise design!
Key Takeaways
- Start by gathering reference images and sketching basic shapes like rectangles and ovals to outline the Glock’s body and barrel. This helps you get the general form down before adding details.
- Construct the Glock’s silhouette using simple shapes, refining curves and edges for accurate proportions and key feature placement. Take your time to make sure everything looks balanced.
- Add detailed elements such as the trigger guard, slide serrations, sights, ejection port, and textured grip panels. These small parts really bring the drawing to life.
- Clean up the drawing by inking main lines, erasing guidelines, and varying line weight for depth and clarity. This step makes your sketch look polished and professional.
- Apply shading and highlights with a consistent light source, then add metallic colors and textures for realism before sharing your artwork. It’s the finishing touch that makes your Glock drawing pop!
Gather Clear Reference Images of the Glock

Before you start drawing, gather clear reference images of the Glock to make certain accuracy. Visit the official Glock website and pick a specific model, like the Glock G34 9mm, to find precise reference images.
Collect multiple views—side, front, and three-quarter angles—to fully understand the gun’s proportions. Use high-resolution photos so you can capture fine details such as the slide, trigger, grip texture, and barrel features.
Gather side, front, and three-quarter views in high resolution to capture every fine detail accurately.
If possible, photograph physical Glock models or toy replicas to see the three-dimensional aspects firsthand. As you study these reference images, note key measurements and landmarks like the barrel length and trigger guard position.
This careful preparation helps guarantee your drawing reflects the Glock’s true shape and intricate details accurately. It’s all about getting those details just right!
Learn the Glock’s Basic Shapes and Proportions
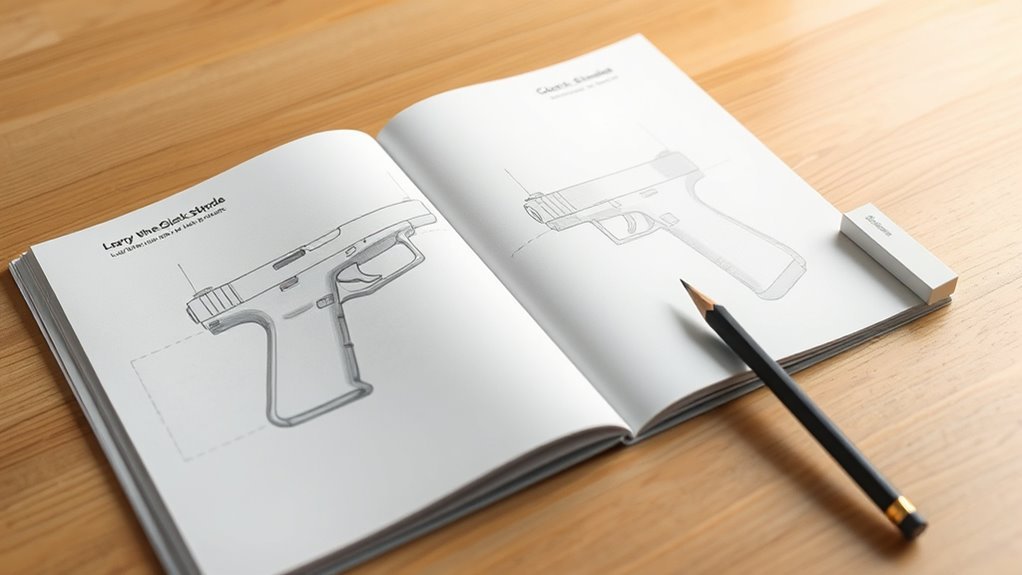
Once you have your reference images ready, start by sketching two rectangles arranged in an L-shape to outline the Glock’s body and barrel. Next, draw a straight line dividing the top rectangle in half, then add a perpendicular line about one-third down to set the gun’s proportions.
At the inner corner of the L-shape, sketch an oval to represent the trigger guard and grip area. Use gentle curves to capture the barrel’s round edges and the contour of the grip.
Don’t forget to mark simple shapes like small rectangles for the barrel hole and triangles for the sights. Also, pay attention to the back of the gun, keeping its shape consistent with your reference.
This approach really helps you grasp the Glock’s basic shapes and proportions before moving on. It makes the whole drawing process a lot easier!
Sketch the Glock Outline Using Simple Shapes
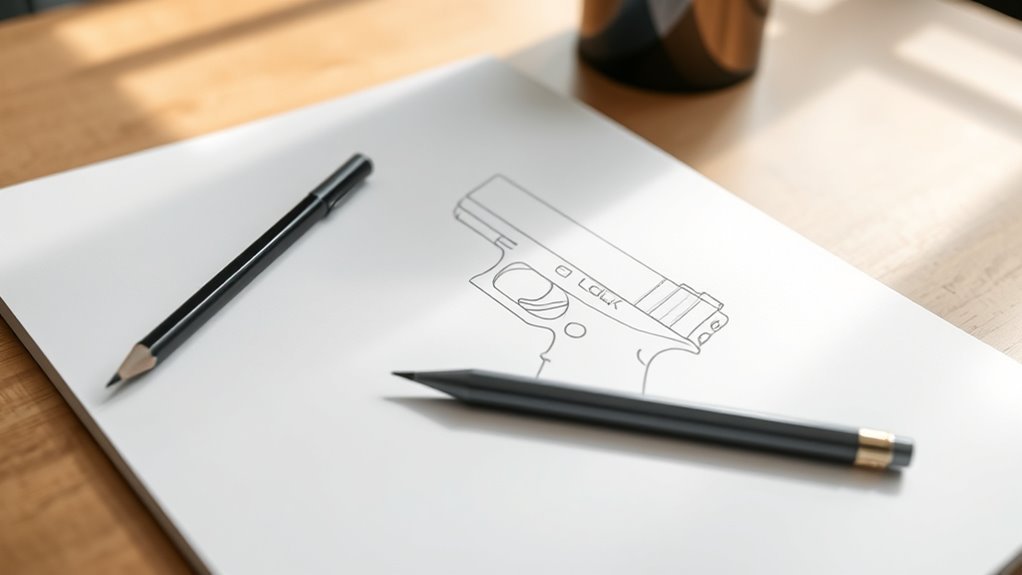
Start by sketching two rectangles that form an L-shape to capture the Glock’s basic body and slide. Add an angled rectangle for depth, then outline the trigger area with a smaller rectangle and oval inside the L-shape.
Use horizontal and perpendicular lines to keep your proportions accurate and guide the placement of key details. This will help you stay on track as you build out the shape.
Basic Shape Formation
Although drawing a Glock might seem complex, you can simplify it by sketching two rectangles arranged in an L-shape—the longer one for the slide and the shorter one for the grip. Start with these basic shapes to establish the Glock’s outline.
Connect the rectangles with angled lines to form the gun’s silhouette while keeping proportions accurate. Add an oval inside the top rectangle to mark the barrel opening and divide this rectangle in half to guide symmetry.
Draw a perpendicular line about one-third down from the top edge to indicate the slide release’s position. Finally, sketch curved lines along the grip’s edges to capture its blocky yet ergonomic form.
Using these basic shapes helps you create a clear, proportional foundation for your Glock drawing. It really makes the whole process easier once you have that structure down.
Proportional Layout Planning
Building on the basic shapes you sketched, focus on refining the Glock’s proportions to match your reference closely. Start by drawing two rectangles forming an L-shape to outline the firearm’s structure. This layout helps establish the Glock’s overall size and shape.
Divide the top rectangle in half to create symmetry and position key features like the slide and barrel accurately. Add an angled second rectangle to represent the slide’s incline, capturing the unique profile of the gun.
At the L’s inner corner, sketch a rectangle with an oval inside to define the trigger guard and trigger area precisely. Finally, draw a perpendicular line about one-third down the lower half of the top rectangle to mark the slide and barrel placement.
This structured proportional layout guarantees your Glock drawing stays true to form. It might seem detailed, but these steps really help keep everything in the right place.
Add Barrel, Trigger Guard, and Grip Details to Your Glock
As you refine your Glock drawing, focus on adding the barrel with its slight bevel and screw details to bring authenticity, along with the ejection port for realism. Next, sketch the trigger guard as a curved shape that smoothly connects to the grip, making sure it’s proportionate to the overall gun size.
Pay attention to the grip by adding textured panels with ridges and grooves that cover the handle area, enhancing the look and feel of a non-slip surface. Incorporate horizontal lines on the back of the grip to emphasize better handling.
Don’t forget small details like the slide serrations and the shape of the trigger to boost realism. These steps will give your Glock drawing a solid foundation before moving on to refining its silhouette.
Refine Your Glock’s Silhouette and Features
Now, focus on enhancing your Glock’s shape accuracy by smoothing curves and sharpening edges to capture its distinct silhouette. Add key features like the sights, ejection port, and trigger guard, making sure they align perfectly within the outline.
Finally, refine your line work to bring out details and give your drawing a clean, polished look. This step really helps your artwork stand out and look professional. Keep checking your lines and shapes as you go!
Enhancing Shape Accuracy
How can you guarantee your Glock drawing captures the exact shape and proportions? Start by using reference images to study the Glock’s overall silhouette, focusing on the slide, grip, and barrel.
Break down the gun’s length into thirds with dividing lines to position key elements like the trigger and ejection port accurately. Sketch clean outlines that emphasize the blocky, angular shapes typical of a Glock, ensuring smooth progressions between the slide, grip, and trigger guard.
Keep comparing your outlines with your reference images, and don’t be afraid to adjust proportions as needed. This way, your drawing stays precise and true to the Glock’s distinctive profile.
Adding Key Features
When you add key features to your Glock drawing, focus on capturing the rectangular slide with its beveled edges and the slightly tapered grip to keep the silhouette realistic. Include authentic details like the front and rear sights, ejection port, and textured grip areas.
Small holes, grooves on the slide, and a smooth, curved trigger guard enhance the overall look. Don’t forget ridges or finger grooves on the grip for added realism.
Maintain proportion and place the trigger, magazine release, and slide serrations accurately. These little details really bring your drawing to life.
| Feature | Tip for Authenticity |
|---|---|
| Slide | Add beveled edges and serrations |
| Grip | Include taper and finger grooves |
| Trigger Guard | Smooth curve with subtle ridges |
Refining Line Work
Although your initial sketch lays down the essential shapes, refining the line work will sharpen your Glock’s silhouette and bring its features into clear focus. Start by carefully erasing unnecessary construction lines to emphasize the clean, blocky shape.
Vary line weight by making outer contours darker and more pronounced; this adds depth and clarity to your drawing. Use precise, smooth lines to define key elements like the trigger, slide, and grip, ensuring they match your reference for realism.
Incorporate subtle curves and angles where needed to reflect the Glock’s mechanical structure while keeping a streamlined look. Finally, review and adjust the silhouette to eliminate irregularities, making sure your refined line work accurately captures the iconic profile of the Glock.
Draw Glock Sights, Ejection Port, and Small Details
Because these small features define the Glock’s distinctive look, start by drawing the front and rear sights as small rectangles atop the slide. Then add ridges and notches to capture their texture.
Next, sketch the ejection port as a rectangular cutout on the slide’s side, aligning it precisely with the barrel. To make your drawing more authentic, incorporate small details like holes, grooves, screws, and pins along the slide and barrel.
These elements represent the Glock’s functional and manufacturing parts. Use shading strategically to emphasize these features, giving your drawing depth and realism.
Clean Up and Ink Your Glock Drawing
Now that you’ve added the small details, it’s time to erase the pencil guidelines carefully to clean up your drawing. Use a fine-tipped pen to outline the main contours and important features with smooth, confident lines.
Try to vary the line weight a bit. This will help your Glock drawing stand out and give it more depth. It’s all about making those details pop!
Erasing Pencil Guidelines
Once you’ve completed the detailed outline of your Glock drawing, carefully erase all unnecessary pencil guidelines to keep your work clean and sharp. Use a kneaded or fine-tipped eraser to gently erase lighter construction lines without damaging your inked work.
Make certain your ink is fully dry before erasing to avoid smudging or smearing the final drawing. Keep your workspace well-lit and steady to accurately remove guidelines without accidentally erasing important details.
Erasing these pencil marks helps you finalize the drawing’s clean appearance. Taking your time during this step ensures your Glock looks polished and professional, setting you up perfectly for the next phase in your artwork.
Defining Inked Lines
Although you’ve already erased most pencil guidelines, you’ll want to carefully ink the main contours and details of your Glock drawing using a fine-tipped pen or digital brush. Start by outlining the key shapes with smooth, deliberate strokes.
Vary your line weight to add depth—use thicker lines on prominent edges like the trigger, slide, and grip, and thinner lines for subtle details. This contrast really helps enhance dimension and focus.
Be sure to avoid crossing lines or inconsistent pressure to keep your inked lines clean and professional. Once you finish inking, let the ink dry completely before erasing any remaining pencil marks to prevent smudging.
This process will give your Glock drawing a crisp, polished look with well-defined outlines and effective use of line weight. It’s all about making those lines pop!
Add Shading to Bring Your Glock Drawing to Life
Because shading defines the light source and form, you’ll want to establish a consistent direction for your lighting before adding shadows and highlights to your Glock drawing. This approach enhances realism and helps your sketch pop.
Follow these steps:
- Identify your light source and keep it consistent throughout the drawing.
- Add darker shading where parts overlap or recede, like under the slide and inside the trigger guard, to create depth.
- Build shading gradually with light, controlled strokes to mimic reflections on metallic surfaces.
- Use blending tools to smooth gradients and apply subtle highlights on edges and raised areas for a polished, lifelike finish.
Choose Colors and Add Texture to Your Glock
When choosing colors for your Glock drawing, focus on metallic shades like silver, chrome, or gunmetal grey to capture its reflective surface accurately. These colors help you create a realistic, polished look.
Use darker tones such as black or dark grey on the grip and slide to add contrast and depth. It really makes those parts stand out.
Darker tones like black or dark grey on the grip and slide add striking contrast and depth.
To enhance texture, add subtle stippling or texturing on the grip area to mimic its rough surface. This little detail can make a big difference.
Incorporate highlights and light reflections on the metal parts to emphasize the gun’s shiny finish. It gives your drawing that authentic sparkle.
Apply shading techniques to bring out the contours, making your drawing look three-dimensional and lifelike. Combining metallic shades with careful texture and shading will give your Glock drawing a professional, authentic appearance.
Share Your Glock Artwork and Get Feedback
After refining the colors, textures, and shading on your Glock drawing, it’s time to share your artwork with others. Sharing your work as an artist not only showcases your progress but also invites valuable feedback to sharpen your skills.
Engaging with a community of artists helps you stay motivated and sparks creative ideas. Here’s how to make the most of sharing your Glock artwork:
- Post your drawing on art forums or social media platforms to reach fellow artists.
- Ask for constructive feedback to identify areas for improvement.
- Comment on others’ artwork to inspire and learn from different styles.
- Track your growth by revisiting feedback and comparing past drawings.
Frequently Asked Questions
How to Draw a Glock 19 Step by Step?
You start by sketching the Glock 19’s basic shape with rectangles and ovals. Then, add details like the trigger and grip.
Next, refine the outlines and erase any guidelines. After that, finish by shading to capture its metallic and polymer textures accurately.
It’s a step-by-step process, but taking your time with each part really helps bring the drawing to life. Just keep practicing!
How to Draw a Pistol Quickly?
You start by sketching simple shapes like rectangles and ovals to block out the pistol’s form. Then, quickly refine the outline with light strokes.
Add essential details, and darken lines once you’re satisfied with the proportions. It’s all about working fast but keeping an eye on the overall shape.
How Do I Shoot My Glock?
You load your Glock with 9mm rounds, grip it firmly, and align the sights on your target. Keep your finger off the trigger until ready, then squeeze smoothly.
Make sure to maintain control and safety throughout the shot. It’s all about staying calm and focused when you pull the trigger.
Is It Hard to Draw a Gun?
Drawing a gun isn’t hard; it’s like assembling a puzzle. You’ll start with simple shapes and build details gradually.
With practice and patience, you’ll improve quickly and feel confident capturing its form accurately. Just take it step by step, and you’ll get there!
Conclusion
You might think drawing a Glock is all about precision and rigidity, but it’s also about creativity and expression. While the gun’s sharp lines demand accuracy, your unique style brings it to life.
Balancing technical skill with artistic freedom transforms a simple sketch into a compelling piece. So, don’t just replicate—reimagine.
Embrace both discipline and imagination, and watch your Glock drawing become more than just an image—it becomes your art. By following these 10 easy steps, you’ll not only capture the distinctive details of the Glock but also add your own creative touch.
Remember, drawing a Glock is about combining accuracy with personal flair, making the process enjoyable and fulfilling. With practice, your Glock illustration will stand out, reflecting both skill and style.