How to Make a Rubber Band Gun in 7 Easy Steps
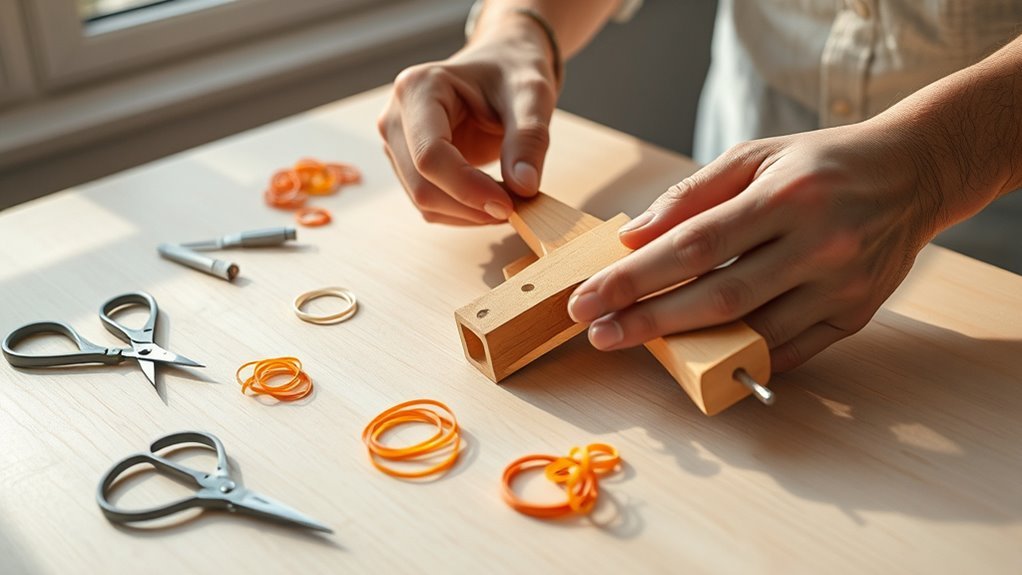
To make a rubber band gun in 7 easy steps, start by gathering all the materials you’ll need: wood, a dowel, a clothespin, screws, and rubber bands. These basic supplies are easy to find and will help you create a simple but effective rubber band gun.
First, sketch your gun design directly onto the wood. This gives you a clear plan to follow as you cut and shape your project. Then, carefully cut out the shape and sand the edges smooth so it feels comfortable to hold.
Next, attach a barrel with a notch to hold the rubber bands in place.
Glue the clothespin onto the gun to serve as the trigger—make sure it’s secure.
Finally, load rubber bands from the barrel to the trigger and test your gun to see if it fires smoothly.
Follow these straightforward steps, and you’ll have a durable, fun rubber band gun in no time.
Plus, there are some handy tips along the way to help you perfect your build and enjoy your creation even more!
Key Takeaways
– Sketch a gun shape on wood, then carefully cut out the design using safety gear.
Make sure you take your time with this step to get the shape just right.
– Sand all edges smoothly, especially around the trigger area, to ensure safety and comfort.
You want to avoid any rough spots that might catch or hurt your fingers.
– Attach a 4-8 inch dowel barrel with a 1/4 inch notch for holding rubber bands securely.
This notch is key for keeping the rubber bands in place when you pull the trigger.
– Glue a spring-action clothespin as the trigger, ensuring it moves freely and aligns with the barrel notch.
It needs to work smoothly so your rubber bands will shoot properly.
– Load rubber bands from the barrel notch to the clothespin trigger, then test fire by pressing the trigger.
Keep adjusting if needed until your rubber band gun fires just right.
Gather Materials for Your Rubber Band Gun
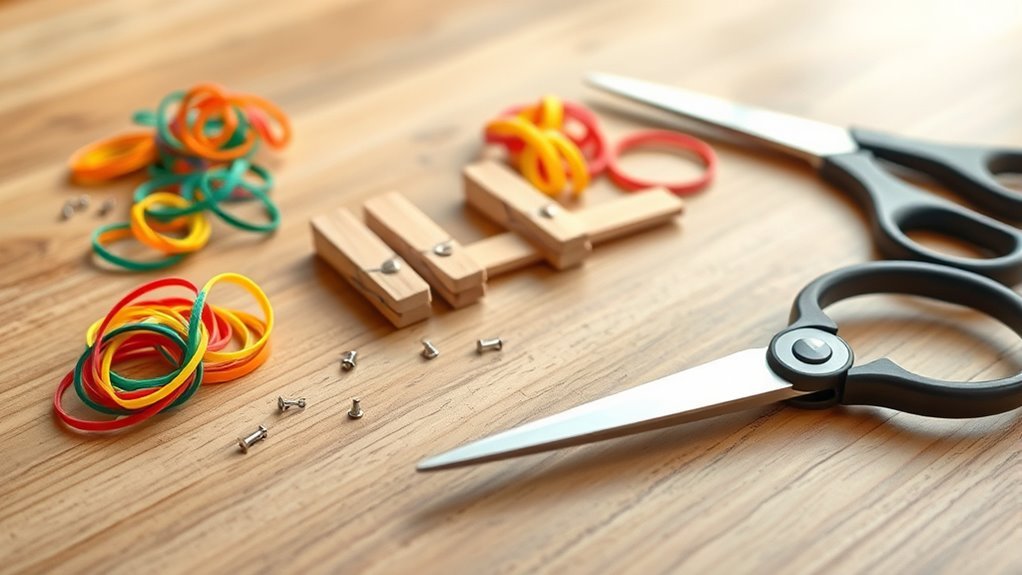
Before you begin building your rubber band gun, gather all the necessary materials to guarantee a smooth process. Start with 4 feet of 1×8 wooden shelving and a 4-foot dowel between 1/2 to 3/4 inch in diameter.
Gather essential materials like 1×8 wooden shelving and a 4-foot dowel to start building your rubber band gun.
You’ll also need a spring-action clothespin, either wood or plastic, plus a few small screws for assembly. Prepare a long sheet of paper, about 8×4 feet, or tape printer paper sheets together to create your template.
Have scissors or a utility knife ready for cutting, along with a saw for shaping the wood. A drill with a hole saw bit might be necessary for specific parts.
Finally, collect plenty of rubber bands—they’re essential for launching your projectiles. Optional painting supplies can help you customize your gun once it’s complete.
Sketch Your Rubber Band Gun Design on Wood

Start by choosing a gun shape that fits your style and the size of your wood piece. Use a durable marker to sketch a clear, precise outline directly onto the wood.
Make sure to position your design carefully so you leave enough space for cutting and attaching the barrel later on. This will make the next steps much easier!
Choose Your Gun Shape
When you choose your rubber band gun shape, sketching it carefully on wood will set a solid foundation for your build. Start by drawing your desired shape on large paper or directly on the wood using a ruler and a sharpie to get clear, straight lines.
Make sure the top of your outline is flat—that’s essential for fitting the barrel and trigger assembly later. Use gun books or online images to inspire realistic features like the stock, barrel, and handle.
Once your design looks right, trace it onto the wood with a permanent marker to create a visible cutting guide. Double-check proportions and details now to ensure your rubber band guns will look and function exactly as you envisioned before you start cutting.
Use Durable Drawing Tools
Although it might seem simple, using durable drawing tools is essential for transferring your rubber band gun design onto wood accurately. Make certain to start by creating a full-scale outline on a large sheet of paper or taped printer paper.
Use a sharpie to draw the gun shape clearly, keeping the top flat for proper barrel mounting. Incorporate important details like the handle, trigger placement, and barrel notch directly on your sketch to ensure precision.
When you’re ready, trace your design onto the wood with a fine-tipped marker or sharpie. This durable drawing will stay visible during cutting, serving as a precise template.
Make sure your lines are sharp and clear to guide your saw cuts and help you craft a clean, accurate wooden gun shape.
Position Outline For Cutting
Before cutting, carefully position your rubber band gun design on the wood by tracing the outline directly from your paper template with a sharpie or marker. Make certain to position the design so the top is flat, allowing for easy barrel mounting later.
Whether you choose a shape inspired by a real firearm like a shotgun or a custom design, confirm the handle area is comfortable to grip. Position the outline to maximize wood usage and maintain proper proportions.
Double-check measurements and balance before you begin cutting to avoid errors. Once positioned and traced clearly, your cutting template will guide precise shaping, making the build easier and more accurate.
This careful positioning sets the foundation for a functional and well-crafted rubber band gun. Taking your time here really pays off in the final product!
Cut Out Your Rubber Band Gun Shape Safely
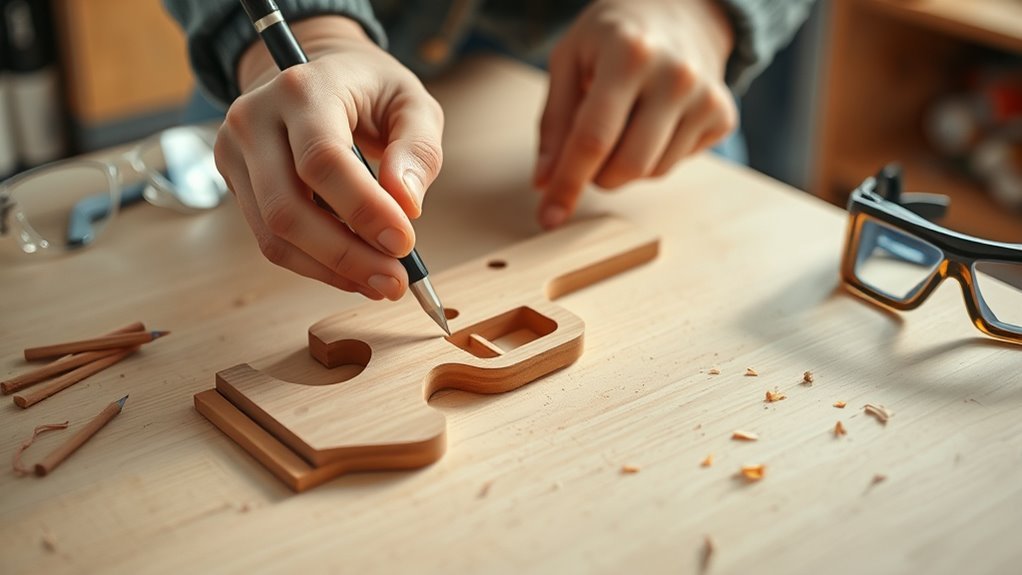
Since accuracy is key, start by drawing your rubber band gun outline on a large sheet of paper or taped printer paper sheets. Once your design is clear, transfer it carefully onto the wood with a pencil to avoid mistakes.
When you’re ready to cut out your rubber band gun shape safely, follow these steps:
- Use appropriate safety gear like goggles and gloves to protect yourself.
- Secure the wood firmly to your work surface to prevent slipping.
- Cut slowly along the traced lines, keeping steady control to maintain precision.
Sand and Smooth Your Rubber Band Gun Edges
After you’ve carefully cut out your rubber band gun shape, take the time to sand all edges and surfaces using medium grit sandpaper. Sanding removes splinters and rough spots, making your gun safe to handle.
Focus especially on the trigger area and any cutouts to guarantee a smooth, snag-free finish. Use an electric sander or sanding block to evenly sand both sides and all edges.
Finally, wipe the gun with a damp cloth to clear dust and check for any rough patches before assembly. This way, your rubber band gun will be comfortable and safe to use.
| Area to Sand | Tool Recommended | Purpose |
|---|---|---|
| Edges & Surfaces | Medium Grit Sandpaper | Remove splinters |
| Trigger Area | Electric Sander | Smooth for comfort |
| Cutouts | Sanding Block | Avoid snags |
Cut and Attach the Barrel With Rubber Band Notch
You’ll want to cut the barrel to a length that balances power and ease of handling.
Next, carefully create a notch at the tip for the rubber band to sit securely without slipping.
Finally, attach the barrel firmly to the gun’s body, making sure the notch lines up perfectly for smooth firing.
Barrel Length and Fit
When cutting the barrel, choose a length between 4 and 8 inches to balance power and ease of handling. The barrel length affects how far and accurately your rubber band will shoot.
Follow these steps to get it right:
- Measure and saw a clean, straight cut at your chosen barrel length, then smooth the edges to avoid splinters.
- Create a horizontal notch about 1/4 inch wide at the barrel’s tip for the rubber band to grip securely.
- Attach the barrel firmly to the gun’s body using screws or glue, ensuring a flush fit for smooth operation.
Check the notch fit by stretching a rubber band over it. It should hold snugly without slipping or being too tight.
Notch Cutting Techniques
How exactly do you create a notch that holds your rubber band securely without slipping? Start by measuring and marking the desired notch length and depth on the barrel tip.
Use a utility knife or small saw to carefully cut a horizontal slit wide enough for the rubber band to fit snugly. These notch cutting techniques ensure consistency and a proper fit.
After cutting, smooth the notch edges with sandpaper or a file to prevent splinters and allow the rubber band to slide in and out easily.
Attach the barrel to the gun body, keeping the notch aligned and unobstructed. Finally, test the notch with a rubber band, adjusting its size if necessary, to guarantee a secure hold and reliable shooting every time.
Secure Attachment Methods
Although cutting the barrel to the right length is essential, securing it firmly to the gun body guarantees your rubber band gun performs reliably. Using reliable attachment methods guarantees the barrel stays aligned and the rubber band notch functions smoothly.
Follow these steps for a solid attachment:
- Drill a horizontal slit at the barrel tip to create a notch for the rubber band, making sure it’s even and smooth.
- Attach the barrel to the gun body with small screws, countersunk to avoid interfering with the rubber band catch.
- Reinforce the connection with glue or clamps, ensuring the barrel is firmly fixed and properly aligned.
Finally, check that the rubber band fits snugly in the notch and moves freely without obstruction. These reliable attachment methods keep your rubber band gun ready to fire.
Glue the Clothespin Trigger on Your Rubber Band Gun
Since the clothespin serves as your rubber band gun’s trigger, you’ll need to attach it securely to the designated spot on the gun body. Apply a strong, quick-drying glue to the clothespin’s back, then position it carefully so it opens and closes smoothly.
Use a clamp or a weight to hold it firmly in place while the glue cures. Just be careful not to apply too much glue, as excess can seep out and hinder the clothespin’s movement.
Wait at least 30 minutes before handling to ensure a strong bond. It’s worth the wait to make sure your trigger works perfectly!
| Step | Tip |
|---|---|
| Apply glue | Use a quick-drying adhesive |
| Position clothespin | Align for smooth opening |
| Secure with clamp | Hold firmly until glue sets |
| Wait | At least 30 minutes before use |
Load Rubber Bands and Test Your Rubber Band Gun
With the clothespin trigger firmly glued and set, you’re ready to load your rubber band gun. To load rubber bands properly, stretch each band from the barrel notch to the clothespin trigger, making sure it rests securely in the notch. This prevents jams and misfires.
Follow these steps to load and test your rubber band gun effectively:
- Use lightweight rubber bands to avoid damaging the gun or causing injury.
- Load rubber bands only in the designated barrel notch for smooth firing.
- Test the gun by pressing the clothespin trigger with your thumb and observe the rubber band’s flight.
You can adjust the tension by changing the number or stretch length of bands to get the shooting power you want. Give it a try and see what works best for you!
Frequently Asked Questions
How to Make a Rubber Band Gun Easy?
You’ll start by drawing and cutting a simple wooden gun shape, sanding edges smooth.
Then, drill a hole for a clothespin, attach it as the trigger, secure a rubber band, and test by firing safely.
It’s pretty straightforward and fun to make! Just take your time with each step, and you’ll have a working rubber band gun in no time.
What Is the Simplest Gun Ever Made?
The simplest gun ever made is a basic rubber band gun using just a craft stick and a rubber band. You stretch the band over the stick and flick it to launch.
It’s super easy—no extra parts or complex assembly needed. Just grab what you have and you’re good to go!
What Rubber Band Gun Is Most Powerful?
Think of a mighty bow ready to release its arrow—that’s the most powerful rubber band gun. You’ll want one with a long barrel, thick elastic bands, and a sturdy trigger to shoot with maximum force and precision.
It’s all about getting that perfect combination. The longer the barrel, the better the aim. And thick bands? They pack more punch.
What Is the Ideal Age for a Rubber Band Gun?
The ideal age for a rubber band gun is around 6 and up. You should supervise younger kids closely, making sure they’re mature enough to handle small parts safely and understand how to use it responsibly.
It’s all about making sure they play safe. Plus, teaching them how to use it the right way helps prevent any accidents. So, keep an eye on the little ones!
Conclusion
Now that you’ve built your rubber band gun, you might wonder if it really works as well as you hoped. The truth is, your design’s success depends on how well you followed each step, especially the trigger and barrel notches.
With patience and precision, you’ve created a fun, safe toy that shoots rubber bands effectively. Keep experimenting with different designs—each try proves that creativity and careful craftsmanship make all the difference.
Making a rubber band gun is all about attention to detail and enjoying the process. So, don’t be afraid to tweak your rubber band gun or try new techniques. Every attempt helps you improve your skills and makes your rubber band gun shoot better and more reliably. Have fun, stay safe, and keep building!