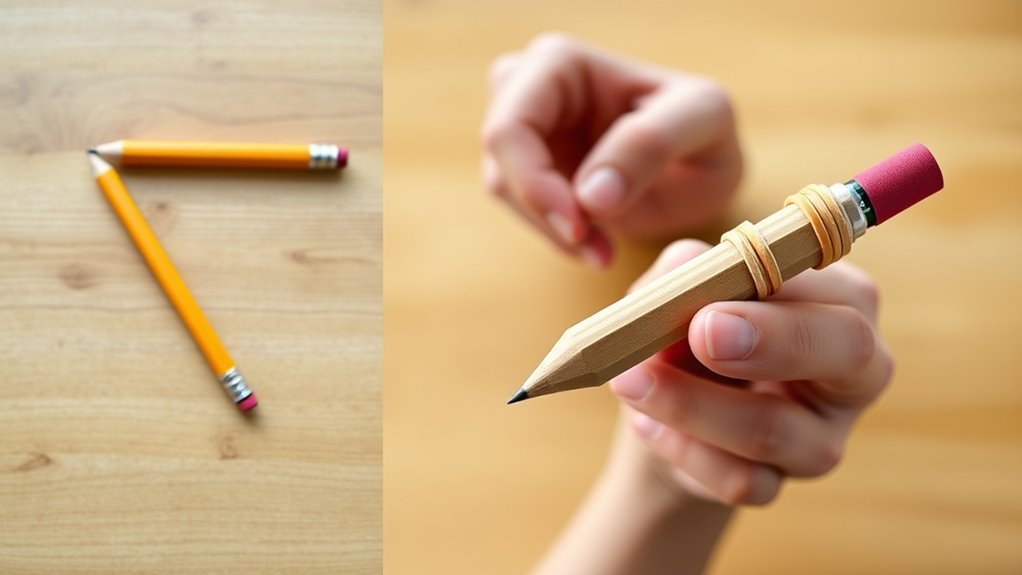
How to Make a Pencil Gun in 3 Easy Steps
To make a pencil gun, first gather a Paper Mate .7 mechanical pencil, a strong spring, and a Bic .9 eraser. These simple items will help you create a fun and functional pencil gun in just a few easy steps.
Start by disassembling the pencil. Unscrew the tip and carefully remove the internal parts. This part is key to getting everything ready for your build.
Next, insert the spring into the end piece and secure it inside the lead holder. Make sure to reassemble everything tightly so your pencil gun works properly.
Finally, load the eraser firmly into the open end and press to launch. Keep going to discover how to adjust and perfect your pencil gun’s performance. It’s a cool little project that’s both creative and satisfying!
Key Takeaways
- Disassemble a mechanical pencil by removing the tip, eraser holder, lead holder, and end screw-in piece carefully.
- Insert a spring into the end part and secure it inside the lead holder to enable the firing mechanism.
- Reassemble all components tightly, ensuring smooth internal movement and proper alignment.
- Load a small eraser firmly into the open end of the pencil for use as a projectile.
- Test by pressing the eraser end to launch, then adjust spring tension and eraser positioning for better performance.
Gather Materials and Disassemble Your Pencil Gun Components
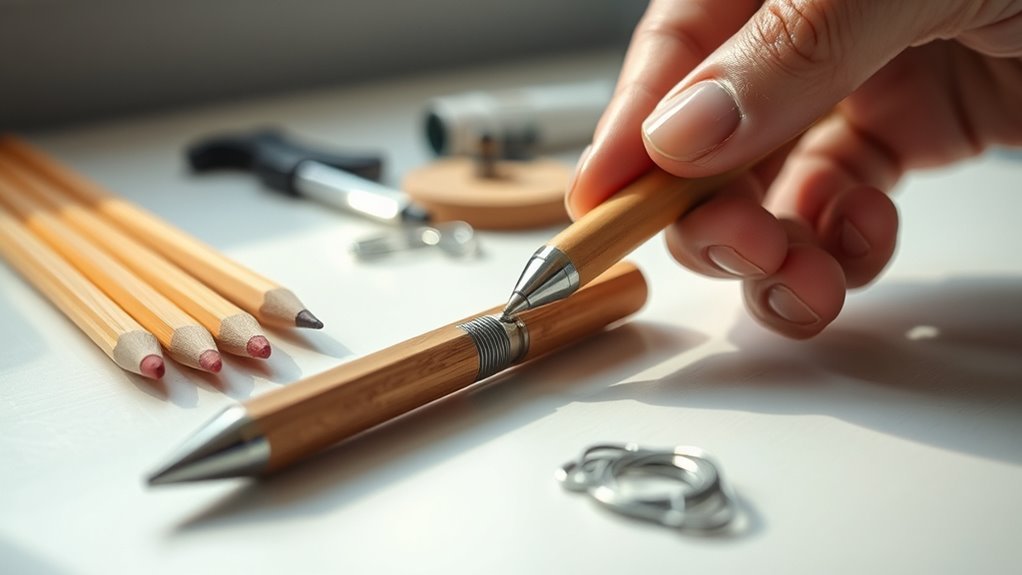
Before you begin, gather at least one Paper Mate .7 mechanical pencil, a pen with a strong spring, and Bic .9 erasers.
With your mechanical pencil in hand, carefully unscrew the tip to access its internal components. Remove any remaining lead inside; this clears the way for smooth disassembly.
Gently unscrew your mechanical pencil’s tip and clear out any lead for easy disassembly.
Inside, you’ll find three main parts: the darker section holding the eraser, the lead holder, and the end screw-in piece. Gently pull off the end part—it might take some patience, but this step is vital to fully disassemble your pencil.
Taking your time ensures you keep all components intact, setting you up perfectly for the next phase. By disassembling your mechanical pencil carefully, you prepare the essential pieces needed for your pencil gun project.
Install the Spring and Assemble Your Pencil Gun
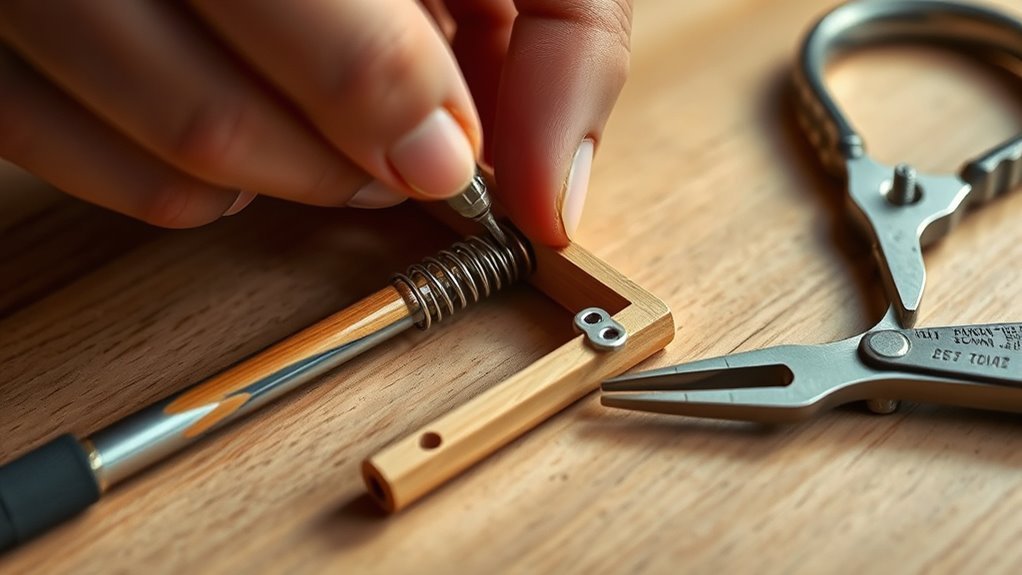
Once you have your pencil components ready, start by inserting the spring into the disassembled end part. Make sure it fits snugly to avoid any mishaps during use.
Secure the spring inside the lead holder using glue or tape. This will prevent it from slipping out during operation.
Next, carefully assemble the internal parts by sliding them back into the pencil’s main body. Take your time to guarantee everything aligns perfectly for smooth movement.
Test the spring mechanism by pressing it. It should compress and release effortlessly, confirming proper function.
Finally, reattach the end screw-in part tightly to complete the assembly. Following these steps guarantees your pencil gun is correctly assembled and ready for the next phase of loading and testing.
Load the Eraser and Test Your Pencil Gun
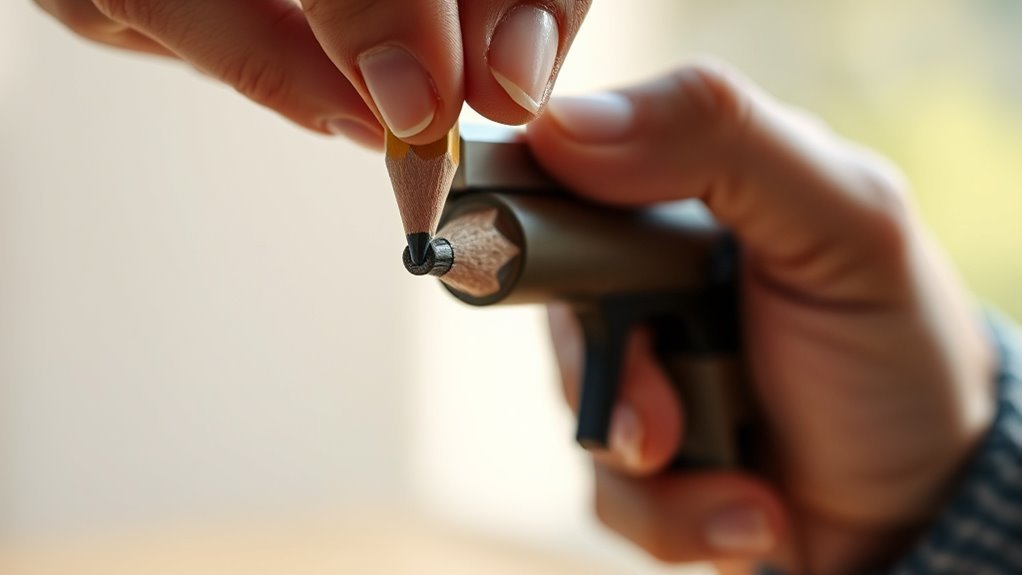
Since the tip of your pencil has been removed, insert the Bic eraser firmly into the open end. You want to load the eraser straight and secure for the best shot.
Push it in until it’s snug, making sure it’s perfectly aligned. Now, it’s time to test your pencil gun.
Press the eraser end to launch your projectile. If your shot feels weak or off, try adjusting the spring tension or repositioning the eraser for better distance and accuracy.
| Step | Action |
|---|---|
| 1 | Insert Bic eraser firmly |
| 2 | Align eraser straight |
| 3 | Press eraser to test launch |
| 4 | Adjust spring or eraser |
Load carefully, then test to perfect your pencil gun’s performance!
Frequently Asked Questions
What Is the Simplest Gun Ever Made?
The simplest gun ever made is a basic blowgun. You just need a tube and your breath to launch small darts or projectiles.
It’s easy to build, uses minimal parts, and works purely by air pressure. Pretty straightforward, right?
How Do I Make My Own BB Gun?
You’ll need a mechanical pencil or pen with a spring. Carefully disassemble it, then insert a strong spring.
After that, reassemble it securely. Load a BB, then press or flick the mechanism to shoot.
You can adjust it for better accuracy as needed. It’s pretty simple once you get the hang of it!
Is a Pen Gun Illegal?
Yes, a pen gun is often illegal because it resembles a firearm and may be classified as a weapon.
You should check your local laws carefully before making or possessing one to avoid serious legal trouble.
It’s always better to be safe and informed than to risk running into legal issues.
What Is a Pencil Gun?
A pencil gun’s a tiny launcher you hold like a pencil, snapping a spring to shoot a small eraser or projectile.
You’ll feel the tension release as it shoots forward, like a mini slingshot in your hand.
Conclusion
Now that you’ve assembled your pencil gun, you’re ready to have some fun—safely, of course! Remember, practice makes perfect, so take your time to load and test it carefully.
With a little patience, you’ll master the steps in no time. Just be sure to handle your creation responsibly and respect others around you.
Enjoy your new pencil gun and happy shooting! Making a pencil gun is a simple and fun project that anyone can try. By following the easy steps, you not only build something cool but also learn a bit about creativity and patience. So keep practicing, stay safe, and have a blast with your pencil gun!