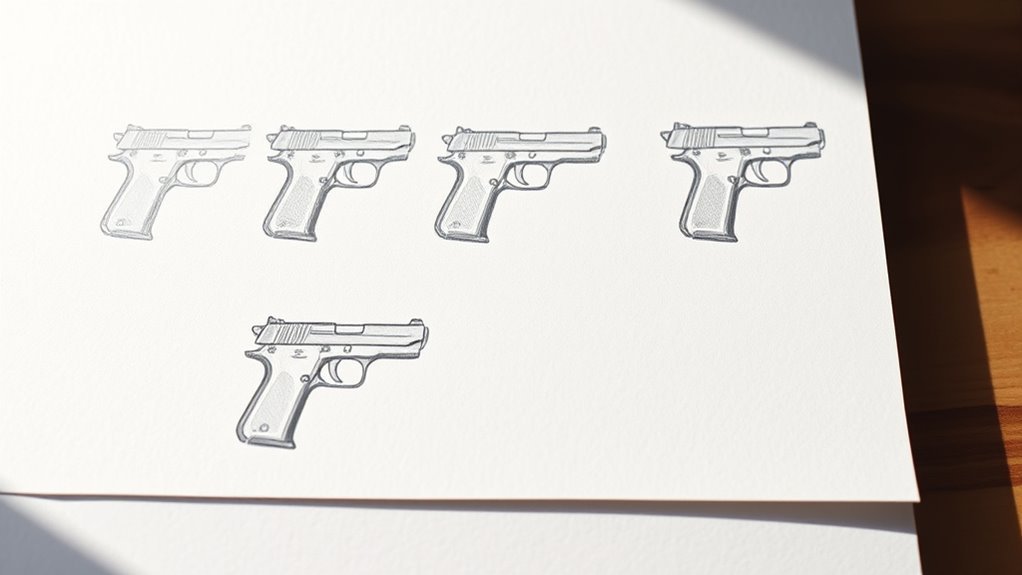
How to Draw a Gun in 5 Easy Steps
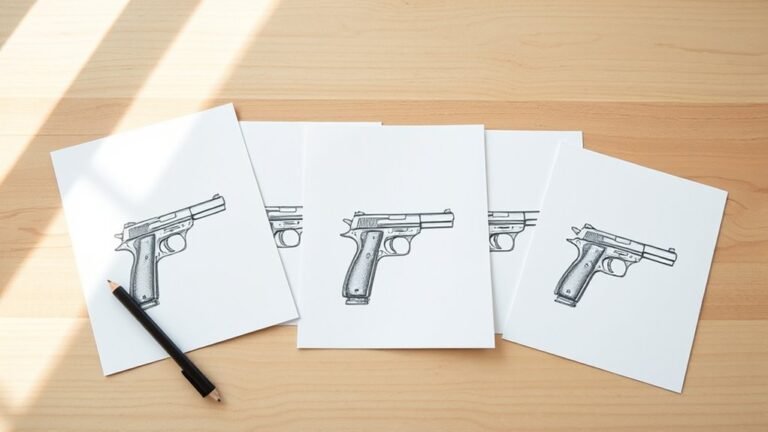
Start by sketching the basic gun shape with two rectangles forming an L-shape and adding a trigger area. This simple foundation helps you get the proportions right from the beginning.
Next, outline the slide, barrel, and frame, ensuring proper alignment. It’s important to keep everything balanced so your drawing looks realistic.
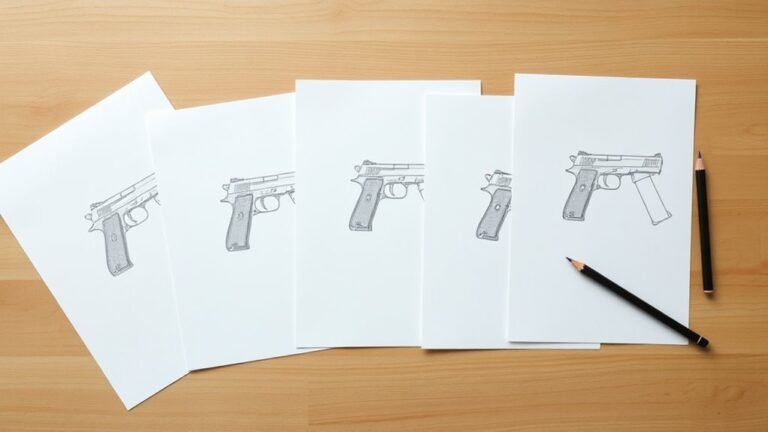
Then, draw the grip, trigger, and magazine with rounded edges and details like the magazine release. These small touches make your gun sketch more authentic and interesting.
Add sights, hammer, and small finishing details like screws. These elements add character and depth to your drawing.
Finally, shade the gun with flat colors and shadows to give it depth. Keep going to discover how each step brings your drawing to life. Trust me, with just a few easy steps, you’ll have a solid gun drawing in no time!
Key Takeaways
– Start with two angled rectangles to outline the basic gun shape and mark the trigger area with a small rectangle and oval.
This helps set up the main parts quickly and gives you a solid foundation to build on.
– Add the slide on top with serrations, sketch the barrel extending forward, and draw the frame beneath for structure.
These parts start bringing the gun to life and give it that recognizable silhouette.
– Create a rounded rectangular grip, draw the trigger guard loop, place the trigger inside, and extend the magazine below the grip.
Make sure the grip looks comfortable to hold, and the trigger is nicely positioned inside the guard.
– Include the front and rear sights on the slide, add the hammer at the back, and refine details like screws and pins.
These little touches really add realism and make your drawing feel complete.
– Apply flat base colors, add simple shadows on recessed areas, and use shading to enhance depth while keeping a comic style.
Don’t overdo it — just enough shading to give your gun some pop without losing that clean, comic look.
Start By Sketching the Basic Gun Shape and Proportions
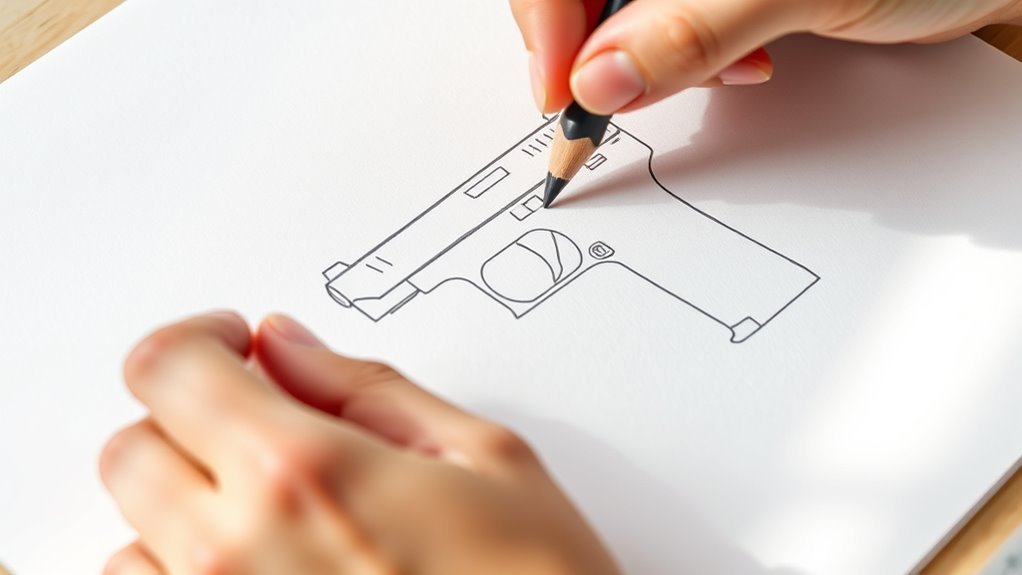
Before adding any details, start by sketching the gun’s basic shape using two rectangles arranged in an angled L-shape. This simple structure helps you establish the firearm’s overall outline quickly.
Begin by sketching two rectangles in an angled L-shape to capture the gun’s basic outline.
Once you’ve drawn these rectangles, you make the angled L-shape more defined by positioning the longer horizontal rectangle on top and the shorter vertical one below it. Inside the inner corner where these rectangles meet, draw a smaller rectangle topped with an oval to mark the trigger area.
Next, divide the top horizontal rectangle in half to guide the placement of the slide and sights later on. Finally, add a perpendicular line about one-third down the lower part of the top rectangle to help you position the barrel and other key features.
This basic framework makes your drawing balanced and accurate. It’s a great way to keep things simple before moving on to the finer details.
Add Key Gun Components: Slide, Barrel, and Frame
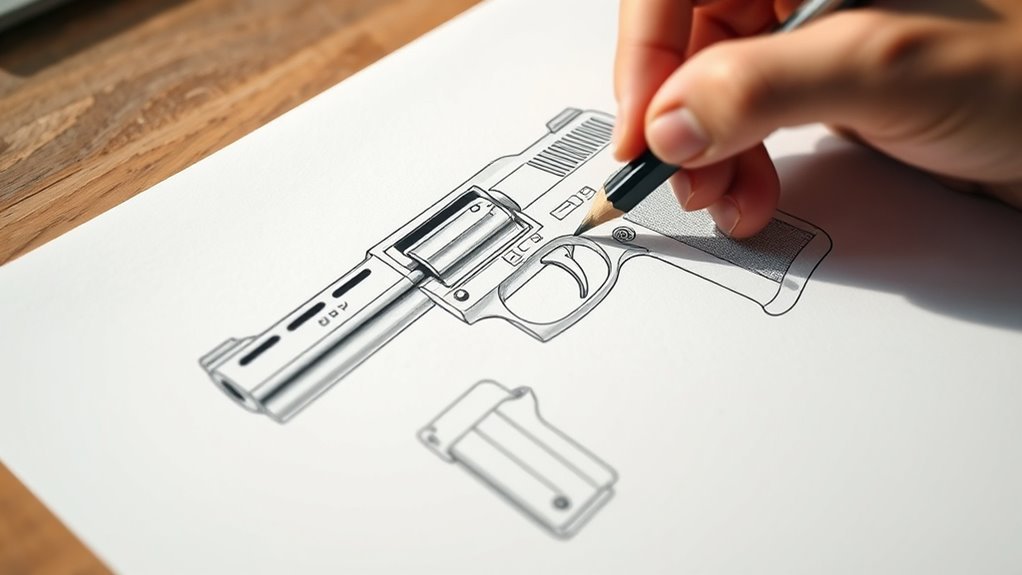
With the basic gun shape laid out, you can now start adding the main components that bring your drawing to life: the slide, barrel, and frame. Begin by outlining the slide as a rectangular shape positioned on top of the frame.
Add serrated areas on the slide to indicate grip for manipulation, making sure it fits proportionally. Next, draw the barrel extending from the front of the slide, aligning it with the slide’s muzzle to form the firing component.
Finally, sketch the frame beneath the slide as the core structure that supports all parts. Keep the slide, barrel, and frame properly aligned and proportioned to guarantee your gun drawing looks realistic and cohesive.
This foundation sets you up perfectly for the next steps. Just take your time with these parts—they really bring your drawing together.
Draw the Gun’s Grip, Trigger, and Magazine
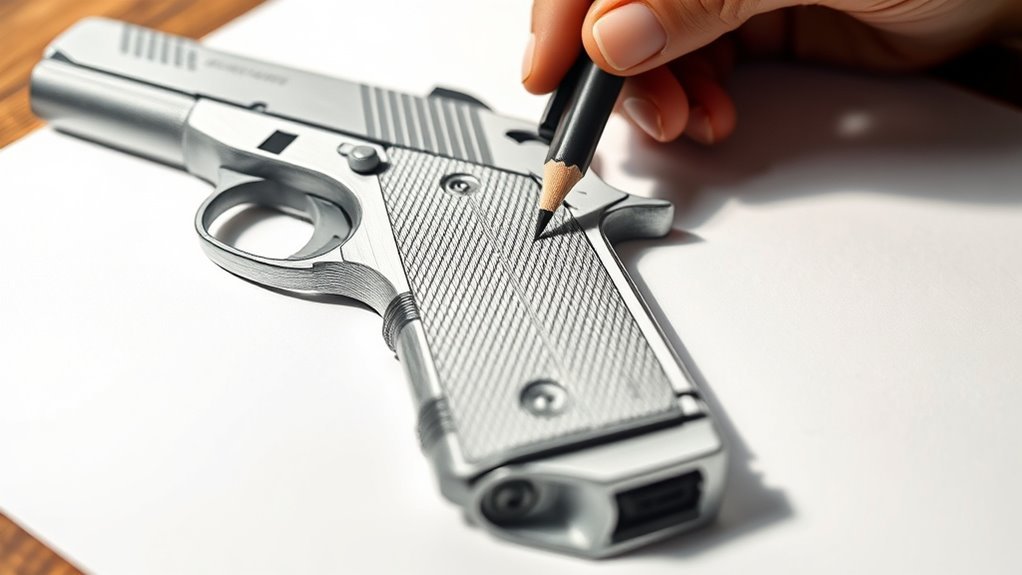
As you add the grip, start by drawing a rectangular shape with rounded edges that tapers slightly toward the bottom to give it a realistic form. Next, sketch the trigger guard as a curved line connecting smoothly to the grip’s base, creating a protective loop.
Inside this guard, draw the trigger as a small, elongated oval or curved triangle, centered for accuracy. Then, extend the magazine downward from the grip, shaping it narrower at the bottom and adding a base plate to finish.
Don’t forget to include the magazine release button on the grip’s side and add texture lines to suggest the grip material. These elements complete the essential lower part of the gun, making your drawing both functional and visually accurate before moving on.
Add the Sights, Hammer, and Final Gun Details
When you add the sights, start by drawing the front sight sloped forward on the slide’s top. Then, add the rear sight with slight slopes on both ends to help with alignment.
Next, place the hammer at the back of the slide. Give it a flat top and a curved end to keep the stylized look consistent.
Don’t forget to include small details like screws or pins near the front sight, rear sight, and hammer. These little touches really boost the realism.
Make sure these components fit proportionally and blend smoothly with your gun’s outline. Finally, refine all these elements with bold outlines and consistent shading to complete the stylized effect.
This way, your drawing will look polished and visually balanced.
Shade the Gun With Flat Colors and Add Shadows for Depth
A strong base of flat colors gives your gun drawing a bold, stylized look that highlights its shape and form. Start by applying flat colors evenly across the entire gun to emphasize its structure.
Flat colors establish a bold, stylized foundation that brings out your gun drawing’s shape and form.
Next, add shadows using a darker shade of your base color to create depth, focusing on areas less exposed to light, like the serrations on the slide and the underside of the grip. Keep your shadows simple and flat—avoid complex gradients—to maintain a comic-inspired aesthetic.
Build shadows gradually, layering light shading first and intensifying it in key spots for contrast. This approach enhances the three-dimensional feel without complicating the design.
It makes your gun look dynamic and visually impactful while staying true to the stylized look created by flat colors and carefully placed shadows.
Frequently Asked Questions
How to Draw a Glock 19 Step by Step?
Start by drawing a rounded rectangle for the body. Add the slide on top with serrations, then sketch the grip and trigger guard.
Include sights and magazine details. Finish with shading to highlight metallic textures and depth.
It’s easier if you take it step by step, just like this. You’ll see how the shape comes together pretty quickly!
Is It Hard to Draw a Gun?
It’s not too hard to draw a gun if you break it down into simple shapes and practice regularly.
You’ll get better with patience, focusing on basic forms before adding details and refining proportions step by step.
Just take it slow and keep at it—you’ll see improvement in no time!
What Are Basic Shapes for Gun Drawings?
You don’t need a magic wand—just rectangles, circles, and ovals! These basic shapes lay the groundwork, letting you sketch the gun’s body, barrel, and trigger with ease.
It’s a simple way to start before adding all those fancy details. Trust me, breaking it down makes the whole process way less intimidating.
How Do You Draw a 5?
Start by drawing a small horizontal line at the top, then curve down smoothly to form the upper loop.
Next, extend a vertical line down from the loop’s right end, connecting it to a bottom horizontal stroke. Keep it balanced.
It’s all about making sure the shapes flow nicely together. Just take it step by step!
Conclusion
So, now that you’ve mastered drawing a gun in just five easy steps, you’re officially ready to become an artist—or maybe a cartoonist for action movies. Who knew something so complex could be boiled down so simply?
Just remember, the real challenge isn’t shading or proportions; it’s resisting the urge to draw one on every notebook page. Seriously, once you get the hang of these drawing techniques, your sketchbook might get a little crowded.
Congrats—you’ve got skills, and now you’ve got a new excuse for doodling during meetings! With these simple steps, drawing a gun has never been easier or more fun. Keep practicing, and soon you’ll be adding your own style and details to every sketch. Drawing a gun doesn’t have to be intimidating anymore!