How Do You Make a Rubber Band Gun in 7 Simple Steps?
You start by gathering materials like plywood, a clothespin, rubber bands, and basic tools. These are the essentials you need to make a rubber band gun that works well and feels sturdy.
Next, design and trace your gun shape onto the plywood.
Then, carefully cut and sand the parts for smooth edges. This step is important to avoid splinters and make your gun look neat.
Assemble the trigger mechanism using popsicle sticks and attach the clothespin at the rear.
Secure a rubber band between the barrel notch and clothespin. This will act as the firing mechanism.
Finally, load the band, test your gun’s firing, and adjust as needed for the best shot.
Keep going to unbolt detailed tips for each step.
Key Takeaways
– Gather plywood, clothespin, rubber bands, glue, saw, drill, and safety gear before starting the project.
Make sure you have everything ready so you don’t have to stop midway. Safety first!
– Sketch and trace your gun design accurately onto plywood, including the handle, barrel, and trigger placement.
Take your time with this step because a good design means a better rubber band gun.
– Cut out the gun shape, drill the trigger hole, and sand all edges smoothly for comfort and safety.
Smooth edges make it safer and more comfortable to hold.
– Assemble the trigger mechanism using popsicle sticks and a nail for pivot, securing rubber bands for tension.
This part can be a bit tricky, but it’s what makes your gun fire.
– Attach the clothespin and notch, load rubber bands properly, then test and adjust the trigger for smooth firing.
Keep tweaking until it shoots just right!
Gather Your Materials and Tools
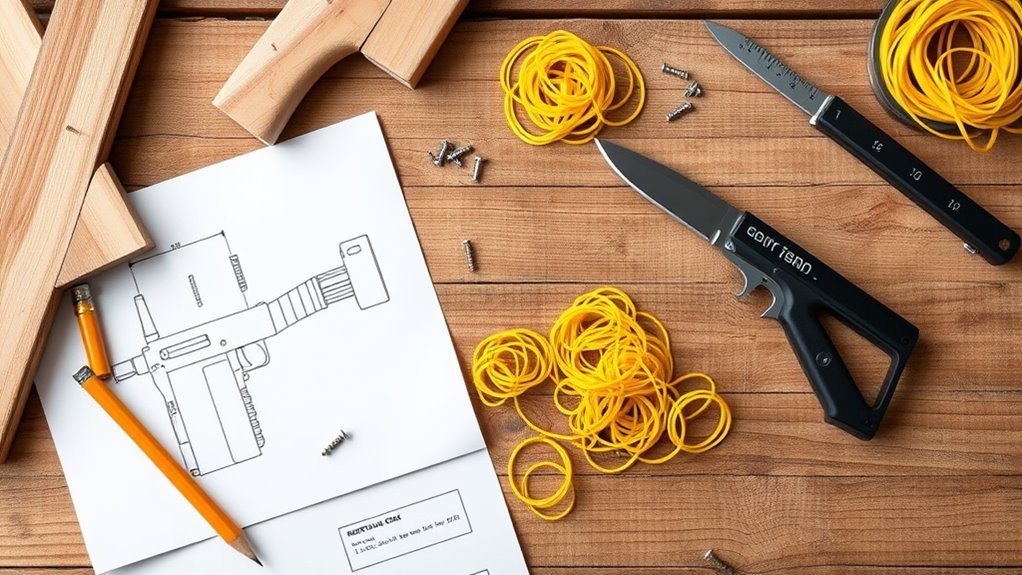
Before you begin cutting or drilling, gather all the materials and tools you’ll need to make your rubber band gun. We’ve got plywood sheets about 6×12 inches, around ½ to ¾ inch thick, perfect for crafting the gun shape.
You’ll also need a clothespin to hold the rubber band and act as the trigger mechanism. Don’t forget rubber bands, glue, and clamps to assemble everything securely.
A clothespin serves as the trigger, while rubber bands, glue, and clamps keep your gun together.
A drill with a 1-inch hole saw bit and a jigsaw or handsaw are essential for shaping the gun. Safety gear like goggles and gloves will protect you while you work.
Optional tools, like a utility knife, help notch the barrel so you can hold the rubber band properly before you pull the trigger.
Design and Trace the Gun Shape
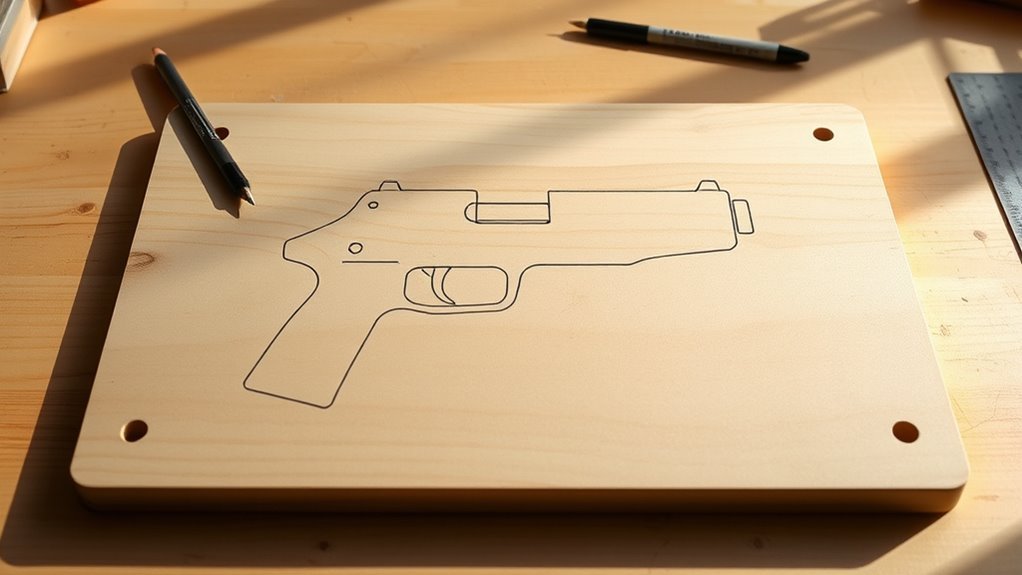
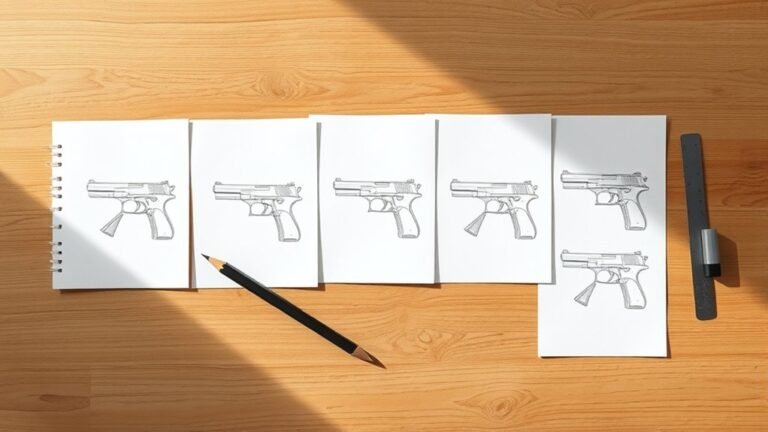
Although it might seem simple, designing and tracing your rubber band gun shape carefully will save you time and frustration later. Start by sketching the outline of your rubber band gun on paper, including the handle, barrel, and trigger area.
Use a ruler and pencil to create precise, symmetrical lines that fit your intended size. Once you’re happy with the design, trace the shape onto a piece of plywood or craft wood, marking all cut lines clearly.
Don’t forget to include space at the rear for attaching the clothespin firing mechanism. Before moving on, double-check your traced pattern for accuracy to ensure your rubber band gun functions properly and looks great once assembled.
Cut Out the Gun Body
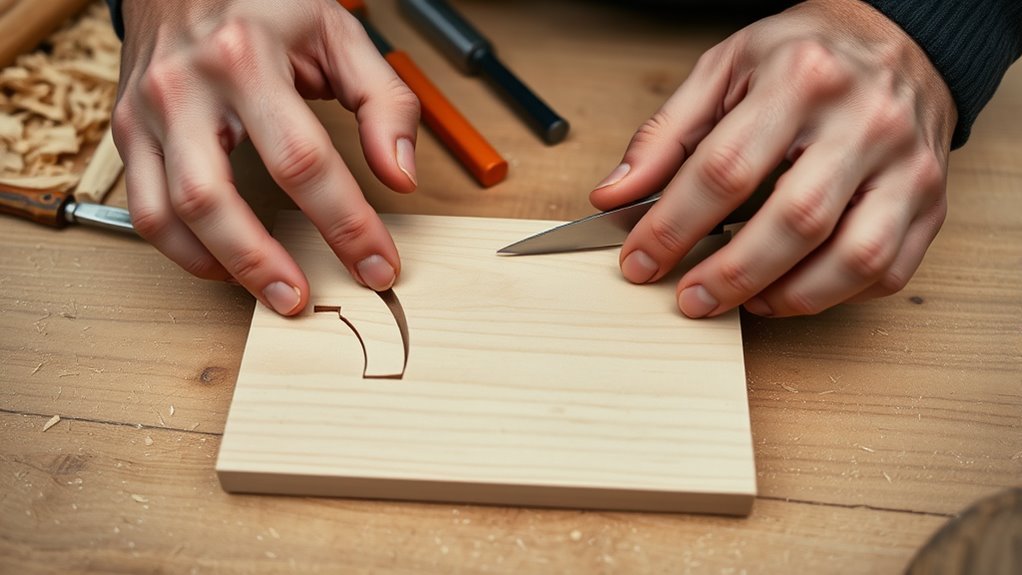
Start by tracing your gun shape onto plywood, making sure to include the handle and barrel.
Next, carefully cut along the lines using a saw for clean edges. Don’t forget to drill a centered hole near the rear for the trigger before sanding everything smooth.
Trace Gun Shape
When you trace the shape of your rubber band gun onto plywood, focus on making the handle and barrel comfortable to hold and proportional. Start by sketching the main body, handle, and barrel notch with a pencil.
Here’s how to guarantee your design fits well: keep the handle wider for a secure grip, so your rubber band guns feel sturdy. Make the barrel long enough to hold the rubber bands without slipping.
Use a ruler or straight edge to draw clean, straight lines, especially around the handle and barrel. Double-check your traced outline for smoothness and accuracy before cutting.
This careful tracing sets the foundation for a precise cutout, ensuring your rubber band gun works perfectly. Taking a little extra time here really pays off!
Drill Trigger Hole
How do you create the perfect trigger hole for your rubber band gun? Start by marking a 1-inch diameter circle at the trigger position on your traced gun shape.
Secure the plywood firmly with clamps to keep it steady. Then, select a hole saw bit that matches the 1-inch mark and carefully drill through the plywood.
Always wear eye protection and handle the drill with care to avoid splintering or injury.
| Step | Action |
|---|---|
| Mark | Trace 1-inch circle for trigger |
| Secure | Clamp plywood firmly |
| Drill | Use matching hole saw bit |
Cut With Saw
After drilling the trigger hole, you’ll want to cut out the gun body by carefully following the traced outline on your plywood or laminated sheet. Use a jigsaw or handsaw to make clean cuts along the lines.
Keep your saw steady and work slowly, especially around curves, to maintain accuracy.
Here’s how to proceed:
- Cut out the handle and barrel sections separately if your design requires it.
- Take small, controlled cuts on detailed or curved areas to avoid mistakes.
- After cutting, sand all edges thoroughly to remove splinters and create a smooth finish for safe handling.
Sand and Smooth All Edges
Grab some fine-grit sandpaper and carefully smooth all edges and surfaces to prevent splinters and rough spots. Pay special attention to the trigger area and sharp corners to ensure safe, comfortable handling.
After sanding, wipe down the parts to remove dust and prepare for assembly. This way, everything will fit together nicely and feel great to use.
Sanding Techniques
Although sanding might seem tedious, it’s essential to smooth all edges and surfaces of your plywood rubber band gun to remove splinters and rough spots. Proper sanding guarantees comfortable handling and safe play, especially around the handle, barrel, and trigger.
Follow these steps to get the best finish:
- Use fine-grit sandpaper on all edges and flat surfaces, focusing on rounding the handle and barrel for comfort.
- Sand the trigger area carefully to eliminate any sharp points that might cause injury.
- Employ a sanding block for even pressure on flat parts, then wipe off dust with a damp cloth to prep for painting or sealing.
Safety Precautions
When you sand and smooth all edges of your rubber band gun, you reduce the risk of splinters and injuries during use. Always sand every cut edge of the wood or plywood, focusing especially on areas like the trigger and handle for a comfortable grip.
Use fine-grit sandpaper to achieve a smooth finish. Don’t forget to wear safety goggles and a dust mask while sanding to protect your eyes and lungs from wood dust.
Make sure your workspace is well-ventilated to avoid inhaling dust and keep the environment safe. After sanding, wipe down all surfaces with a damp cloth to remove leftover dust before you start assembling your rubber band gun.
Taking these safety precautions ensures a safer, more enjoyable building experience. It’s worth the extra effort to keep things safe and comfortable!
Edge Finishing
How do you guarantee your rubber band gun feels safe and comfortable in your hands? The key is in edge finishing. Sanding and smoothing all edges removes splinters and sharp points that could cause cuts or discomfort.
Here’s how to do it effectively: Sand all edges and surfaces with fine-grit sandpaper, focusing on the handle, trigger area, and barrel notch to ensure smoothness where you grip and operate the gun.
Use a sanding block or handheld sander for even, consistent edges around the entire gun shape. After sanding, wipe away dust and debris with a damp cloth for a clean, polished finish.
Taking these steps before assembly guarantees safety, comfort, and a professional look for your rubber band gun. It’s really worth the effort!
Assemble the Trigger Mechanism
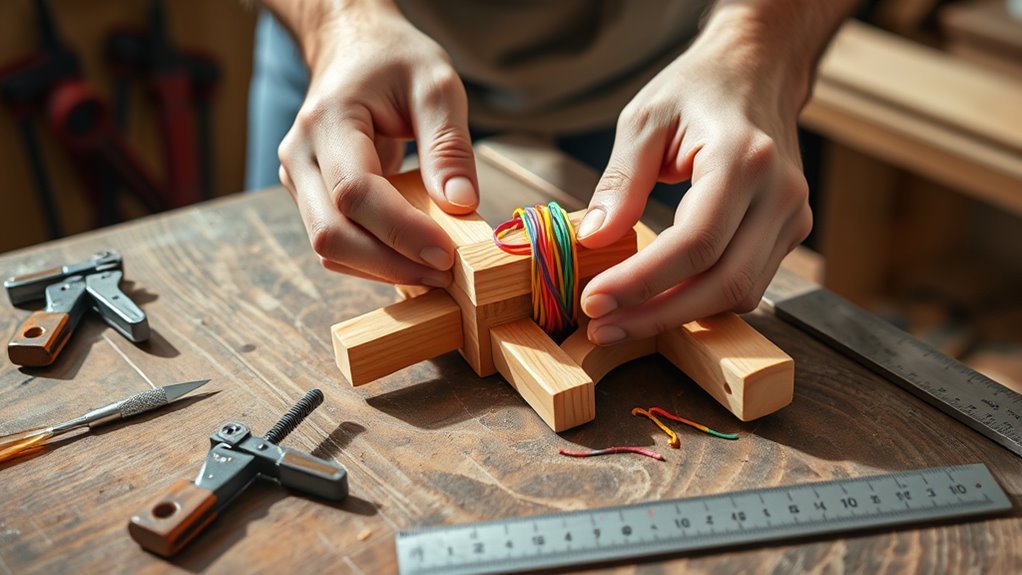
Before you attach the trigger to the gun body, glue two small popsicle sticks together to create a sturdy trigger that pivots on a nail or pin. Once dry, position the trigger on the gun body and secure it with a nail or pin, ensuring it pivots smoothly when pressed.
Next, place the sear piece over a nail; this will hold the rubber band in place until you pull the trigger. Secure a rubber band around both the trigger and a fixed nail or hook to create the tension needed for launching.
Finally, test your mechanism by pressing the trigger. It should pivot freely and release the rubber band easily, confirming your trigger mechanism is assembled correctly and ready for the next step.
Attach the Clothespin and Rubber Band Holder
After confirming your trigger mechanism pivots smoothly and releases the rubber band as intended, it’s time to attach the clothespin and rubber band holder to complete the firing setup.
Start by securing the clothespin to the rear end of the plywood gun body with strong glue. Use clamps to hold it aligned perfectly while the glue sets.
Next, create a small notch at the barrel tip by cutting a groove to hold the rubber bands in place.
Finally, rest one end of the rubber band in the barrel notch, stretch it back, and secure the other end inside the clothespin’s mouth.
Here’s the quick rundown:
- Glue and clamp the clothespin at the rear for maximum hold.
- Cut a notch at the barrel tip for band placement.
- Attach the rubber band between notch and clothespin securely.
Let the glue cure fully before moving on.
Load and Test Your Rubber Band Gun
Once you’ve let the glue cure fully, you can load your rubber band gun by stretching a rubber band and placing one end securely into the barrel notch. Next, pinch the rubber band with the clothespin or trigger mechanism to hold it firmly in place.
Make sure the band is properly seated in the notch so it won’t slip when you fire.
To test your gun, press down on the clothespin or trigger to launch the rubber band. If the band doesn’t shoot far enough or slips, adjust the tension by stretching it further or repositioning it in the notch.
Keep testing and tweaking until your rubber band gun fires smoothly and accurately every time.
Frequently Asked Questions
What Are Rubber Band Guns Made Of?
Rubber band guns are made of materials like wood, plywood, or plastic. You can also use craft sticks or popsicle sticks.
These materials make the gun durable and safe while allowing you to easily attach rubber bands and trigger mechanisms. It’s pretty simple to work with them, which is why they’re popular choices.
How to Make a Rubber Band Shoot Far?
To make your rubber band shoot far, stretch it tightly and pull it back fully. Aim carefully and use lightweight projectiles to get the best distance.
Keep the barrel straight and stable. Also, use a strong trigger mechanism to maximize power and distance. It really helps you get that extra reach!
How to Make a Rubber Band Ball Step by Step?
Start by twisting a few rubber bands together to form a small core. Then, stretch and wrap more bands around it tightly, evenly distributing tension until the ball grows to your desired size.
Make sure to keep the bands snug so the ball holds its shape well. When you’re happy with the size, secure the last band firmly. That’s it! You’ve got yourself a rubber band ball.
What Is the Best Rubber Band Gun?
Did you know a well-crafted wooden rubber band gun can shoot rubber bands over 30 feet?
The best one combines sturdy triggers, adjustable tension, and quality bands. This lets you enjoy precise, safe, and durable shooting every time.
Conclusion
Now that you’ve built your rubber band gun, you’re part of a fun tradition—did you know rubber band guns have been popular toys since the 19th century? Making one yourself not only sparks creativity but also improves your problem-solving skills.
Plus, crafting something with your hands can boost your focus and patience. It’s a great way to engage both your mind and your hands in a fun project.
So, enjoy testing your creation safely, knowing you’ve joined millions who’ve turned simple materials into exciting, homemade toys! Building a rubber band gun combines creativity, skill, and a bit of history, making it a rewarding DIY experience. Have fun, and keep exploring new ways to make your rubber band gun even better!