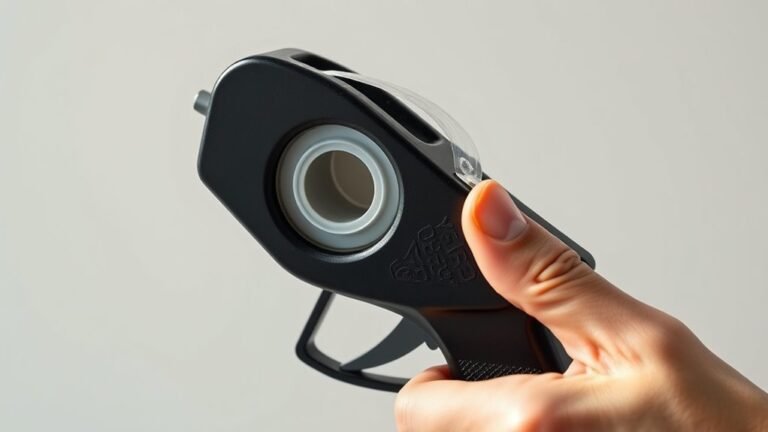
How to Use a Hot Melt Glue Gun in 10 Easy Steps
Plug your glue gun into a grounded outlet, then insert a full-diameter stick while it’s cool. Heat the gun for 3–5 minutes on a heat-resistant surface until the glue softens.
Test the flow on scrap material with short trigger presses. Apply glue to one surface, joining items quickly. Refill by butt-ending new sticks behind partially used ones without removing them.
When finished, unplug and let the gun cool upright with the stick inside. Follow these steps to master smooth, safe gluing and discover tips for perfect bonds.
Key Takeaways
- Insert a full-diameter glue stick into the cold gun’s rear loading chamber before heating.
- Heat the glue gun upright on a heat-resistant surface for 3–5 minutes until glue softens.
- Squeeze the trigger gently to test and control glue flow on scrap material before starting.
- Apply glue in short controlled beads or steady seams, adjusting trigger pressure as needed.
- Unplug the gun immediately after use and let it cool completely before storing with stick inserted.
Plug In Your Glue Gun Safely
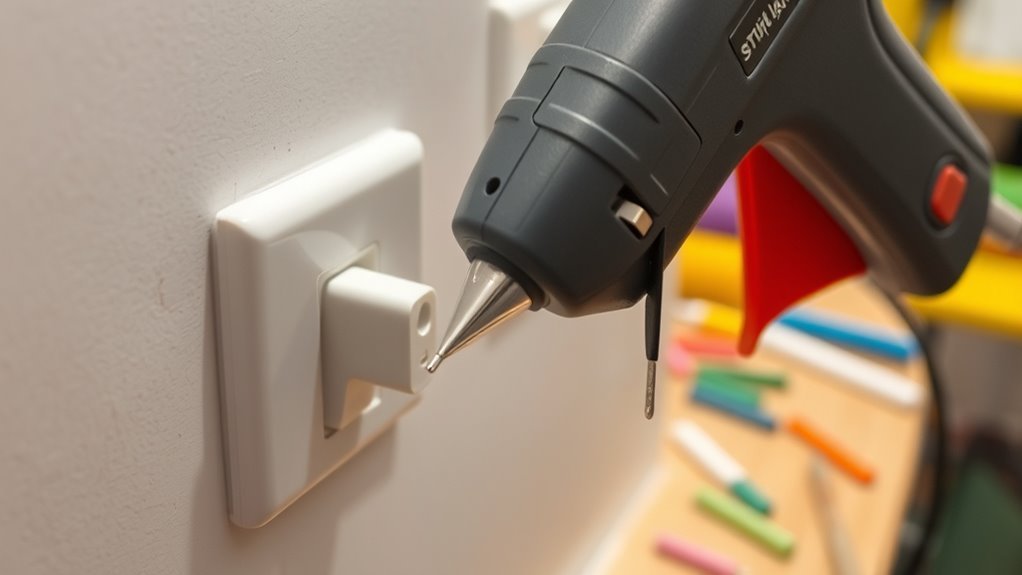
Before plugging in your glue gun, make sure you use a properly grounded outlet or a heavy-duty extension cord rated for its wattage. This helps guarantee safe and consistent power.
When you plug the glue gun in, place it upright on a heat-resistant surface or use its metal stand. This will prevent melted-glue damage and accidental burns.
Allow the glue gun to heat for about 3 to 5 minutes, or until you see glue droplets forming at the nozzle. Sometimes, an LED indicator will signal it’s ready.
Keep the gun attended while it’s plugged in. Never leave it energized for more than 30 minutes unattended, especially around children or flammable materials.
Once you’re done, unplug the gun immediately and let it cool completely before storing. It’s best to leave the glue stick inserted until next time.
Insert the Glue Stick the Right Way
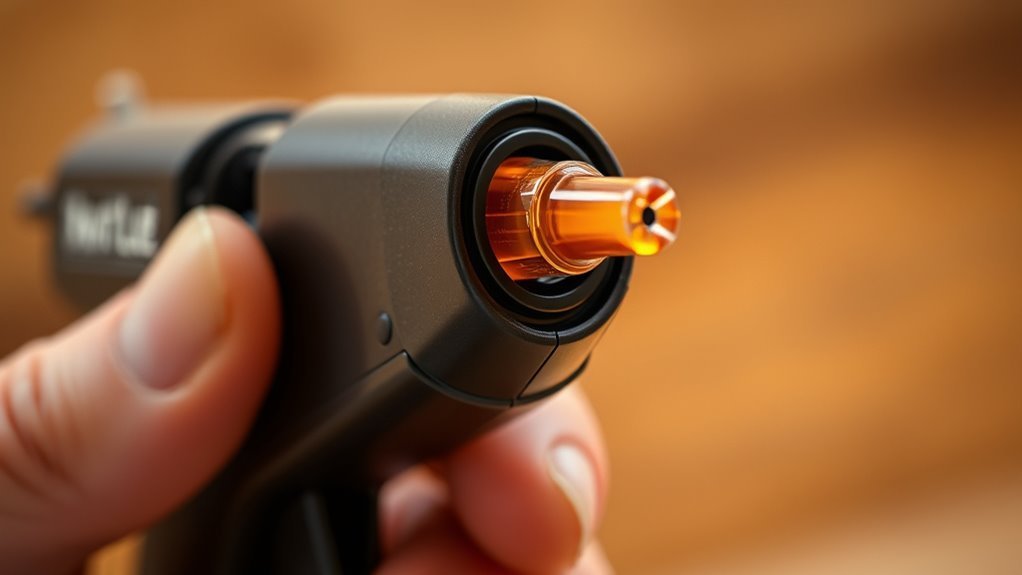
To get started, make sure your glue gun is unplugged and cool. Then slide a full-diameter glue stick into the rear loading chamber until it stops.
Push the stick gently but firmly forward. Some models require a slight trigger squeeze to engage the feed mechanism.
Don’t remove a partially used stick. Instead, insert a new one behind it when about 25% remains. This prevents feeding issues.
Keep the stick inserted while heating so it melts and feeds smoothly when you first squeeze the trigger.
Storing the gun with a stick inserted but unplugged and cool keeps it ready and prevents debris from entering.
| Step | Action | Tip |
|---|---|---|
| 1 | Make sure glue gun is cool | Prevent burns |
| 2 | Insert full-diameter stick | Slide until it stops |
| 3 | Push stick firmly | Engage feed mechanism |
| 4 | Don’t remove partial sticks | Add new behind old |
| 5 | Store with stick inserted | Keep feed ready |
Heat the Glue Gun Fully Before Use
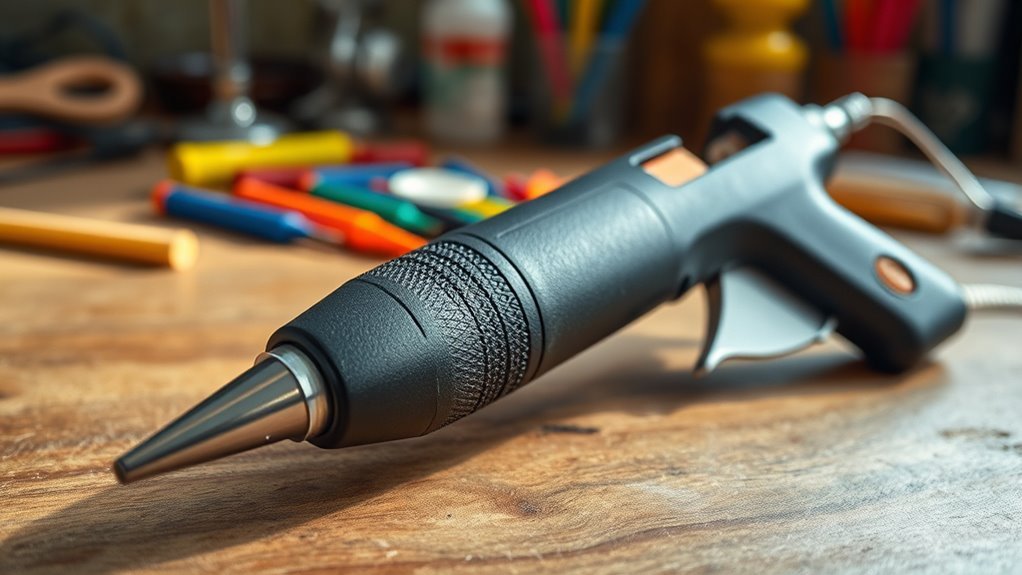
Although you’ve inserted the glue stick while the gun is cold, you need to let it heat fully—usually 3 to 5 minutes—before squeezing the trigger. Place your hot glue gun on a heat-resistant surface and plug it in.
Insert the glue stick cold, then let the gun heat for 3 to 5 minutes before use.
Wait until the glue visibly softens or the indicator LED signals it’s ready. This guarantees the glue melts properly and flows smoothly when you press the trigger.
Using the gun before it’s fully heated can cause poor glue flow, stringing, and weaker bonds. If your hot glue gun features temperature settings, select the right one and allow the gun to stabilize at that temperature for the same 3 to 5 minutes.
Never rush this step—it’s key to achieving strong, clean adhesion every time. Just be patient, and your glue gun will work like a charm!
Try Out the Glue Flow on Scrap Material
Before you start your project, squeeze the trigger on a scrap piece to see how the glue flows. Use short presses to adjust the bead size and get a feel for the gun’s output rate.
This test helps you control glue application and avoid mistakes on your actual work. It’s a simple step, but it makes a big difference!
Testing Glue Flow
You’ll often want to insert a glue stick into the cold gun and heat it for the recommended 3–5 minutes before squeezing the trigger onto scrap material.
Testing glue flow is vital when using a glue gun to guarantee smooth, consistent application. Follow these steps:
- Draw a short bead on scrap and observe whether the glue flows evenly or blobs.
- Note how quickly the bead cools and sets to understand your glue’s open time.
- Practice controlling stringing by lifting the nozzle slowly and dragging the bead back to the gun.
Keep a paper towel or silicone mat under your scrap to catch drips and see how different materials affect glue spread. This testing helps you master flow before your actual project.
Adjusting Trigger Pressure
After testing glue flow on scrap material, focus on adjusting the trigger pressure to control how the glue dispenses. Begin by squeezing the trigger gently; most 7 mm glue sticks feed steadily with light pressure.
If the glue output lags, increase your pressure gradually but avoid forcing it, especially near the end of a stick. Forcing it can strain the mechanism.
Practice short, controlled squeezes to create consistent beads and long, steady squeezes for continuous seams. Remember, high-temp guns usually require firmer, faster trigger action than low-temp models.
Apply Glue to One Surface
Apply small beads of hot glue to just one surface to give yourself a little wiggle room when joining pieces. Press the surfaces together immediately while the glue is still tacky to create a strong bond.
Working quickly guarantees the glue sets properly and holds your materials firmly. So, don’t wait too long—get those pieces together right away!
Use Small Glue Beads
Using small glue beads helps control the amount of adhesive and speeds up curing while preventing seepage. When you use a hot glue gun, applying a small bead about 2–5 mm wide to one surface is key.
Hold the nozzle 5–10 mm from the surface and squeeze the trigger gently to lay a consistent thin line or tiny dots. It’s easier than it sounds once you get the hang of it.
Follow these steps for best results:
- Dab multiple tiny beads spaced 5–10 mm apart on porous or uneven materials to fill gaps without excess glue.
- Work quickly, as small beads set in just a few seconds.
- Test on scrap material to learn your glue gun’s bead size and open time.
This approach guarantees a clean, strong bond without messy overflow. Trust me, it makes your projects look way neater!
Press Surfaces Immediately
Press the glued surface to its mate right away to guarantee a strong bond before the adhesive cools. Apply glue to one surface only—either a small bead for light materials or a longer bead for porous surfaces.
Press surfaces immediately within a few seconds to prevent premature cooling and maximize contact. Hold firmly during the set time until the glue solidifies.
For delicate materials, use a silicone spatula or cloth to press without burns or mess.
| Material Type | Glue Amount |
|---|---|
| Paper/Fabric | Pea-sized dot |
| Wood/Foam | Longer bead |
| Delicate Items | Use cloth/spatula |
| Set Time | Seconds to minutes |
Remember to press surfaces immediately to make certain a lasting, strong bond. It really makes all the difference!
Press Pieces Together Quickly
Because hot glue sets rapidly, you’ll need to work quickly to join pieces while the adhesive is still tacky. To press pieces together quickly and guarantee a strong bond, here’s what you should do:
- Apply a small, even bead of glue and immediately press the pieces together within seconds—hot glue offers little repositioning time.
- Hold the pieces firmly with steady pressure for 10–30 seconds for light materials; heavier items may need longer or clamping.
- For delicate fabrics, use a silicone spatula or cardboard to press and spread glue safely without burning your fingers.
Make sure you align parts precisely before gluing. After setting, avoid stressing the bond until it fully cures to maintain strength.
Just take your time with the alignment since once it’s glued, there’s not much room to fix it!
Add More Glue to the Glue Gun as You Work
Once you’ve aligned and joined your pieces quickly with hot glue, you’ll want to keep the adhesive flowing smoothly. When the visible glue stick reaches about the last 25% and stops feeding properly, insert a new glue stick from the back while the gun is cold or unplugged to avoid a melted mess.
Push the fresh 7 mm glue stick into the feeding channel until it meets the remaining piece. After heating the gun for 3–5 minutes, gently squeeze the trigger to advance both sticks.
If the leftover stub is too short, butt-end a new stick against it and warm briefly so the melted glue bonds them for continuous feeding. Never pull out a partially used stick once heated; leave it in to prevent jams and air gaps.
Refill the Glue Gun Without Removing Partly Used Sticks
When your glue stick is about a quarter left, insert a new stick from the back without pulling out the old one. Make sure the gun is cool before adding the fresh stick, then warm it up to push the new glue into the chamber smoothly.
This method keeps the glue flowing continuously and prevents jams. It’s a simple trick that saves you time and hassle!
Insert New Stick Seamlessly
To keep your glue gun running smoothly, slide a full-diameter glue stick into the rear feed hole while the gun is cold. Do this even if there’s a partially used stick inside. This helps prevent melting or jamming the existing stick.
When inserting a new stick, gently push it behind the partially used one until it engages the feed channel. Don’t force it too hard—that can cause problems.
Follow these steps for seamless insertion:
- Insert a fresh glue stick without forcing it tightly against the old stick.
- Heat the gun for 3–5 minutes, then squeeze the trigger 3–5 times to advance the new stick.
- Confirm the glue flows steadily from the nozzle before continuing your project.
This method keeps your glue sticks feeding smoothly without interruptions. It’s a simple way to avoid jams and keep your work going.
Avoid Removing Partially Used
Although it might be tempting to remove a partially used glue stick, you should avoid doing so to prevent jams and burns. Instead, leave the remaining stick in the glue gun and insert a new one behind it.
Power off the gun or hold it steady to avoid melted glue backflow, then gently squeeze the trigger until the new stick advances and joins the melted residue. If the old stick is shorter than about 25%, insert the new stick and use short trigger presses to push it forward until they meet and the feed mechanism catches.
Never yank out a warm stick, as this can cause clogs or burns. Store your glue guns with a stick inserted and unplugged to keep the feed aligned and prevent mess.
Maintain Continuous Glue Flow
Keeping a partially used glue stick inside your gun sets you up for a smooth refill process. When using your hot melt glue gun, you don’t need to remove the old stick.
Instead, insert a new stick cold and aligned with the feed channel so it buttresses the partly used one. Heat the gun fully (3–5 minutes) to guarantee continuous melting and feeding.
To maintain continuous glue flow:
- Push the new stick firmly by hand or gently squeeze the trigger if the old stick stops feeding near 25% remaining.
- Use sticks that match your glue gun’s diameter to avoid jams and motor strain.
- Always unplug and cool the gun before clearing jams or adjusting the feed to protect the mechanism.
This method keeps your glue flow steady and hassle-free.
Turn Off the Glue Gun and Cool It Before Storing
Once you finish using your hot melt glue gun, unplug it immediately and set it on a heat-resistant surface to cool completely. This usually takes about 15 to 30 minutes.
Never store the glue gun while it’s still hot or plugged in. Keeping it powered for too long can increase the risk of fire.
After it cools, you can safely handle the gun and clean any hardened glue from the nozzle or stand. Use gentle scraping or brief reheating—but keep an eye on it while you do.
Be sure to store the glue gun upright or on its side in a dry place. Keep it away from kids and anything that’s sensitive to heat.
Cooling the glue gun fully before storage guarantees safety and protects the tool. So, always remember to unplug it right after use and let it cool down properly.
Store Your Glue Gun With Glue Stick Inserted
After your glue gun has cooled and you’ve unplugged it, you should leave a partially used glue stick inserted before storing it. This helps keep the feed mechanism aligned and prevents debris from clogging the channel of your handheld tool.
To store your glue gun properly, follow these steps:
- Store the gun upright on a heat-resistant surface or in its original case with the nozzle protected.
- Keep it in a dry, dust-free place away from children and pets.
- For long-term storage, remove the glue stick only after cooling, and clean the nozzle with isopropyl alcohol to avoid hardened residue.
Frequently Asked Questions
What Temperature Does Hot Melt Glue Soften?
Hot melt glue softens between 95°C and 190°C, depending on the glue type. Low-temp guns soften around 95–120°C, while high-temp guns reach 160–190°C.
Specialty sticks may require even higher temperatures to become flowable. So, it really depends on what kind of glue you’re using and the equipment you have.
Why Is My Hot Glue Gun Not Working?
Your hot glue gun might not be working because it’s unplugged, or maybe the outlet is faulty.
It could also be that the glue stick is jammed, or you’re using the wrong stick size.
Always let it heat for 3–5 minutes before expecting the glue to flow. Give it a little time, and it should work just fine!
How to Dry Hot Glue Fast?
Don’t let drying hot glue feel like watching paint dry—press a cold pack gently on it or dip it in ice water with a cloth barrier.
This chills the glue fast, cutting drying time to under a minute. Easy, right? Give it a try next time you’re in a hurry!
How to Best Use a Hot Glue Gun?
You’ll want to choose the right glue gun for your project, and make sure to prep surfaces by cleaning and roughening them. This helps the glue stick better.
Next, heat the gun fully before you start. Once it’s ready, apply the glue quickly because it cools fast. Then, press the pieces firmly together.
And don’t forget—always practice safety when using a hot glue gun. That way, you get strong, lasting bonds without any mishaps.
Conclusion
Using a hot melt glue gun is like wielding a magic wand—once you master the steps, you can create with ease and precision. Just remember to plug it in safely, heat it fully, and keep your glue flowing smoothly.
With practice, you’ll handle your projects confidently, knowing when to add more glue and how to store your tool properly. Follow these simple steps, and you’ll stick to success every time!
Hot melt glue guns are great for crafting, repairs, and DIY projects. By learning how to use one correctly, you’ll improve your skills and finish your work faster. So, take your time, be careful, and enjoy the process of creating with your hot melt glue gun. It’s a handy tool that, once you know the tricks, makes sticking things together a breeze every time!