How to Make a Paper Gun in 3 Easy Steps
To make a paper gun in 3 easy steps, first gather sturdy paper, scissors, and tape. Set up a tidy workspace with good lighting to keep things simple and organized. Having everything ready makes the process smoother and more fun.
Next, fold the paper lengthwise and carefully shape the muzzle and handle by folding corners and edges. Take your time with these folds because they give your paper gun its structure and look.
Finally, secure your folds with tape or glue. Reinforce key parts to make your paper gun strong and safe.
If you want to create a sturdy, safe paper gun and avoid common mistakes, keep following for helpful tips and tricks!
Key Takeaways
- Fold a rectangular paper in half lengthwise to create a firm base for the paper gun. This will give your gun a solid structure to start with.
- Next, fold the top corners inward to shape the barrel or muzzle of the gun. It’s starting to look like a real paper gun already!
- Then, fold the bottom edges upward to form a sturdy handle for better grip. This makes it easier to hold and aim.
- Secure all folds with tape or glue to reinforce the structure and maintain shape. This step is key to keeping your paper gun intact.
- Finally, smooth any sharp edges and test the paper gun for stability before use. You want it to be both safe and functional.
Gather Materials for Your Paper Gun and Prepare Your Workspace
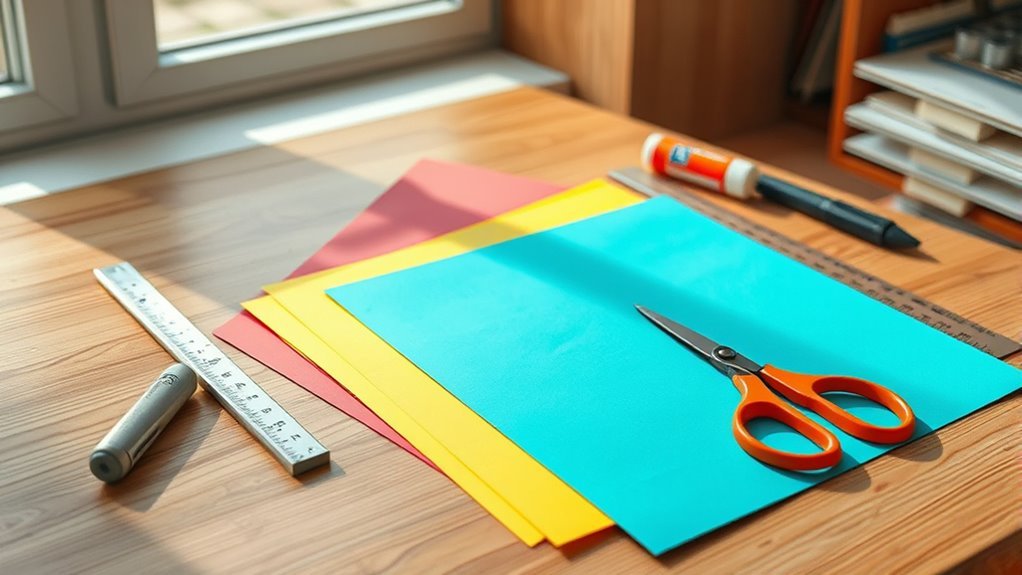
Before you start building your paper gun, make sure you gather all the necessary materials: a sturdy sheet of printer or construction paper, scissors, and tape or glue. Choosing a durable, foldable paper assures your paper gun holds its shape and lasts longer.
Next, clear your workspace completely—removing clutter helps you focus and stay safe while cutting and folding. Arrange your scissors, tape, and paper within easy reach so you won’t have to interrupt your process searching for tools.
Also, check that your workspace has good lighting; it’s essential for seeing all the small details clearly. Taking these simple steps to prepare sets you up for a smooth and efficient paper gun assembly.
Fold Your Paper Gun Step-by-Step
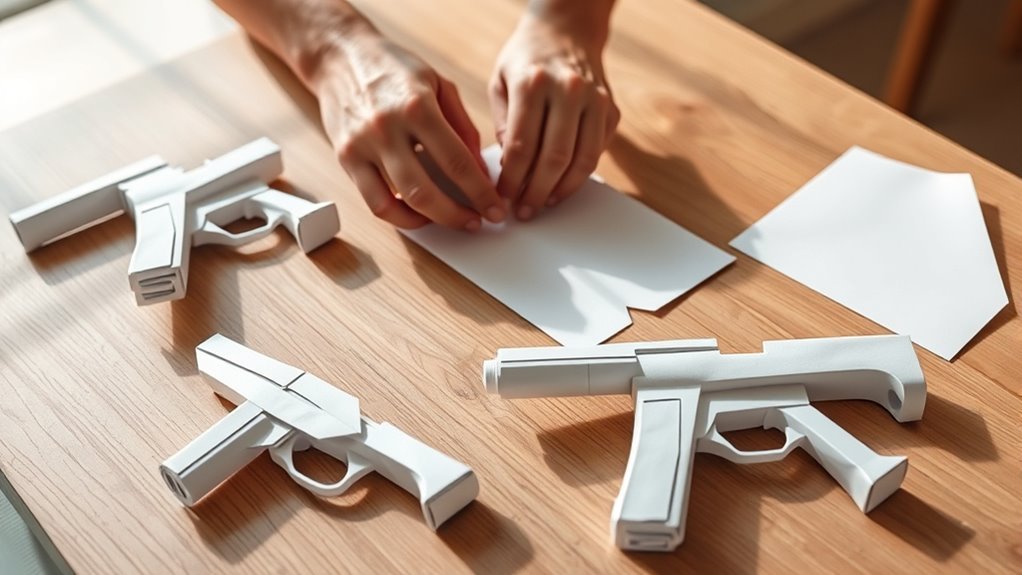
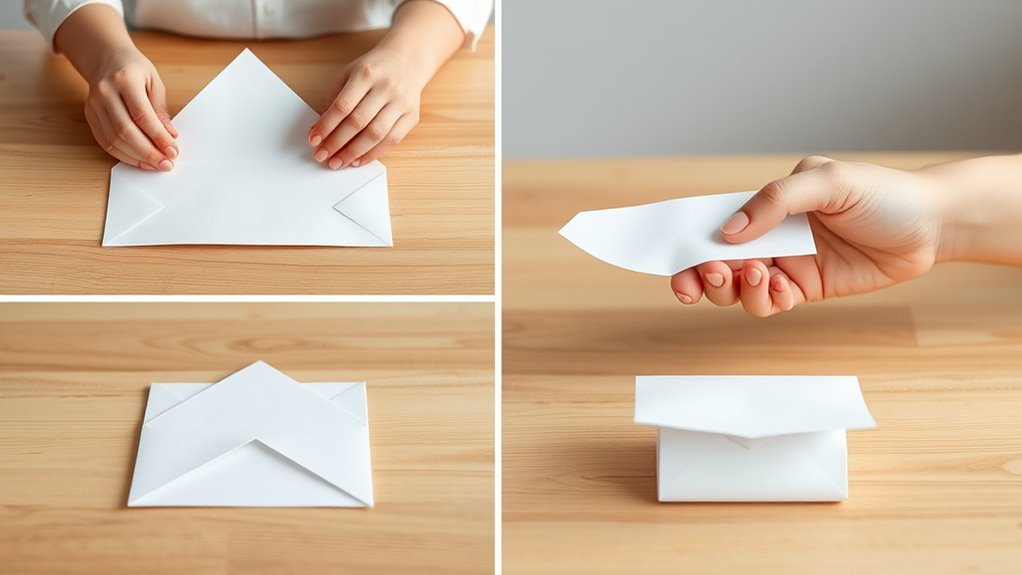
With your materials ready and workspace set, you can start folding your paper gun. Begin by folding a rectangular piece of paper in half lengthwise to create the base.
Next, fold the top corners inward to shape the barrel’s front, forming the muzzle. Then, fold the bottom edges upward to craft the handle, making it sturdy and easy to grip.
Fold the top corners inward to form the muzzle, then lift the bottom edges to create a sturdy handle.
Tuck or fold the excess paper at the back to secure the gun’s body, ensuring everything holds together firmly. Finally, refine the shape by adjusting folds so your paper gun looks neat and realistic.
Don’t forget to reinforce creases for added durability. Just take your time with these steps, and you’ll have a solid foundation for your paper gun in no time.
Fix and Secure Your Paper Gun for Safe Play
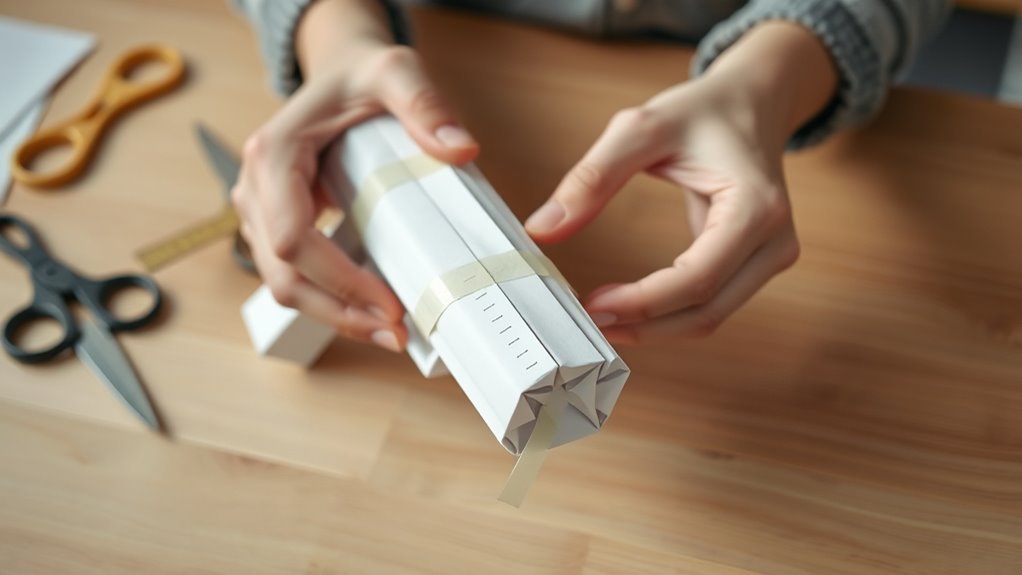
Although your paper gun looks great already, you’ll want to guarantee all parts firmly using strong adhesive tape or glue to keep it from falling apart during play. Reinforce the barrel and trigger areas with extra layers of paper or tape to boost durability and safety.
Check all edges carefully—make sure they’re smooth and folded tightly to avoid any sharp points that could cause injury. Once secured, test your paper gun by applying gentle pressure to confirm it holds together well during use.
Finally, store your paper gun in a safe spot away from small children and pets to prevent accidental damage or injury. Taking these steps guarantees your paper gun stays intact and safe for fun playtime.
Frequently Asked Questions
How to Make a Paper Gun Easy and Fast That Shoots?
You fold a paper into a narrow strip for the barrel, create a trigger flap, secure it with tape or a paperclip, then load a small paper ball.
Flick the trigger to shoot quickly and easily. It’s super simple once you get the hang of it!
How to Make Paper Weapons Easy?
When it comes to making paper weapons easy, you’ve got to keep it simple and stick to basic folds. Don’t overcomplicate—fold, crease, and secure with tape.
You’ll have a cool creation in no time! Just take it step by step, and soon you’ll be crafting paper weapons like a pro.
How to Make a Very Very Easy Paper?
To make very easy paper, grab a single sheet, fold it in half lengthwise, then unfold to create a crease.
This simple fold gives you a neat baseline to start crafting anything you want quickly and easily.
It’s super quick and doesn’t need any fancy tools or skills. Just fold and go!
How to Make a Paper Gun for Kids Without Glue?
Imagine crafting a paper gun that shoots imagination, no glue needed. You’ll fold, crease, and tuck your way to a sturdy, fun toy.
Using simple folds, you lock the shape tight and ready for play. It’s easy and super fun to make!
Conclusion
Now that you’ve crafted your paper gun, you hold something fragile yet exciting in your hands—a simple sheet of paper transformed into a playful weapon. While it’s delicate and easy to tear, it’s also a source of endless fun and creativity.
Just remember, even though it’s harmless, treat it with care and respect. With these easy steps, you’ve turned everyday paper into a small adventure.
This paper gun is proof that fun doesn’t need to be complicated or costly. Making a paper gun is a simple craft that sparks creativity and playful moments. So enjoy your new paper gun, and let your imagination run wild!