How to Work a Hot Glue Gun in 3 Easy Steps
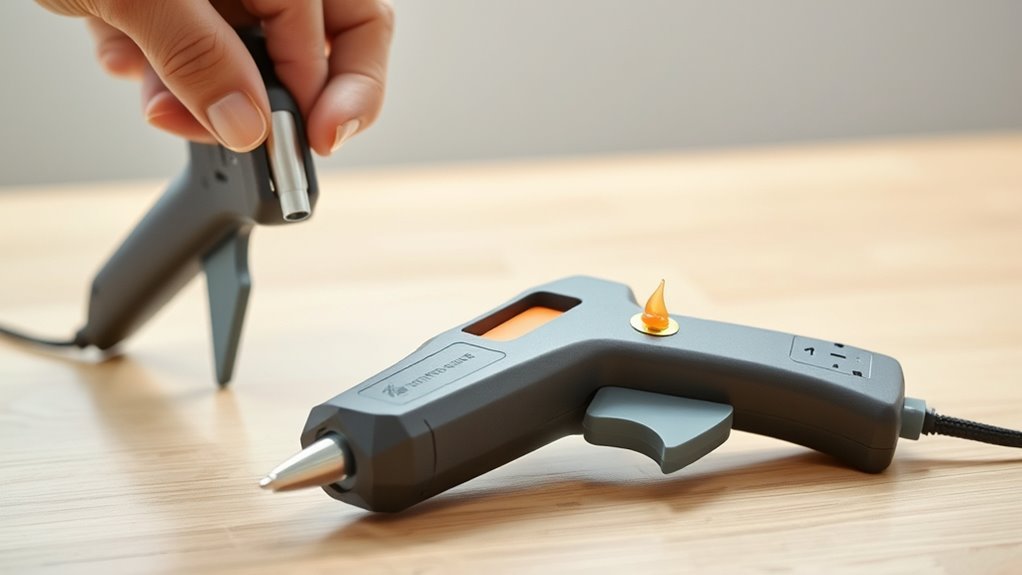
Start by placing your glue gun on a heat-resistant surface and inserting a glue stick while it’s cold. This step is essential to ensure your hot glue gun works efficiently and safely. Select the right temperature for your project, then wait 3–5 minutes for it to heat up properly.
Next, hold the nozzle just 1–2 mm from your surface and squeeze the trigger to apply a thin, steady bead of glue. Press the surfaces together quickly to make a strong bond. This technique helps you achieve neat, professional-looking results every time.
When you’re done, unplug the gun and let it cool before cleaning and storing it properly. Understanding these basics sets you up for safer, neater crafting with your hot glue gun. With these simple steps, you’ll be ready to tackle all your creative projects confidently!
Key Takeaways
- Insert a glue stick into the cold glue gun and select the appropriate temperature setting.
- Allow the glue gun to heat for 3–5 minutes until ready, indicated by the light.
- Hold the glue gun upright and squeeze the trigger gently to apply glue in thin, continuous beads.
- Keep the nozzle close (1–2 mm) to the surface for precise application and minimal strings.
- Press glued surfaces together immediately and hold for several seconds to ensure a strong bond.
Heat and Prepare Your Glue Gun Safely
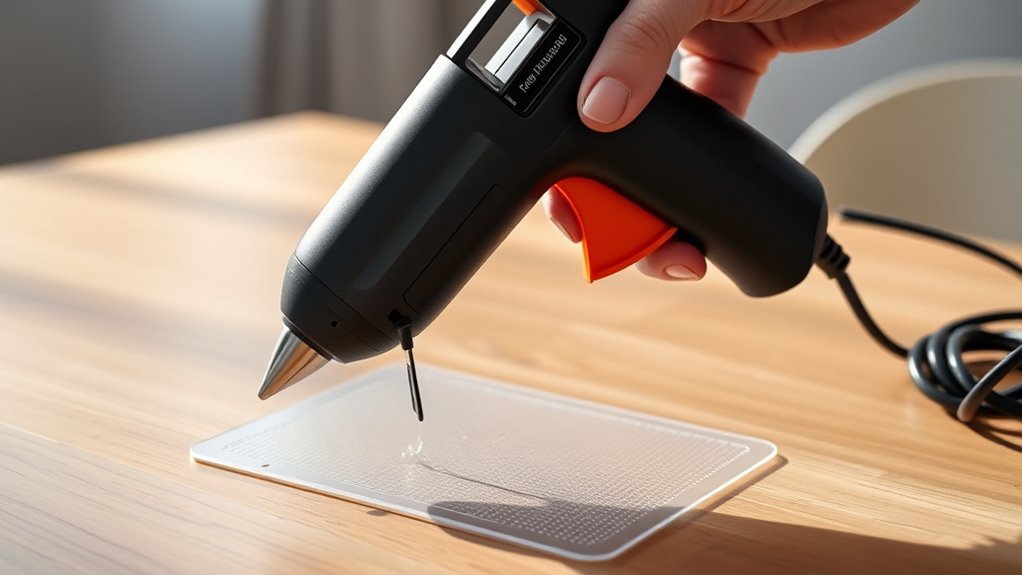
Before you plug in your glue gun, place it on a heat-resistant surface like a silicone mat. Make sure the built-in stand or a clip holds the nozzle elevated. This setup helps prevent burns and keeps your workspace safe.
Insert a glue stick into the back of the hot glue gun while it’s cold. Push it in until it stops so it feeds smoothly as the gun heats.
Choose the right temperature setting: low for delicate materials or kids’ crafts, high for stronger bonds. Allow the gun to heat for 3–5 minutes or until the indicator light signals it’s ready.
Keep the gun upright during heating and use a heat-resistant drip surface beneath it to catch any excess glue. And hey, never leave it unattended—safety first to avoid accidents!
Apply Glue Precisely and Bond Surfaces Quickly
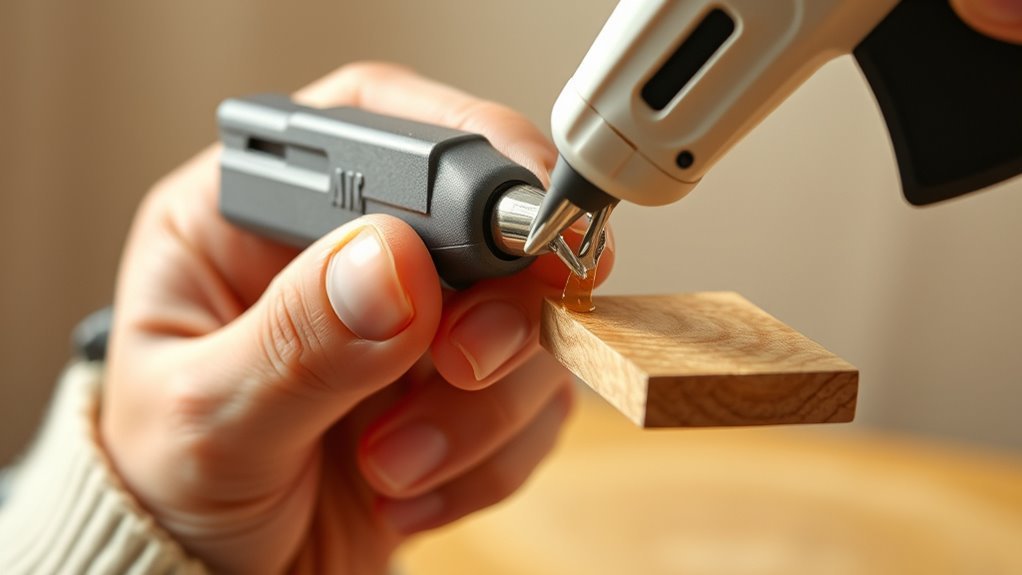
Mastering precise glue application starts with testing your gun’s flow on scrap material after it’s heated. Squeeze the trigger to control the bead thickness and speed, aiming to apply a thin continuous bead about 2–3 mm wide for small joints.
Keep the glue gun’s nozzle within 1–2 mm of the surface to minimize strings. Work quickly during the hot glue’s short open time, pressing the surfaces together immediately and holding them for several seconds to guarantee a strong bond.
For precision on tiny areas, use a fine applicator nozzle, a glue stick tip, or even a toothpick to place small dots carefully. Remember, prepping surfaces by roughening smooth materials and cleaning them improves adhesion and reduces excess glue use.
Unplug, Clean, and Store Your Glue Gun Properly
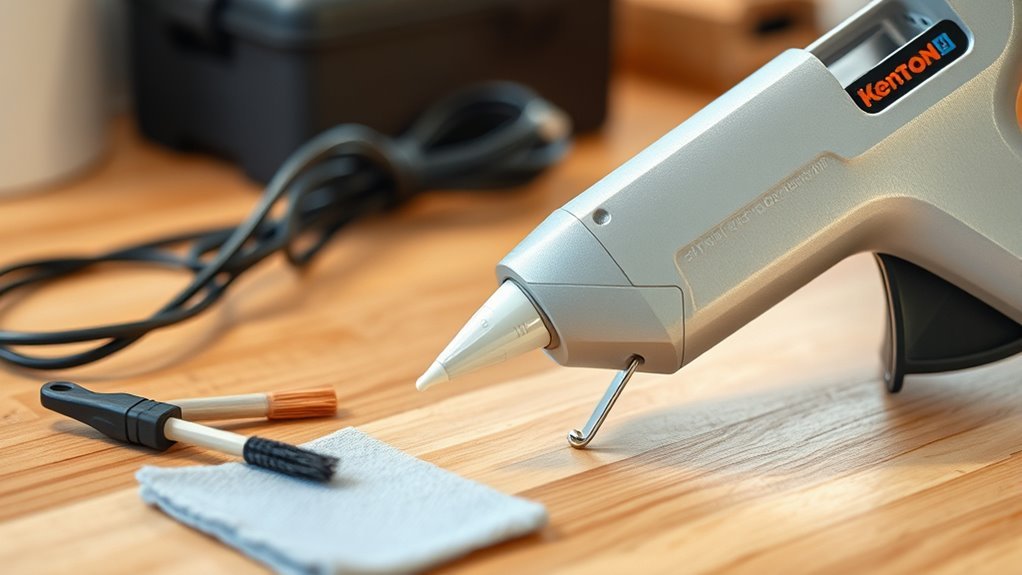
Once you finish your project, always unplug your glue gun immediately and let it cool completely before handling or storing it—this usually takes 10 to 30 minutes depending on your model. While it’s cooling, you can get ready to clean it.
When it’s still warm but unplugged, clean the nozzle gently with a dry, heat-resistant cloth to remove softened glue. If there’s hardened glue, just reheat it briefly and carefully scrape it off using a nonmetal tool.
Store your glue gun upright on a heat-resistant surface or in its case. Leave a short glue stick inside to protect the feed mechanism.
Keep it in a cool, dry place away from children and never leave it plugged in unattended. Taking these simple steps helps your glue gun last longer and stay safe to use.
Frequently Asked Questions
How Can We Use a Hot Glue Gun?
You use a hot glue gun by heating it fully, applying melted glue to one surface, and pressing pieces together quickly. Hold them until set.
Refill when low, and always handle it carefully to avoid burns. It’s pretty straightforward once you get the hang of it!
How to Stop a Hot Glue Gun Burn From Hurting?
You should immediately run the burn under cool water for 10–20 minutes to ease pain and stop damage.
Then, gently clean the area, apply a sterile dressing, and take pain relievers if needed.
Don’t pop blisters. It might be tempting, but it can make things worse. Just let them heal on their own.
Why Is My Hot Glue Gun Not Working?
Don’t count your chickens before they hatch; your hot glue gun might not be working because it’s not fully heated, has a power issue, or the glue stick is jammed or incompatible.
Check these first to fix it. Sometimes it’s just a simple thing that’s easy to overlook!
What Are Some Cool Things I Can Make With a Hot Glue Gun?
You can make raised flowers, no-sew fabric appliqués, custom stamps, 3D miniatures, and glittery decorative accents. Experiment with layering, colors, and textures to create unique crafts that stand out and hold together beautifully!
There’s so much you can do with a hot glue gun once you get the hang of it. Just play around with different ideas, and you’ll be surprised at what you can create!
Conclusion
Now that you’ve mastered heating your glue gun safely and applying glue with precision, imagine the satisfying click as two surfaces bond instantly. But don’t rush—before you celebrate your handiwork, unplug your gun carefully and clean it to keep it ready for the next project.
With these simple steps, you’ll open endless creative possibilities. Just wait—your next masterpiece is closer than you think, and your glue gun will be your trusty sidekick every time.
Working a hot glue gun is easier than it seems, and once you get the hang of it, you’ll find it’s an essential tool for all your crafting needs. Remember, safety and proper cleaning are key to maintaining your glue gun’s performance. So keep practicing, and soon you’ll be creating beautiful projects with confidence and ease!