How to Use a Rivet Gun in 5 Easy Steps
To use a rivet gun in five easy steps, start by choosing the right rivet for your material thickness. It’s important to pick a rivet that fits perfectly to ensure a strong hold.
Then, drill a hole that matches the size of the rivet for a snug fit.
Next, insert the rivet through the aligned holes and load it into the gun. Make sure everything lines up properly before moving on.
Squeeze the handles steadily to set the rivet firmly, then snap off the mandrel stem. You’ll feel when it’s done right.
Finally, inspect the joint to guarantee a secure, flush fit with no gaps or movement. Keep going to uncover tips for perfect rivet installation every time.
Key Takeaways
- Select the correct rivet size and drill a hole matching the combined material thickness and rivet diameter.
- Insert the rivet through aligned holes and load the mandrel into the rivet gun’s nosepiece.
- Press the rivet gun tip firmly against the rivet head and squeeze handles steadily to set the rivet.
- Keep squeezing until the mandrel snaps off with a clear sound. That snap means the rivet is secured.
- Remove the broken mandrel stem, then inspect the joint for a flush head and tight fit. Looks good? You’re done!
Choose the Right Rivet and Drill the Hole
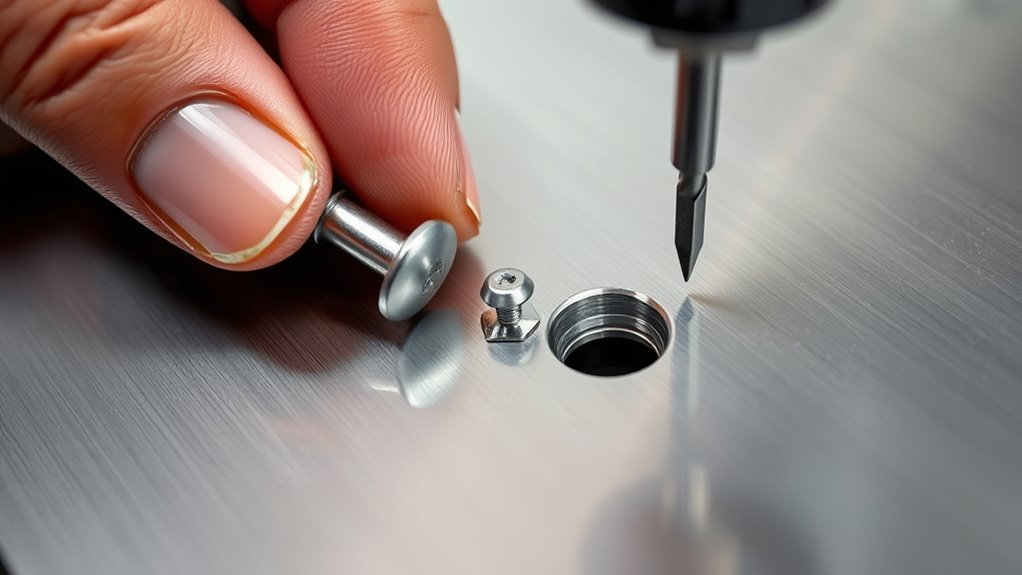
Start by measuring the combined thickness of the materials you want to join and select a blind rivet with a grip range that fits this measurement.
For example, if your total thickness is 3–6 mm, choose a rivet sized accordingly, like a 1/8″ diameter stainless steel rivet with a grip range of 1/8″–1/4″.
Next, pick a rivet size that matches your drill hole diameter.
3/32″ rivets usually require a 1/8″ drill bit, while 1/8″ rivets need a 17/64″ or 3.5 mm drill bit.
Mark the spot, clamp the materials firmly, then drill a hole just big enough for the rivet body to pass through snugly so the rivet head sits flush.
Finally, deburr and clean the edges for a precise fit and proper seating.
Insert the Rivet and Load the Gun
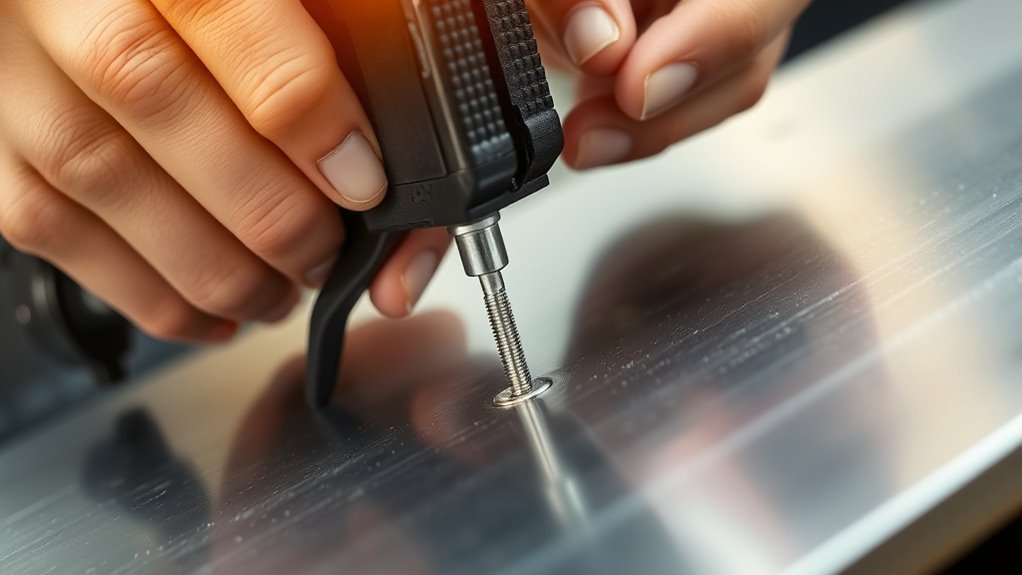
After drilling the hole and selecting a rivet that fits your material thickness and hole size, the next step is to prepare the rivet gun for installation.
Here’s how to insert the rivet and load the gun properly:
- Unscrew the nosepiece on your rivet gun and attach the correct size for your pop rivets.
- Push the rivet body through the aligned holes until the rivet head is flush on the near side and the mandrel sticks out fully on the far side.
- Load the gun by sliding the rivet’s mandrel into the nosepiece jaws. Make sure it’s straight and centered before you move on.
This setup guarantees your rivet is correctly positioned, and the gun is ready to set the rivet securely.
Squeeze the Rivet Gun Handles to Set the Rivet
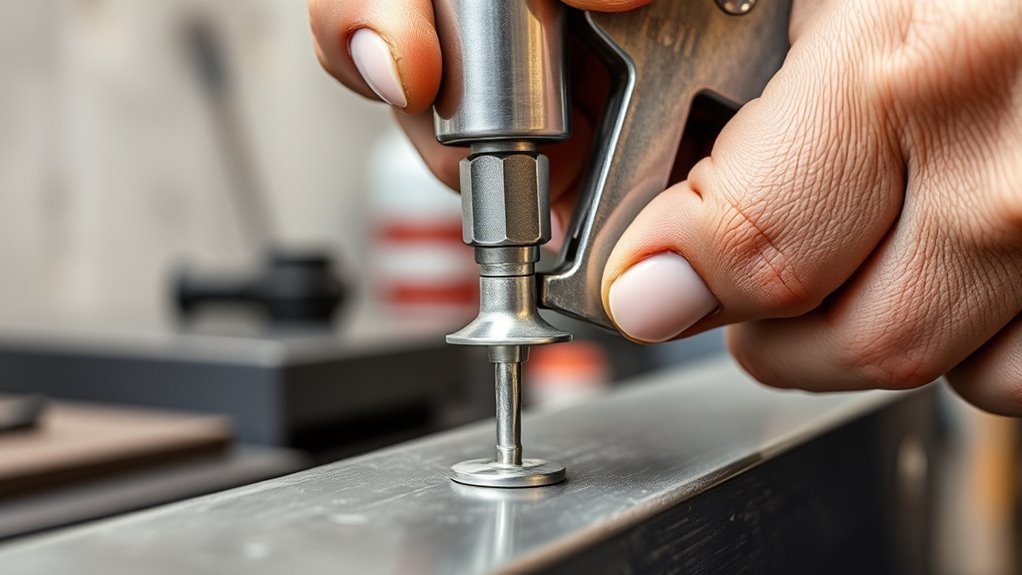
Firmly press the rivet gun tip against the rivet head and squeeze the handles steadily. As you squeeze the rivet gun handles, make sure you maintain forward pressure to seat the rivet body flush and form the proper bulge on the blind side.
You’ll feel increasing resistance as the mandrel pulls. I’ve never used a rivet gun that didn’t require smooth, consistent pressure until the mandrel snaps with a clear “ping.”
Brace for this sudden release and keep your fingers clear to avoid injury.
| Action | Tip |
|---|---|
| Press firmly | Keep the tip flush |
| Squeeze handles steadily | Avoid jerky motions |
| Maintain pressure | Guarantee rivet seats properly |
| Feel resistance | Indicates mandrel pulling |
| Listen for snap | Mandrel breaks, rivet set |
Snap Off and Remove the Mandrel Stem
Once you’ve squeezed the rivet gun handles fully, you’ll feel the mandrel stem snap sharply at its break point. This signals that the rivet is properly set with a secure bulbed head.
Now it’s time to snap off and remove the mandrel stem:
Most rivet guns automatically eject the snapped mandrel stem into the nose or out the front. If it stays lodged, lock the handles, point the tool downward, and squeeze once to release it.
If the stem remains stuck, unscrew the nosepiece after locking the handles. Then, push or tap the broken mandrel out carefully into a waste container.
Always wear gloves and eye protection while removing stems. And make sure to dispose of snapped mandrel stems safely to avoid injury.
Inspect the Rivet Joint for a Secure Fit
With the mandrel stem snapped off and removed safely, you can now inspect the rivet joint to confirm it’s secure. Start by checking that the rivet head sits flush with the top surface, with no gaps between the head and material.
Flip the workpiece to examine the blind side. Make sure the rivet body has formed a smooth, even bulge that matches the rivet diameter and fully clamps the parts back together.
Give the joint a gentle wiggle; it should feel tight with no movement. Also, verify the snapped mandrel is cleanly broken off without sharp stubs. If needed, trim or replace the rivet.
Finally, double-check you used rivets of the correct length and washer. They should compress the full material thickness without causing any damage.
Frequently Asked Questions
What Are the Uses of Rivets?
You use rivets to permanently join materials like metal or plastic, especially when you only access one side. They’re perfect for vibration-resistant, tamper-proof joints in automotive trim, gutters, sheet metal, and outdoor applications.
Rivets are super handy because they hold things together tight and don’t loosen up easily. Plus, since you only need access to one side, they’re great for tricky spots where screws or bolts won’t work.
Do Rivet Guns Use Compressed Air?
Don’t worry, your rivet gun won’t suddenly burst into a jet engine roar—only pneumatic ones use compressed air.
You’ll find hand riveters need just your grip, while cordless models bring power without the noisy air hose hassle.
How to Use an Arrow Rivet Gun?
You’ll select the right nosepiece and drill a matching hole. Then, insert the rivet flush.
Next, squeeze the handles steadily until the mandrel snaps. It’s pretty satisfying to hear that pop!
Finally, release the stem by tipping the tool and tapping it out. Easy, right?
How to Select the Proper Rivet?
Choosing the proper rivet is like picking the right key to open a door—you’ll match its diameter, length, and material to your project’s needs. This way, you ensure a snug fit and lasting strength without corrosion or pull-through.
It’s all about getting the perfect fit. When the rivet matches your materials, everything holds together just right. No loose ends, no worries!
Conclusion
Now that you know how to choose the right rivet, drill the perfect hole, insert the rivet correctly, and use the gun confidently, you’re ready to snap off the mandrel and inspect your work.
Remember, practice makes perfect, patience secures precision, and attention guarantees strength.
Keep these steps in mind and follow them closely. You’ll master using a rivet gun with ease and achieve sturdy, reliable joints every time.
Using a rivet gun doesn’t have to be tricky. With the right technique and a little practice, you’ll be creating strong, lasting connections in no time.
So, whether you’re fixing metal, working on a DIY project, or tackling professional jobs, these simple steps will help you get it done right every time.